



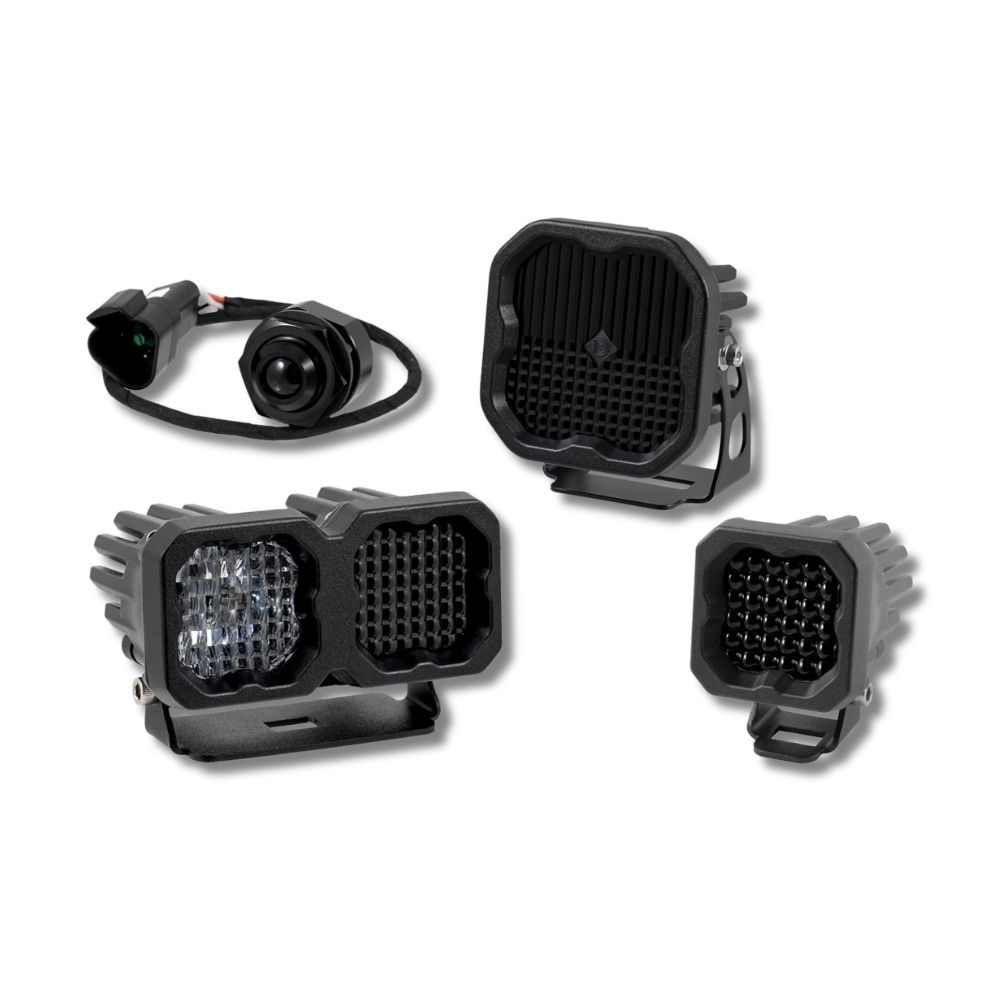











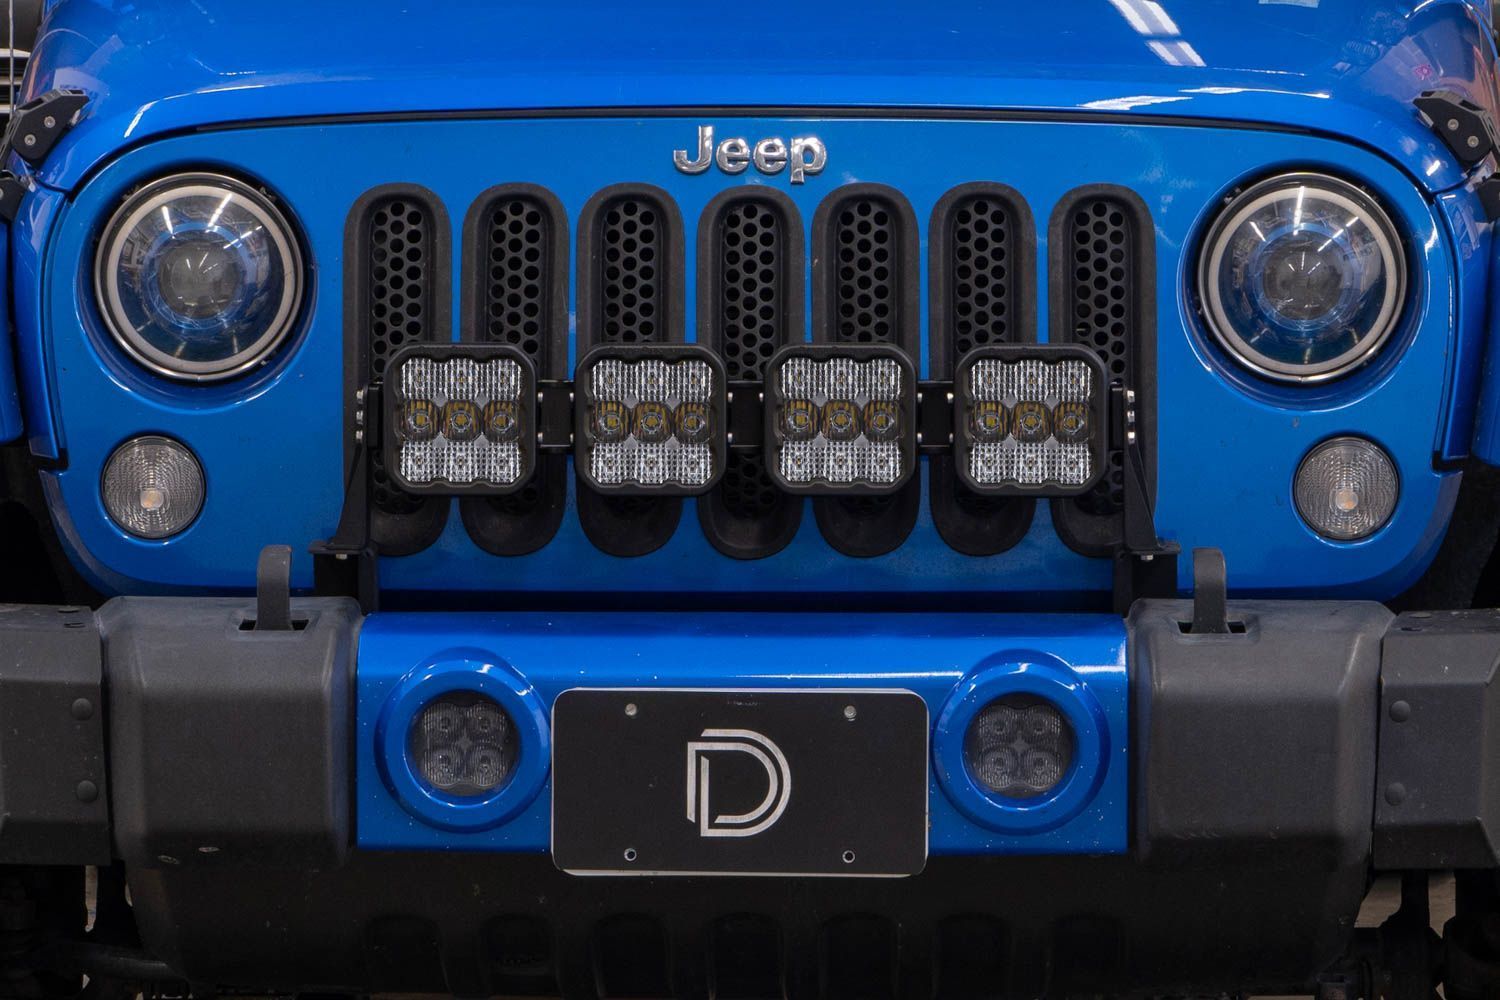
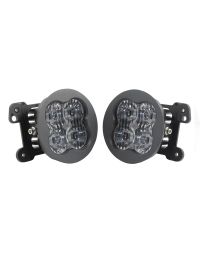
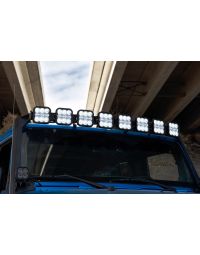
Thank you for your purchase of our SS5 CrossLink Bumper LED Pod Kit or SS5 CrossLink Grille Lightbar Kit. CAD-designed to use existing mounting points, these kits are compatible with the 2007–2018 Jeep JK Wrangler. Installation instructions are included below.
Table of Contents
- Installation Tools
- Grille & Trim Removal
- Rivnut Installation
- Bracket Installation
- Pod or Lightbar Installation
- Wiring Instructions
- Backlight Color Programming
- Backlight Color Reset
- Questions About the Installation?
- Where Can I Buy the SS5 CrossLink Bumper LED Pod Kit or Grille Lightbar Kit for 2007–2018 Jeep JK Wrangler?
Installation Tools
- Trim removal tool
- Ratchet
- 10mm socket
- 10mm wrench
- Drill
- 10mm drill bit (25/64”)
- 5mm Allen key
- 4mm Allen key
Grille & Trim Removal
Step 1 – Remove bumper trim panel
Using a plastic trim removal tool, remove the two push-rivets securing the bumper trim panel. Remove the panel; it will not be reused.
Step 2 – Remove upper grille push-rivets
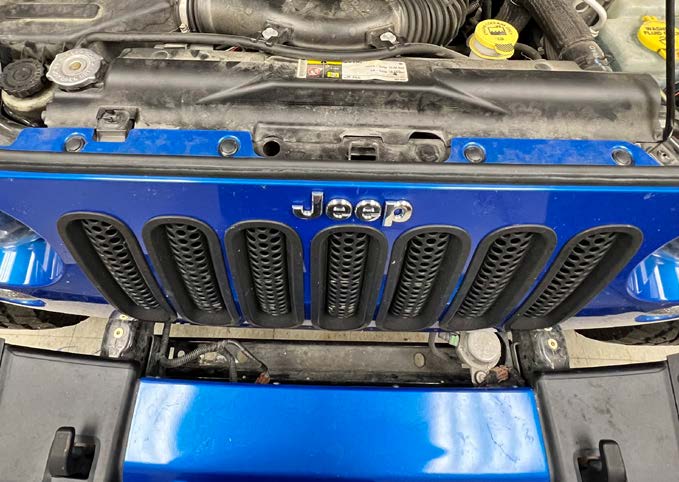
Open the hood and remove the six push-rivets across the top of the grille.
Step 3 – Lift grille
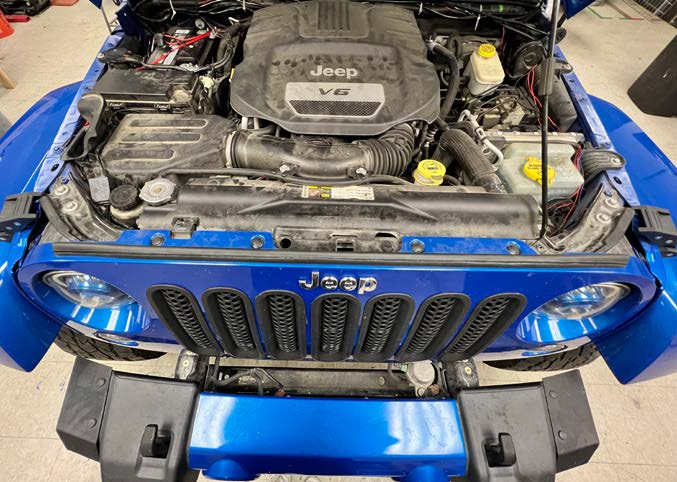
Gently lift the top of the grille up and away from the vehicle.
Step 4 – Remove grille assembly
Pull straight out from both sides of the grille and unplug the turn signal to fully release it.
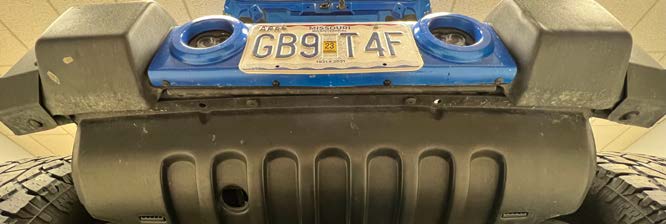
Step 5 – Remove underbody cladding
Remove the four push-rivets across the front of the underbody cladding and the two rear rivets.
Rivnut Installation
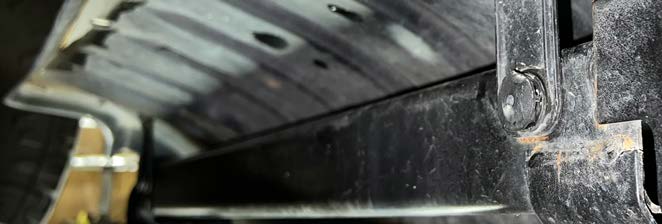
Step 6 – Drill frame rail
Drill the existing hole on top of the frame rail to 10mm (25/64”) on each side.
Steps 7 – Install rivnut
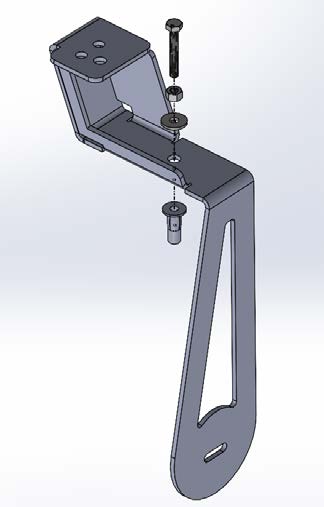
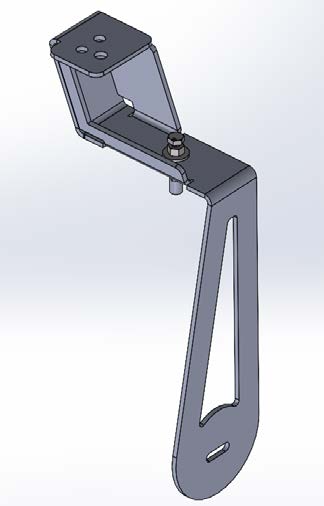
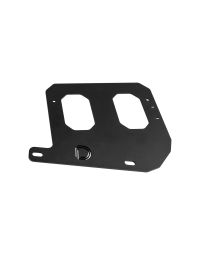
Assemble the 40mm M6 screw, nut, washer, and rivnut onto the base bracket. Install the bracket with rivnut into the drilled hole and tighten using a 10mm wrench while holding the screw in place.
Step 8 – Install bracket
Place the bracket on the frame rail such that the rivnut is in the drilled hole. Use a 10mm socket and wrench with the included M6 20mm flange bolt, oversized square washer, and flange nut to secure the bracket to the lower portion of the frame rail.
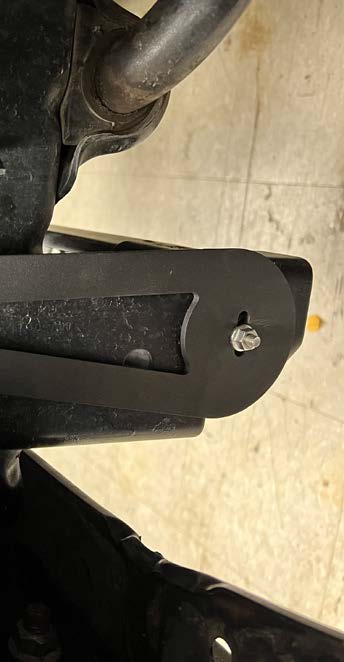
Step 9 – Tighten the hardware
Facing down, towards the bracket, use a 10mm wrench to turn the M6 nut clockwise (traveling down the screw) while holding the screw in place with a 10mm socket or wrench. This will pull the rivnut up to the bracket, securing it to the frame rail.
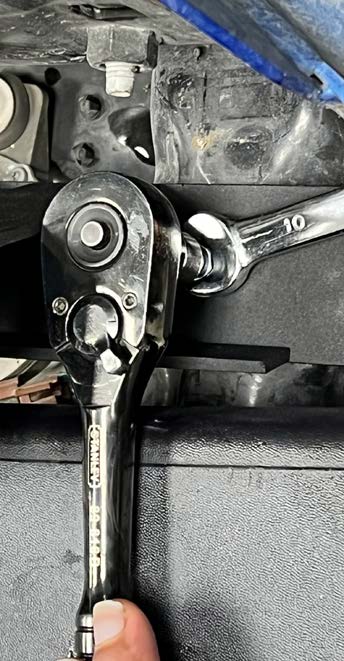
Step 10 – Hardware cont.
When you can no longer turn the nut, remove the screw from the rivnut, unbolt the bracket, and remove the bracket. Loosely thread the screw back into the rivnut and pull outward to confirm it is securely installed into the frame rail. If the rivnut pulls out, repeat steps 7 through 9 to reinstall.
Step 11 – Repeat on opposite side
Repeat rivnut installation steps on the other side of the vehicle.
Step 12 – Reinstall grille
Reverse Steps 2–4 to reinstall the grille.
Bracket Installation
Step 13 – Secure base brackets
Secure brackets to the frame rail using included M6 20mm flange bolts and oversized washers at the top (into rivnuts), and included M6 hardware at the lower frame rail.
Step 14 – Reinstall cladding
Reverse Step 5 to reinstall front underbody cladding.
Pod or Lightbar Installation
Step 15 – Installing 2-Pod Bumper Kit
Use included universal mount brackets and hardware to mount two SS5 pods directly onto base brackets.
For additional universal SS5 mounting, wiring, and backlight information, refer to the Diode Dynamics SS5 LED Pods Installation Guide.
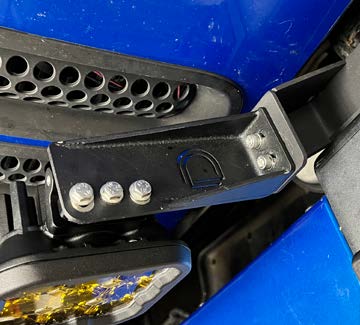
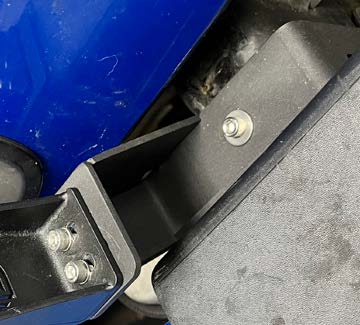
Steps 16–18 – Installing 4-Pod CrossLink Grille Lightbar
Install SS5 CrossLink universal brackets using included 16mm M6 screws. Assemble the lightbar using the CrossLink lightbar instructions.
Mount assembled lightbar onto brackets using provided M6 hardware and leave loose for adjustment.
Wiring Instructions
Step 19 – Connect harness
Connect the light(s) to the included wiring harness. Route harness to the battery and connect ring terminals to positive and negative terminals.
Install included toggle switch and route into cabin.
IMPORTANT: All power sources must be properly fused.
Step 20 – Finalize installation
Secure all wiring, test thoroughly, and tighten all hardware to complete installation.
Backlight Color Programming
SS5 LED Pods offer multiple backlight color options, including White (default), Red, Blue, Green, Purple, Yellow, Amber, and Teal.
- Start with all backlight power OFF.
- Cycle backlight power ON and OFF three times within three seconds, spacing each ON press about one second apart.
- After the third cycle, the backlight will enter programming mode.
- Continue cycling power at the same steady pace to scroll through the available colors.
- When the desired color is displayed, leave the backlight ON.
- After five seconds, the color will save automatically and exit programming mode.
- Turn power OFF.
The selected color will appear any time backlight power is applied during normal operation.
Backlight Color Reset
If multiple SS5 LED Pods are connected to the same backlight circuit and the colors become unsynchronized, perform the following reset procedure.
- Enter backlight programming mode by cycling power ON and OFF three times, using the same one-second timing.
- Continue cycling power through all available colors twice. This requires at least sixteen total power cycles.
- After all colors have displayed twice, all connected lights will reset to White.
- Leave the backlight ON for five seconds to save the reset.
- Program the desired backlight color as outlined above if needed.
Questions About the Installation?
If you have questions about installing the SS5 CrossLink Bumper LED Pod Kit or the SS5 CrossLink Grille Lightbar Kit , contact us via our support page.
Where Can I Buy the SS5 CrossLink Bumper LED Pod Kit or Grille Lightbar Kit for 2007–2018 Jeep JK Wrangler?
Visit DiodeDynamics.com or use our Dealer Locator to find an authorized dealer.
This installation guide applies to the following SKUs: DD7274, DD7275, DD7276, DD7277, DD7284, DD7285, DD7286, DD7287, DD7229, DD7230, DD7272, DD7273
Share This Post