



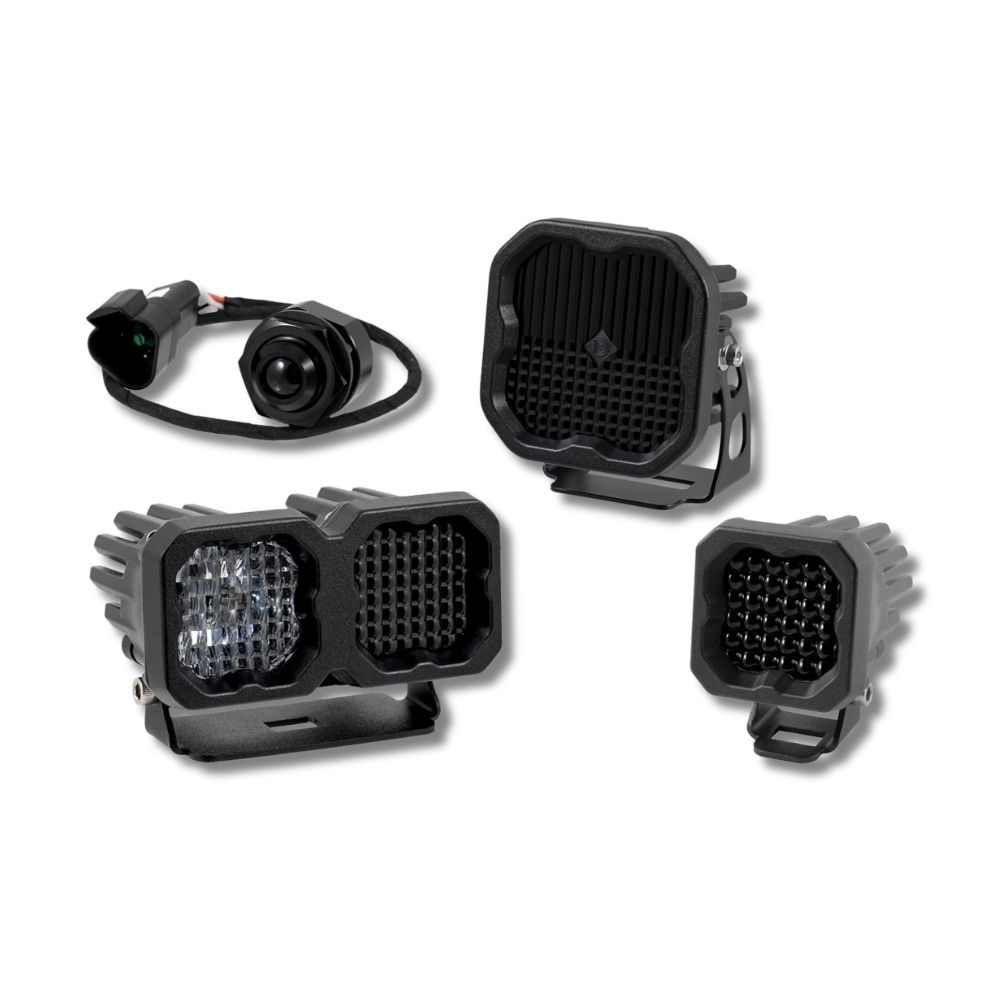











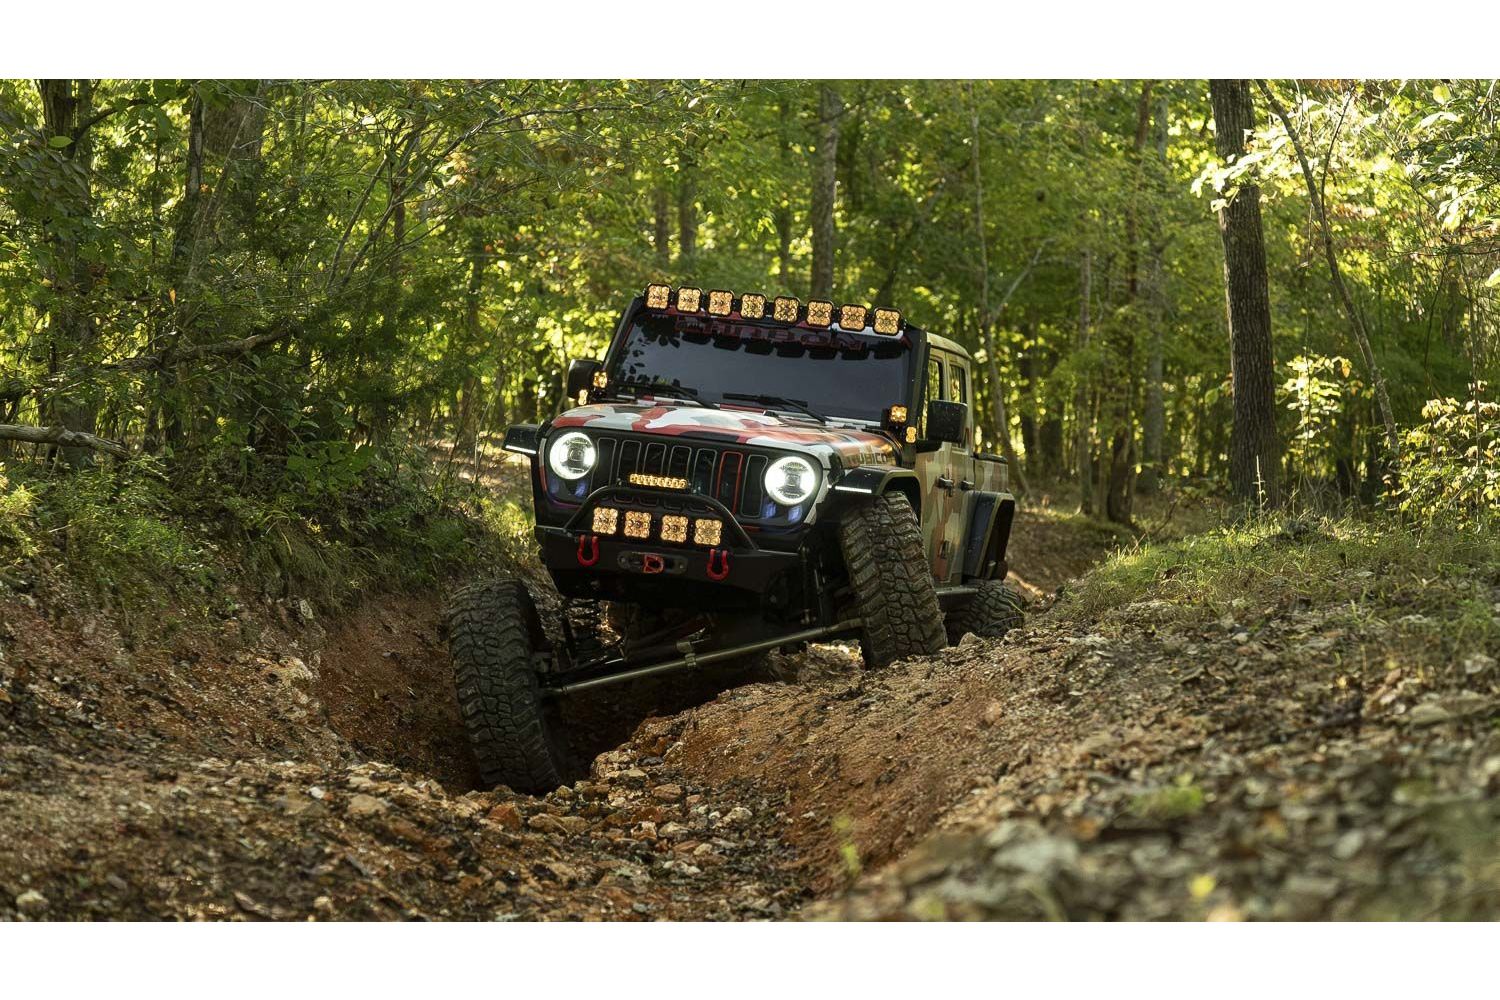
Diode Dynamics SS5 LED Light Bars combine extreme output, advanced TIR optics, and modular linking capability to create a powerful and flexible lighting solution. Built using the same technology as SS5 pods, these light bars are designed for off-road, auxiliary, and motorsports applications where maximum performance and durability are required.
This guide outlines the universal mounting, wiring, and backlight setup process for Diode Dynamics SS5 LED Light Bars. Installation steps are consistent across all SS5 Sport and SS5 Pro configurations.
Table of Contents
- Installation Tools
- Installation Instructions
- Wiring Instructions
- Backlight Color Programming
- Backlight Color Reset
- Questions About the Installation?
- Where Can I Buy SS5 LED Light Bars?
Installation Tools
- 1/2” wrench
- 3/8” wrench
- 2.5mm Allen key
- 5/32” Allen key
- Drill and mounting hardware (if required by application)
Time Required: Approximately 1–2 hours, depending on bar length and mounting location.
Installation Instructions
Step 1 – Assemble the SS5 light bar
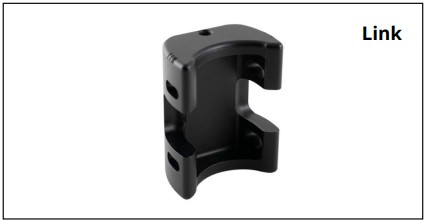
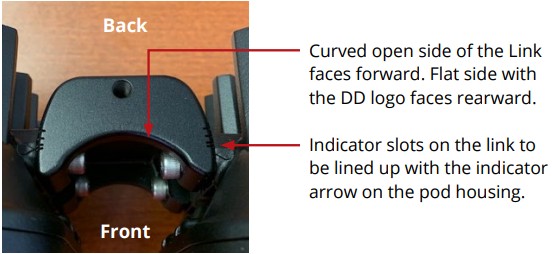
If installing a multi-pod SS5 light bar, assemble the individual SS5 pods using the integrated linking hardware following the SS5 CrossLink lightbar instructions. Ensure all pods are aligned evenly before tightening hardware.
Step 2 – Attach mounting brackets
Install the included mounting brackets onto the ends or mounting points of the SS5 light bar. Leave all hardware slightly loose to allow for final positioning and aiming.
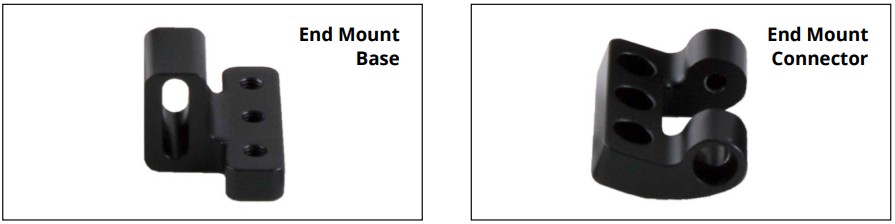
Step 3 – Select a mounting location
Choose a secure mounting surface that provides adequate clearance and airflow. SS5 LED Light Bars are compatible with many aftermarket and vehicle-specific mounting solutions.
Step 4 – Secure the light bar
Using the included or application-specific hardware, secure the SS5 light bar to the mounting surface. Verify that the bar is firmly mounted before proceeding.
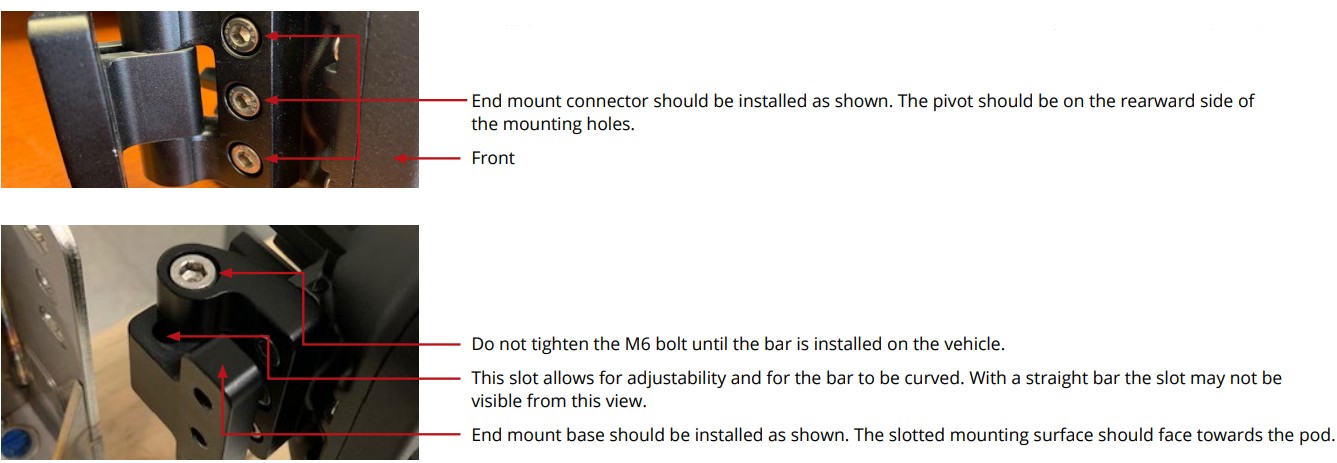
Step 5 – Aim the light bar
Adjust the light bar to the desired beam angle. Once properly aimed, fully tighten all mounting hardware.
Wiring Instructions
Important: SS5 LED Light Bars draw high current and require adequately sized wiring. If you are not using a Diode Dynamics wiring harness, use 16 AWG wire or larger and always install an inline fuse.
- Red wire: Main beam power (connect to fused 12V positive)
- Black wire: Ground (connect to chassis or battery ground)
- Blue wire: Backlight power (connect to desired low-current circuit)
Backlight Color Programming
SS5 LED Light Bars offer multiple backlight color options, including White (default), Red, Blue, Green, Purple, Yellow, Amber, and Teal.
- Start with all backlight power OFF.
- Cycle backlight power ON and OFF three times within three seconds, spacing each ON press about one second apart.
- After the third cycle, the backlight will enter programming mode.
- Continue cycling power at the same steady pace to scroll through the available colors.
- When the desired color is displayed, leave the backlight ON.
- After five seconds, the color will save automatically and exit programming mode.
- Turn power OFF.
The selected color will appear any time backlight power is applied during normal operation.
For additional SS5 mounting, wiring, and backlight information, refer to the Diode Dynamics SS5 LED Pods Installation Guide.
Backlight Color Reset
If multiple SS5 LED Pods are connected to the same backlight circuit and the colors become unsynchronized, perform the following reset procedure.
- Enter backlight programming mode by cycling power ON and OFF three times, using the same one-second timing.
- Continue cycling power through all available colors twice. This requires at least sixteen total power cycles.
- After all colors have displayed twice, all connected lights will reset to White.
- Leave the backlight ON for five seconds to save the reset.
- Program the desired backlight color as outlined above if needed.
Questions About the Installation?
If you have any questions about installing Diode Dynamics SS5 LED Light Bars, contact us via our support page.
Where Can I Buy Diode Dynamics SS5 LED Light Bars?
To browse all available SS5 LED Light Bar configurations—including Sport, Pro, lengths, and backlight options—visit our SS5 LED Light Bars category page on DiodeDynamics.com.
This Installation Guide applies broadly to the following SKUs:
DD6792, DD6793, DD6794, DD6795, DD6796, DD6797, DD6798, DD6799, DD6800, DD6801, DD6802, DD6803, DD7204, DD7205, DD7206, DD7207, DD7208, DD7209, DD7210, DD7211, DD7212, DD7213, DD7214, DD7215, DD7238, DD7239, DD7240, DD7241, DD7242, DD7243, DD7244, DD7245, DD7246, DD7247, DD7248, DD7249, DD7250, DD7251, DD7252, DD7253, DD7254, DD7255, DD7256, DD7257, DD7258, DD7259, DD7260, DD7261
Share This Post