



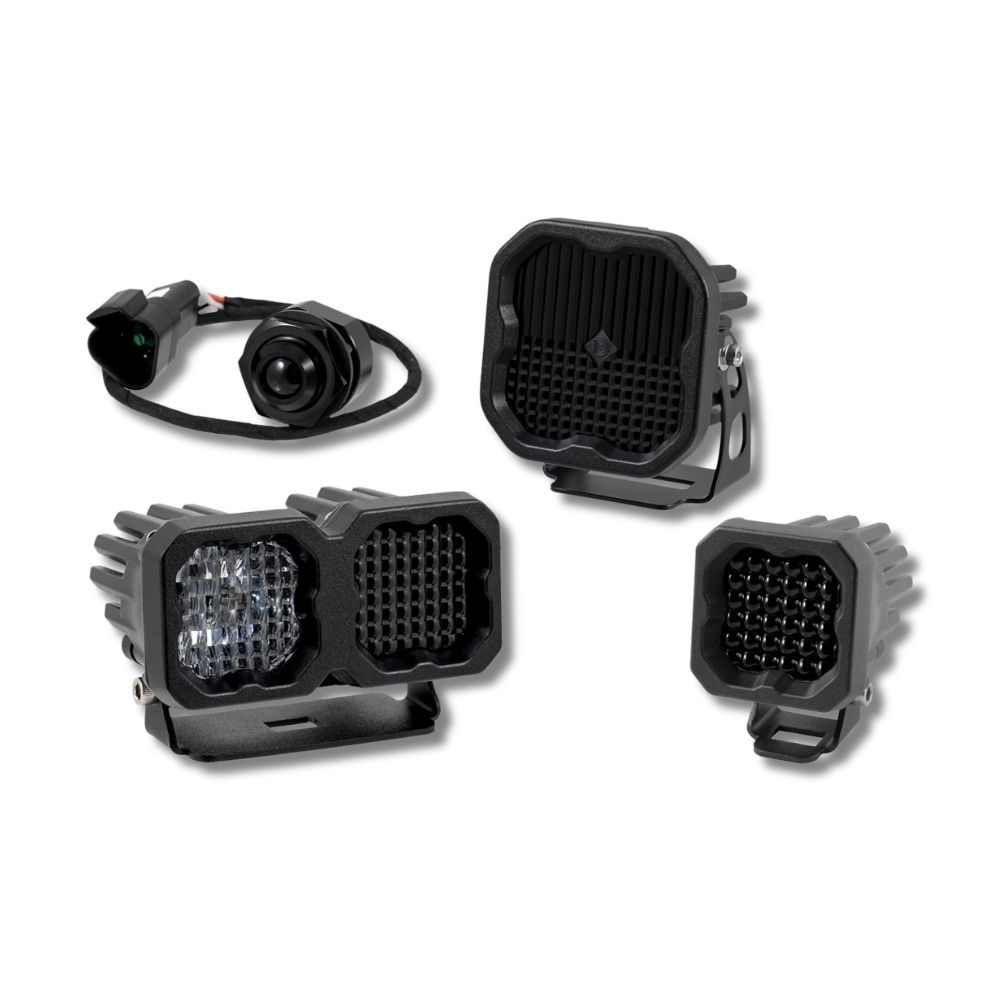











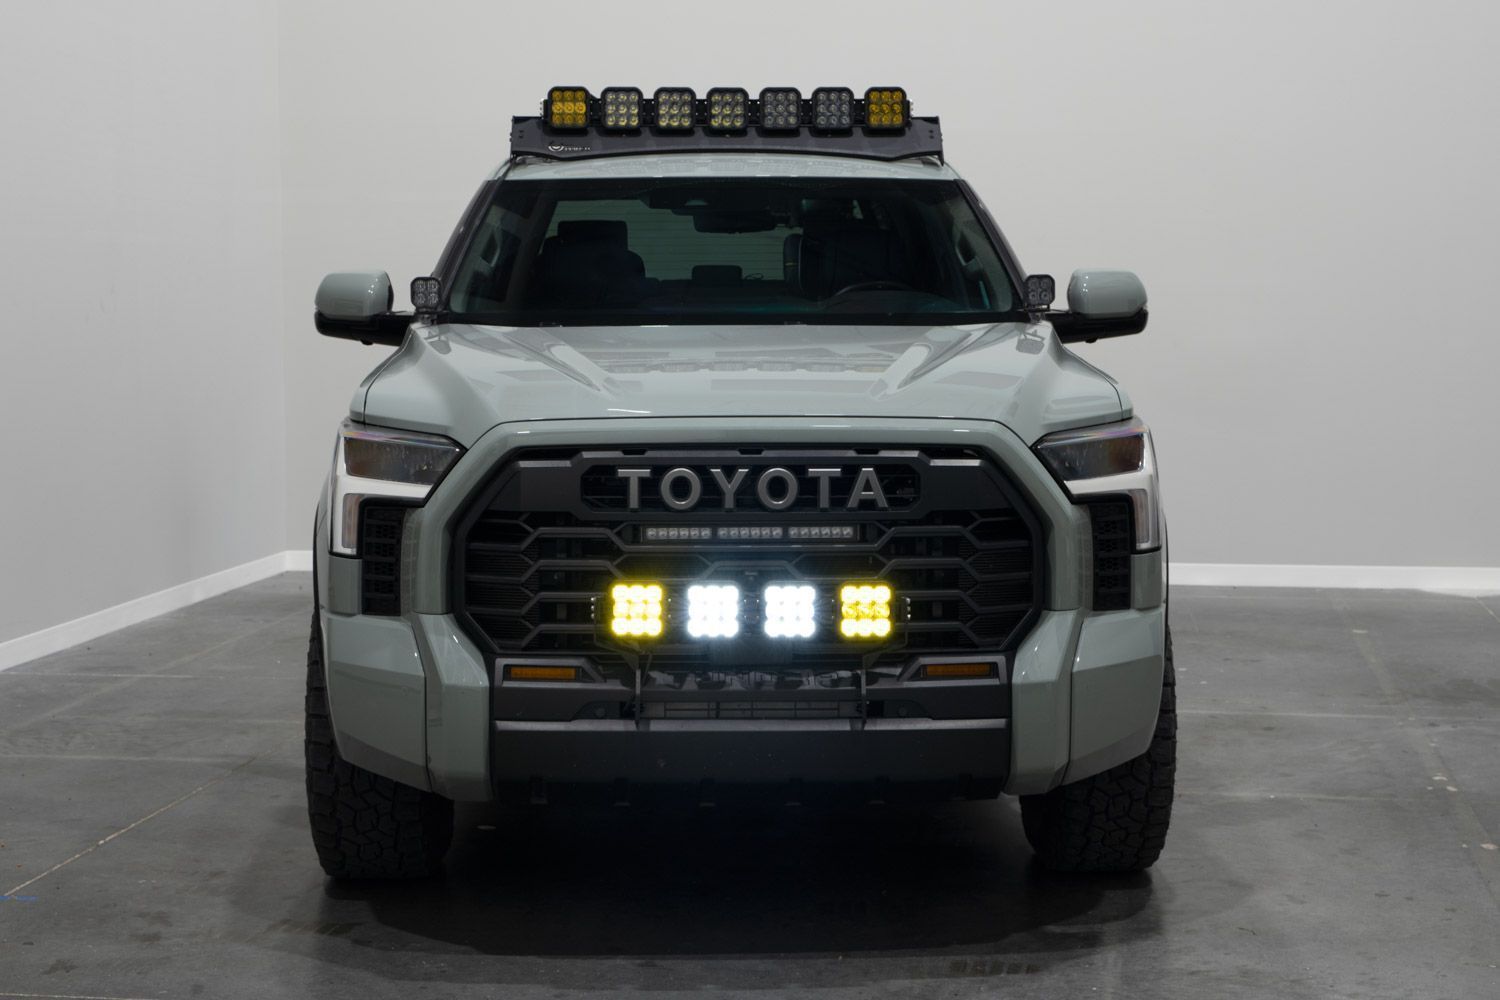
Upgrade your 2022–2026 Toyota Tundra with the SS5 Grille CrossLink Lightbar Kit from Diode Dynamics. CAD-designed to use existing mounting points, this kit provides a clean, OEM-style installation while delivering powerful forward lighting performance.
This guide walks you through bracket installation, grille modification, lightbar assembly, wiring, and final torque specifications to ensure a secure and professional result.
Table of Contents
- Installation Video
- Installation Tools
- Installation Instructions
- Backlight Color Programming
- Backlight Color Reset
- Questions About the Installation?
- Where Can I Buy the SS5 Grille CrossLink Lightbar Kit?
Installation Video
Installation Tools
- Beam-style torque wrench
- Metric wrenches
- 10mm socket
- 14mm socket
- 17mm socket
- Ratchet and extensions
- Snips or cutting tool (for grille trimming)
Time Required: Approximately 2–3 hours.
Installation Instructions
Step 1 – Remove Lower Bumper Bolts
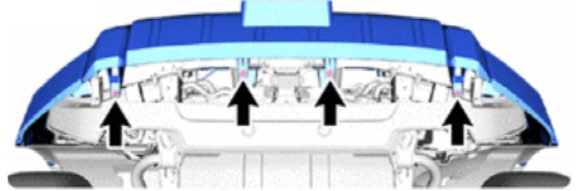
Using a 10mm socket, remove the four factory bolts on the underside of the bumper that secure it to the frame.
Step 2 – Remove Bumper Support Bolts
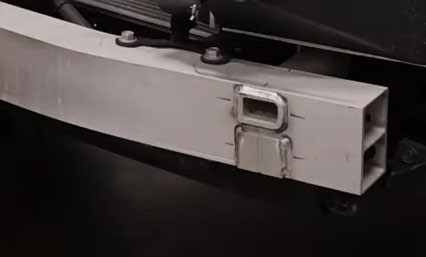
Using a 14mm socket, remove the bolt on the bottom side of the bumper support. Then, using a 17mm socket, remove the bolt on the top side of the bumper support. Repeat this step on the opposite side of the vehicle.
Step 3 – Install Base SS5 Brackets
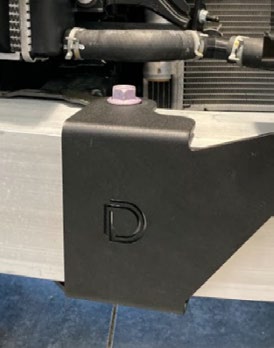
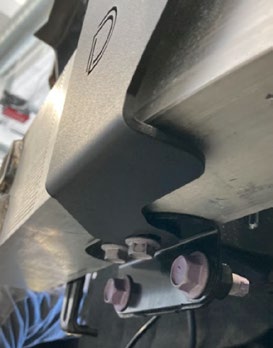
Install the base SS5 bracket over the bumper support and secure it using the original bolts removed in the previous step. Ensure the DD logo is correctly oriented. Do not overtighten at this stage. Repeat on the opposite side.
Step 4 – Trim Lower Grille Opening
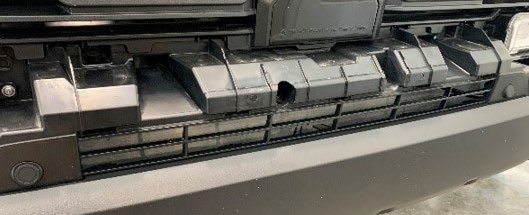
Using snips, carefully cut out the horizontal bars on either end of the lower grille opening as shown. Only the small section at each end needs to be removed.
Step 5 – Install SS5 Support Brackets
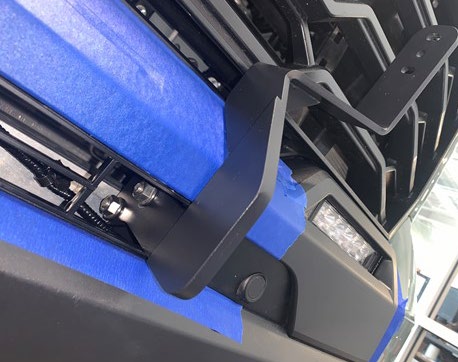
Insert the SS5 support bracket through the grille opening where the horizontal piece was removed. Using a 10mm socket, hand-tighten the bracket to the base bracket with the supplied M8 bolts, washers, and nuts. Repeat on the other side. Once positioned properly, tighten securely.
Step 6 – Assemble the SS5 Lightbar
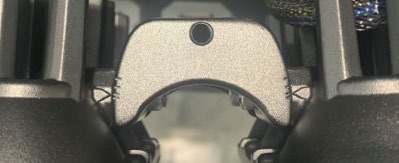
Assemble your SS5 lightbar following the CrossLink lightbar instructions. To achieve the correct curve, secure the lightbar to the bottom of the second notch on the link.
Step 7 – Mount Lightbar to Brackets
Mount the assembled SS5 lightbar onto the support brackets. Using the endlink pieces, attach the ends of the lightbar directly to the mounting brackets. Secure loosely with the provided M6 hardware.
Step 8 – Connect Wiring Harness
Refer to the included wiring harness guide to connect the lightbar wiring. Ensure all connections are secure and routed safely away from moving components.
Step 9 – Test and Torque Hardware
Test the lightbar to confirm proper function and aim as desired. Once satisfied, tighten all hardware. Torque the top bumper bracket bolts to 24 ft-lbs using a 17mm wrench or socket. Torque the bottom bumper bracket bolts to 146 in-lbs using a 14mm wrench or socket.
Step 10 – Reinstall Lower Bumper Bolts
Reinstall the four factory bolts removed in Step 1. Tighten the bolts on the underside of the bumper to 60.3 in-lbs using a 10mm wrench or socket.
Backlight Color Programming
SS5 LED Pods offer multiple backlight color options, including White (default), Red, Blue, Green, Purple, Yellow, Amber, and Teal.
- Start with all backlight power OFF.
- Cycle backlight power ON and OFF three times within three seconds, spacing each ON press about one second apart.
- After the third cycle, the backlight will enter programming mode.
- Continue cycling power at the same steady pace to scroll through the available colors.
- When the desired color is displayed, leave the backlight ON.
- After five seconds, the color will save automatically and exit programming mode.
- Turn power OFF.
The selected color will appear any time backlight power is applied during normal operation.
For additional SS5 mounting, wiring, and backlight information, refer to the Diode Dynamics SS5 LED Pods Installation Guide.
Backlight Color Reset
If multiple SS5 LED Pods are connected to the same backlight circuit and the colors become unsynchronized, perform the following reset procedure.
- Enter backlight programming mode by cycling power ON and OFF three times, using the same one-second timing.
- Continue cycling power through all available colors twice. This requires at least sixteen total power cycles.
- After all colors have displayed twice, all connected lights will reset to White.
- Leave the backlight ON for five seconds to save the reset.
- Program the desired backlight color as outlined above if needed.
Questions About the Installation?
If you have any questions about installing the SS5 Grille CrossLink Lightbar Kit for 2022–2026 Toyota Tundra, contact us via our support page.
Where Can I Buy the SS5 Grille CrossLink Lightbar Kit for 2022–2026 Toyota Tundra?
If you're ready to upgrade your 2022–2026 Toyota Tundra with the SS5 Grille CrossLink Lightbar Kit, visit DiodeDynamics.com or use our Dealer Locator to find a dealer near you.
Want to know more about Diode Dynamics products? Visit DiodeDynamics.com and subscribe to our newsletter for new product releases and more!
This Installation Guide is for the following SKUs: DD7407, DD7408, DD7409, DD7410, DD7406P
Share This Post