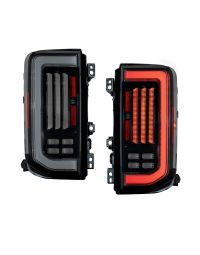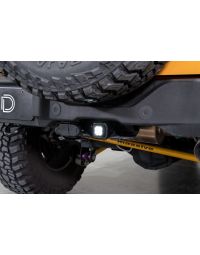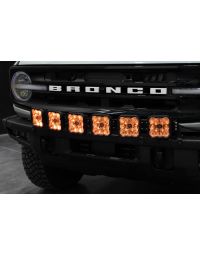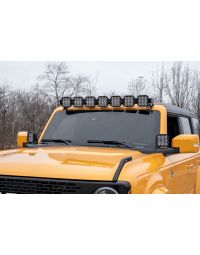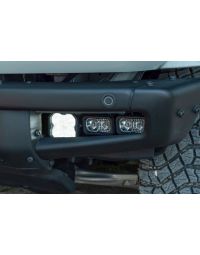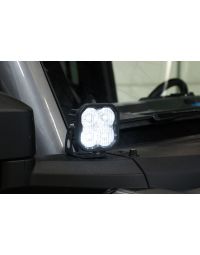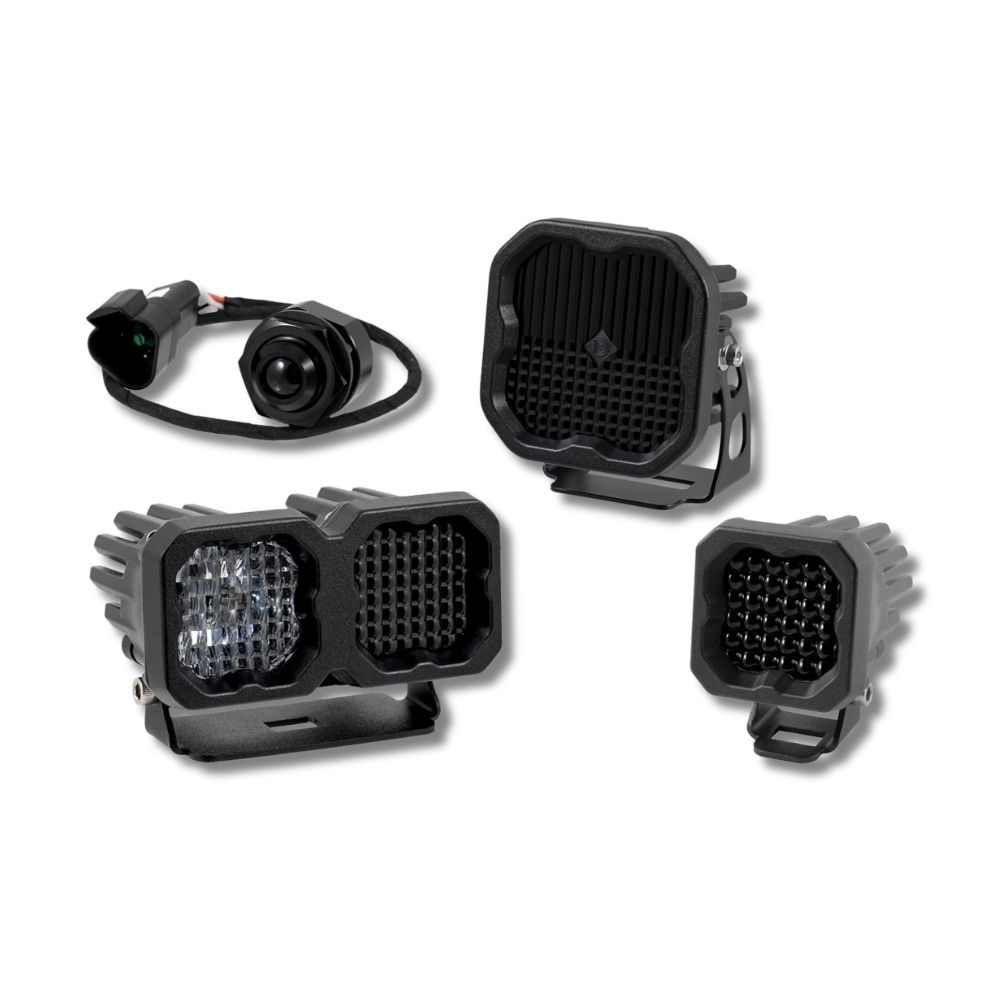











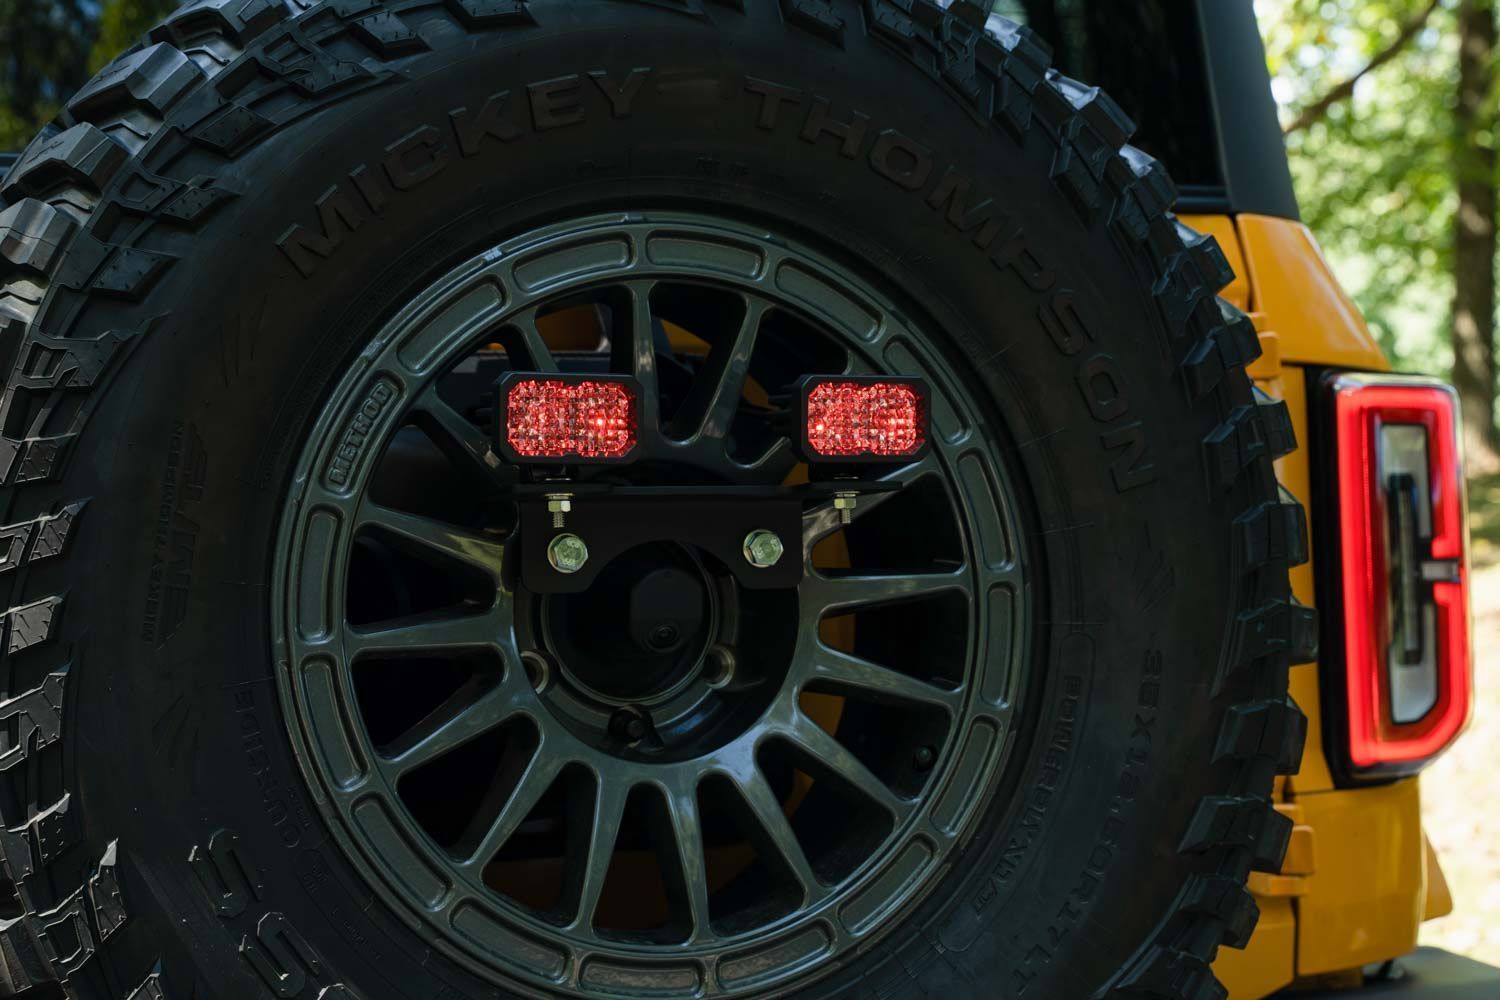
Thank you for your purchase of our Stage Series Reverse Light Kit for the 2021–2025 Ford Bronco. This kit allows you to mount two LED pods to the spare tire. Basic installation instructions are included below.
Table of Contents
- Installation Video
- Installation Tools
- Route the Wiring Harness and Splitter
- Spare Tire & Trim Removal
- Install Your New Reverse Light Bracket
- Optional: Connect to OEM Switch Bank
- Questions About the Installation?
- Where Can I Buy the Stage Series Reverse Light Kit for 2021–2025 Ford Bronco?
Installation Video
Installation Tools
- Trim removal tool
- 10mm socket
- 19mm socket
- Ratchet
- 5/32” Allen key
- Crimp tool (optional OEM switch wiring)
Route the Wiring Harness and Splitter
Step 1
With the tailgate open, remove the four plastic push pins from the trim panel near the passenger tail light that covers the tailgate hinge.
Step 2
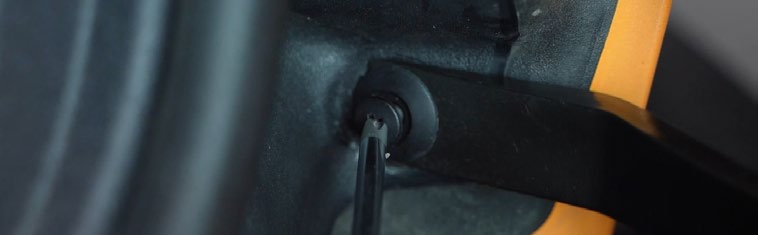
Using a 10mm socket, remove the two bolts securing the trim panel. Remove the panel, pulling it away from the vehicle and down under the factory harness.

Step 3
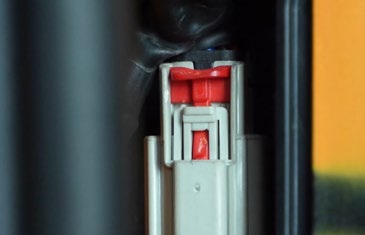
Disconnect the factory tail light connector. Connect the provided wiring harness inline. Press down on the red locking tab and tuck the harness back to the factory location.
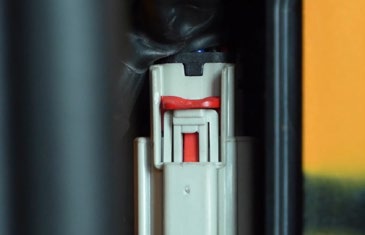
Step 4
Route the DT end of the harness between the bumper and chassis to the ground.
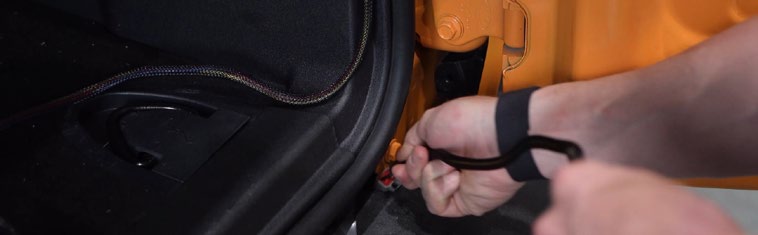
Step 5
Lift the truck access panel and remove the rubber grommet. This will be replaced with the grommet included on the harness.
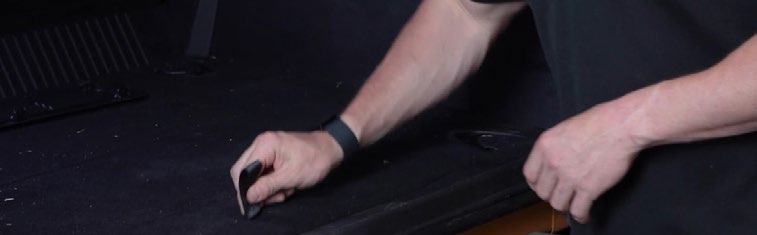
Step 6
From underneath the vehicle, route the DT end of the harness through the hole in the body frame.
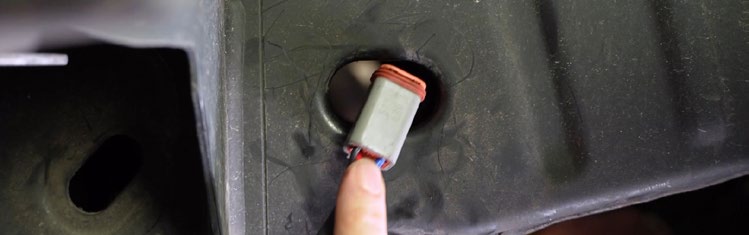
Step 7
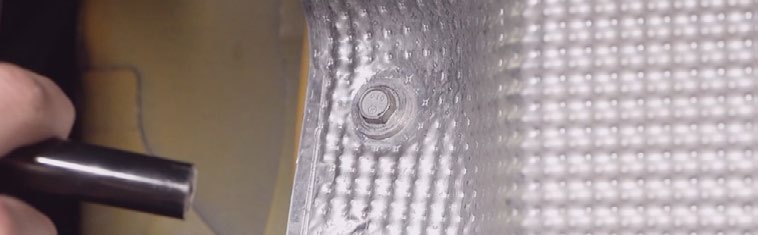
Remove the 10mm bolt from the heat shield.
Step 8
Route the DT end of the harness above the heat shield and through the grommet hole adjacent to the arrow on the heat shield, routing into the trunk.

Step 9
From the trunk, pull the rest of the harness through and reseal the hole using the included grommet.

Step 10
Reinstall the 10mm bolt in the heat shield.
Step 11
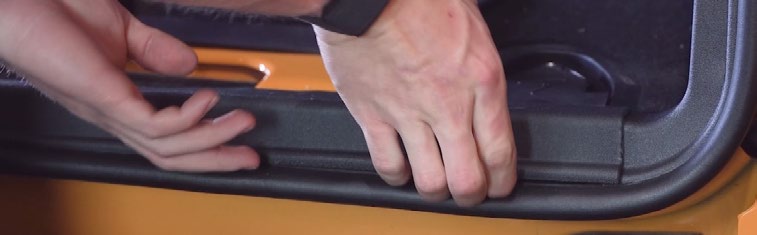
Loosen the lower trim panel on the passenger side of the trunk by prying up.
Step 12
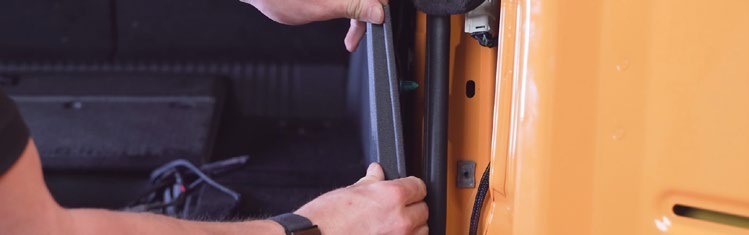
Loosen the passenger-rear trim panel by prying out one clip.
Step 13
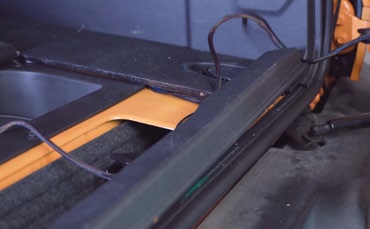
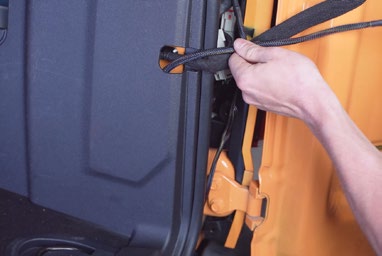
Route the DT harness under the lower trim panel and behind the side trim panel, exiting through the access hole where factory wiring is routed.
Spare Tire & Trim Removal
Step 14
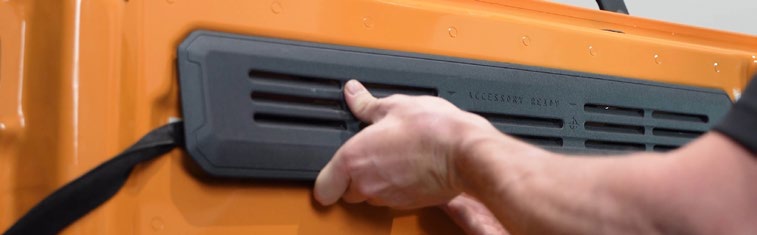
Remove the plastic trim panel on the tailgate by carefully prying across the bottom.
Step 15
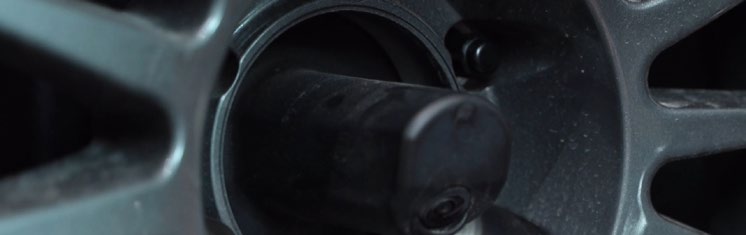
Remove the spare tire using a 19mm socket to remove the three lug nuts.
Step 16
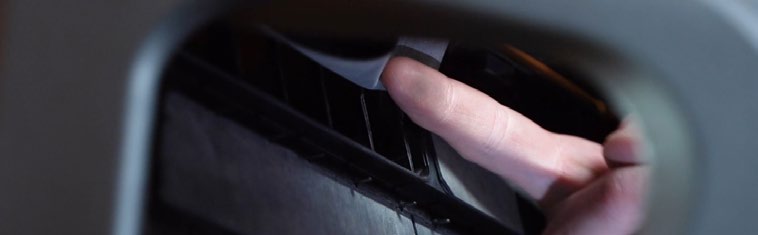
Feed the male end of the DT splitter through the top of the spare tire carrier vent by lifting the flap.
Step 17
Connect the DT connector on the harness to the DT splitter, routing along the factory wiring path.
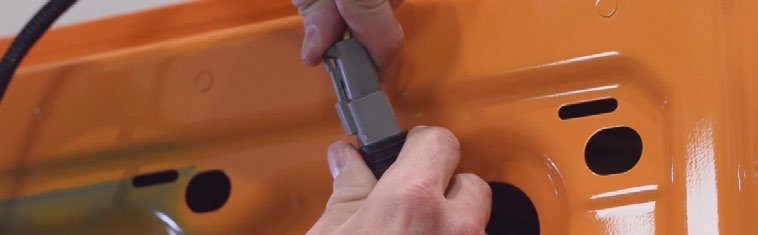
Step 18
Reinstall the tailgate trim panel with wires neatly tucked behind.
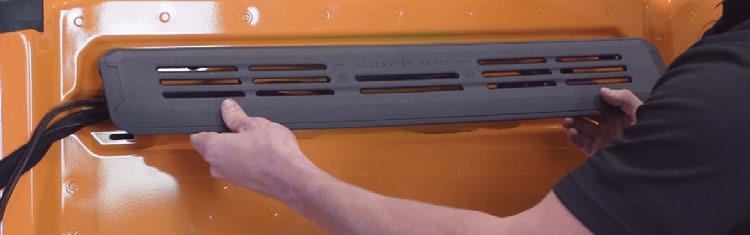
Install Your New Reverse Light Bracket
Step 19
Reinstall the spare tire. Use the factory lug nut for the bottom lug stud and the included lug nuts for the top two studs.
Step 20
Using a 19mm socket, install the reverse light bracket onto the top two lug nuts using included bolts and washers.
Step 21
Route splitter wires through the wheel spokes. Install universal pod brackets onto the reverse bracket, ensuring the curved portion faces away from the vehicle. Mount LED pods using included hardware.
Step 22
Plug in DT connectors. Aim pods as desired and tighten using a 5/32” Allen key.
Optional: Connect to OEM Switch Bank
With the basic installation, lights activate with factory reverse lights. To enable manual activation, follow OEM auxiliary wiring steps outlined below.
- Disconnect the AMP connector on the harness and plug the OEM auxiliary adapter wire inline.
- Access the auxiliary lead behind the rear side panel. To do so, drop the rear passenger seat and carefully remove the access trim panel on the passenger side of the truck by pulling out.
- Carefully pull outward on the rear side panel near the door trim to release it.
- Route the butt connector through the access hole and behind the rear side panel. Then route the AMP connectors behind the rear side panel, leaving the same amount of slack as the factory wiring.
- Behind the rear side panel, insert the orange and white wire into the butt connector and secure it using a crimp tool.
- Reattach the side panel, the access panel, and the tail light panels.
- From the passenger seat, open the glove box. Push the retaining clips at the rear top edges of the glove box in to drop the glove box further. Then slide the slow drop arm forward to release the glove box.
- Identify the white and white and orange wires behind the glove box. Strip both wires and connect them using an included butt connector.
- Tuck the wires and then push the glove box back in place. Then reattach the slow drop arm.
- With the hood popped, identify the white wire and green and brown auxiliary switch wires in the engine bay. Strip both wires and connect them using an included butt connector.
- Test your auxiliary function. Then adjust the aiming of your pods to complete your installation.
Questions About the Installation?
If you have questions about installing the Stage Series Reverse Light Kit for 2021–2025 Ford Bronco , contact us via our support page.
Where Can I Buy the Stage Series Reverse Light Kit for 2021–2025 Ford Bronco?
Visit DiodeDynamics.com or use our Dealer Locator to find an authorized dealer.
This installation guide applies to the following SKUs: DD7353, DD7354, DD7355, DD7356, DD7357, DD7352P