



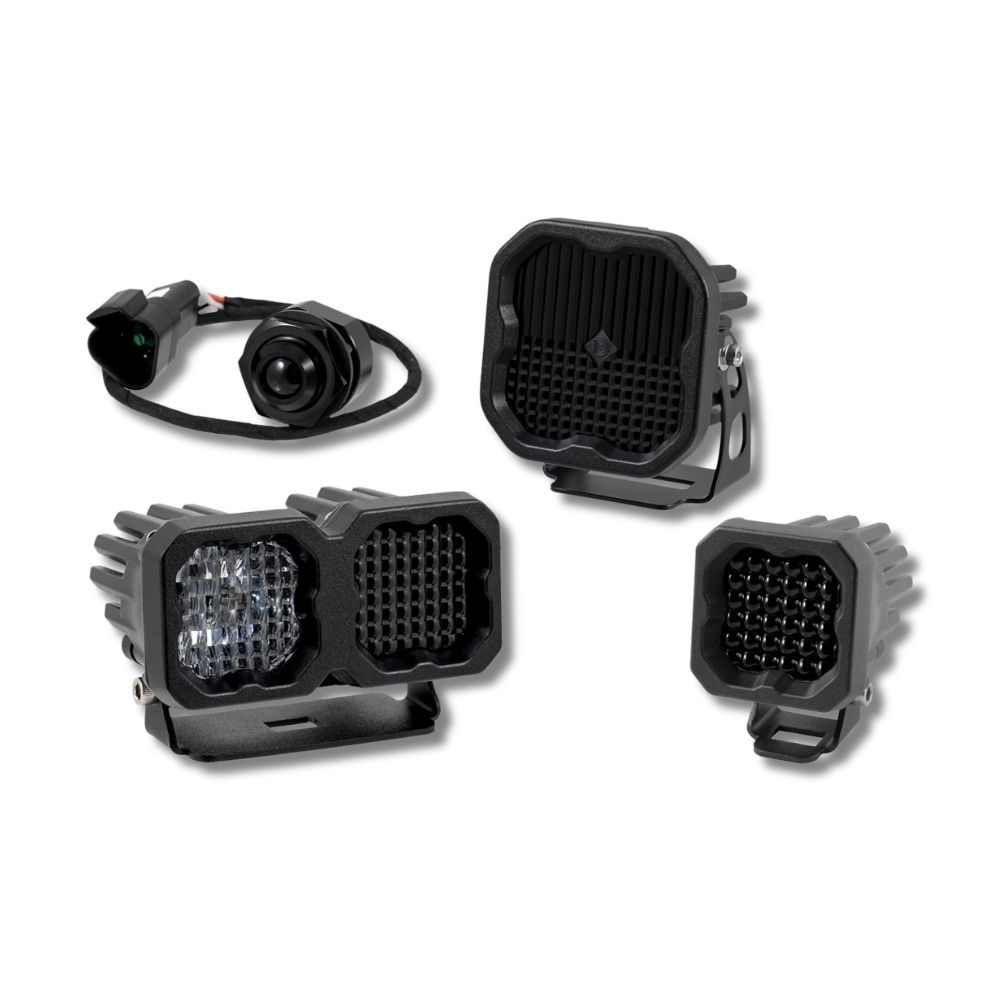











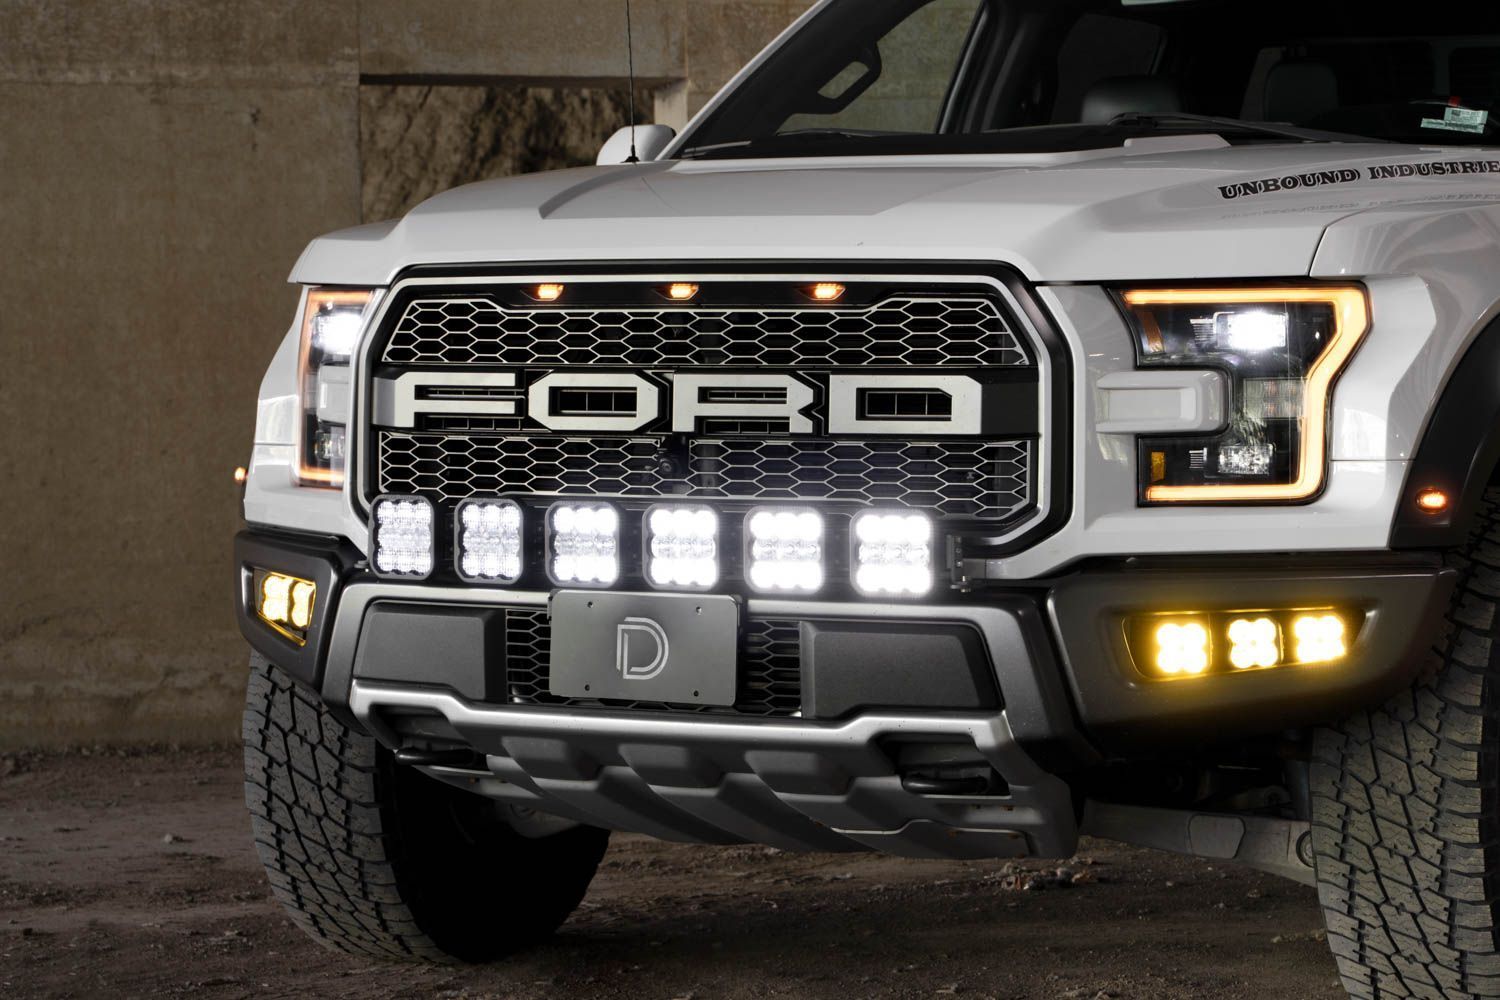
Thank you for your purchase of our new SS5 CrossLink Bumper/Grille Kit. CAD-designed to use existing mounting points, this kit is compatible with the 2017–2020 Ford Raptor. Installation instructions are included below.
Table of Contents
- Installation Video
- Installation Tools
- Grille Removal
- Bracket Installation
- Pod or Lightbar Installation
- Wiring Instructions
- Backlight Color Programming
- Backlight Color Reset
- Questions About the Installation?
- Where Can I Buy the SS5 Grille CrossLink Lightbar Kit for 2017–2020 Ford Raptor?
Installation Video
Installation Tools
- Trim removal tool
- Ratchet
- 10mm socket
- 8mm socket
- 13mm wrench
- 10mm wrench
- 4mm Allen key
- 5mm Allen key
Grille Removal
Step 1 – Remove headlight trim panel
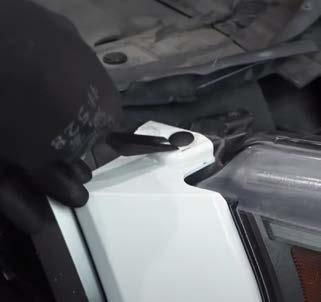
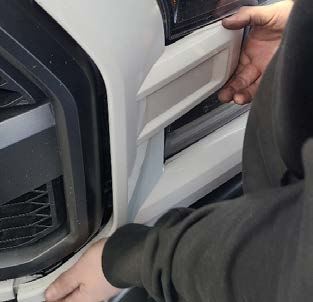
With the hood popped, remove the trim panel between the grille and headlight. Remove the clip from the top and pull the trim panel away from the truck.
Step 2 – Remove radiator core support cover
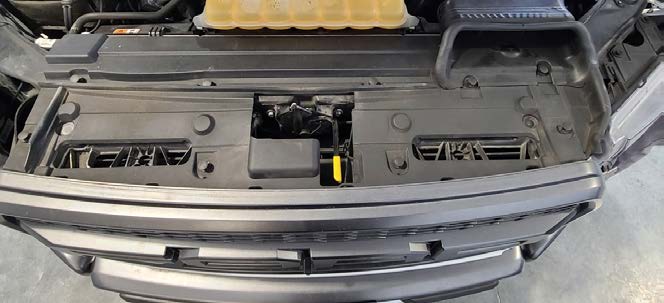
Using a plastic trim removal tool, remove the ten tree clips securing the plastic cover to the radiator core support.
Step 3 – Disconnect connectors
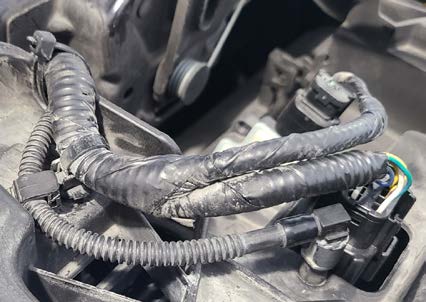
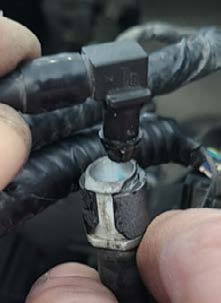
Disconnect the three connectors. When removing the washer line connector, push the quick-disconnect ring outward.
Step 4 – Remove grille screws
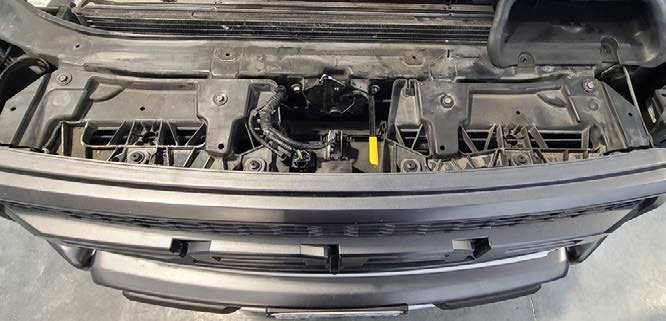
Using a 10mm socket, remove the four screws from the top of the grille.
Step 5 – Remove side clips
Using a plastic trim removal tool, remove the three plastic clips on each side of the grille.
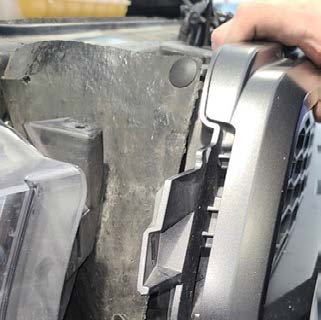
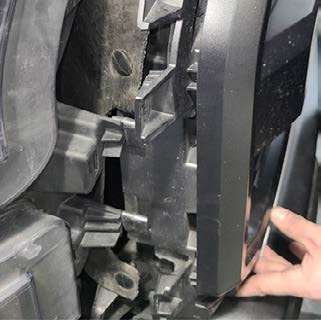
Step 6 – Remove 8mm screws
Using an 8mm socket, remove the 8mm screw on each side.
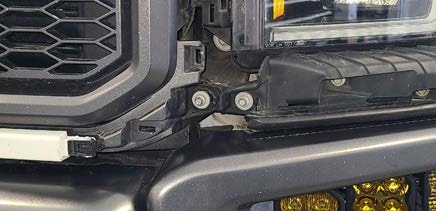
Step 7 – Remove grille assembly
Lift the grille up and away from the vehicle so that the locating tab is removed from the mounting hole.
Bracket Installation
Step 8 – Loosen inner 13mm bolts
Using a 13mm wrench, loosen the two innermost 13mm bolts, leaving enough of a gap for the bracket to slide in.
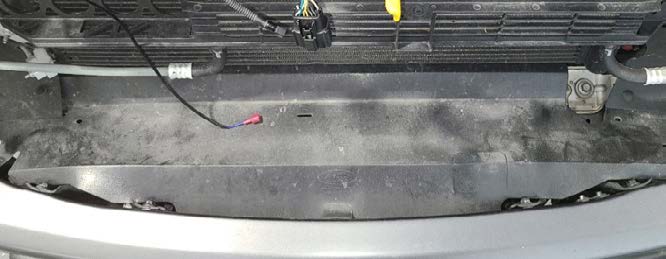
Step 9 – Replace outer bolts
Remove the two outermost bolts and replace them with the provided M8 bolts. Tighten just enough to allow the bracket to slide in.
Step 10 – Install new brackets
Install your new brackets and hand-tighten only.
Step 11 – Route wiring harness
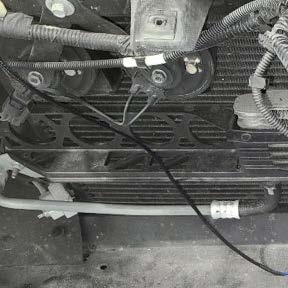
Route the included wire harness between the bracket and headlight trim using the gap between bumper and grille.
NOTE: Route harness before reinstalling the plastic valance, as the connector will not fit through the opening.
Step 12 – Adjust vertical gap
Adjust the bracket vertically so there is at least a 2mm gap between the bracket and bumper. Repeat on opposite side.
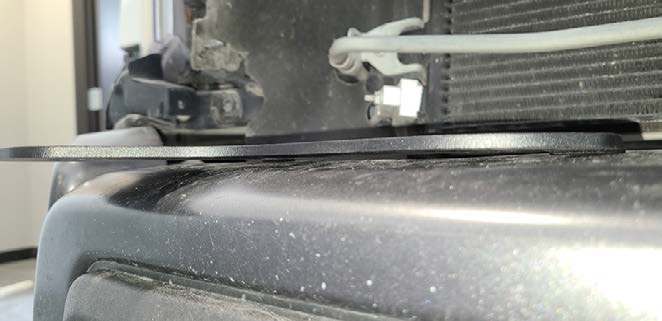
Step 13 – Tighten brackets and reinstall grille
Tighten brackets and reverse Steps 1–7 to reinstall grille and trim panel.
NOTE: Push the clip inward when reinstalling grille so it slides in properly.
Pod or Lightbar Installation
Step 14 – Installing Two Pods
If installing two pods, use included universal mounting brackets and hardware to mount directly onto base brackets. For additional universal SS5 mounting and wiring information, refer to the Diode Dynamics SS5 LED Pods Installation Guide.
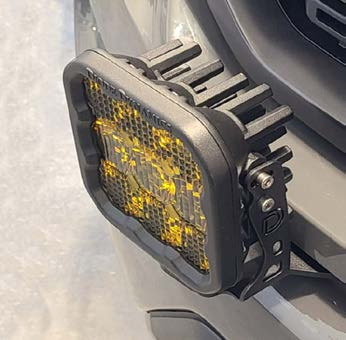
Step 15 – CrossLink Lightbar Assembly
Assemble the SS5 CrossLink lightbar per these instructions.
NOTE: In order to achieve the correct curve, the SS5 lightbar should be secured to the bottom of the second notch on the link.
Step 16 – CrossLink Lightbar Mounting
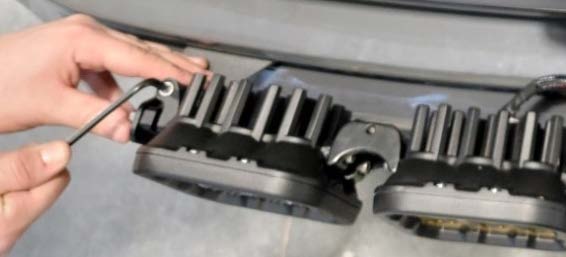
Mount the SS5 lightbar onto the low mount brackets using a 10mm bolt on each side. Rotate the lightbar to face the lenses up, exposing the end bolt in the pivot mount. Tighten the pivot mount bolt with a 5mm allen wrench and rotate the lightbar back down to install the other two 10mm bolts.
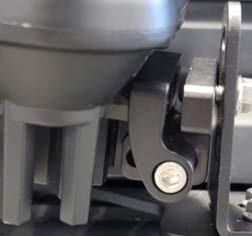
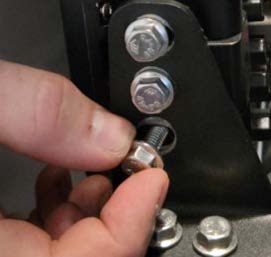
Step 17 – Secure Hardware
With all three 10mm bolts tightened down, adjust the gap on the opposite side pivot mount and secure the mount using the 5mm Allen wrench.
Wiring Instructions
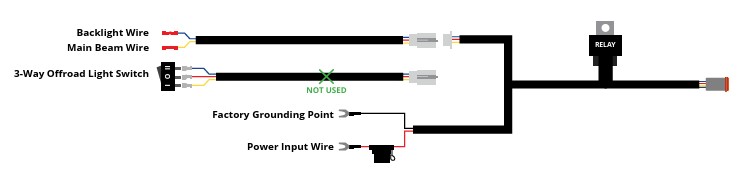
The following instructions are for Ford Raptors with an Auxiliary Switch Bank. If you do not have the Auxiliary Switch Bank, use the included toggle switch adapter wire to route a switch. All power sources must be fused.
Step 18 – Connect main beam wire
Locate auxiliary switch wiring near the battery. Determine correct amperage circuit from owner’s manual. Connect yellow main beam wire to chosen auxiliary switch wire using butt connector.
Step 19 – Connect backlight wire
Connect blue backlight wire to another auxiliary switch location or existing Stage Series backlit circuit.
Step 20 – Connect battery terminals
Connect positive and negative battery wires to battery or main power terminals near fuse box.
Step 21 – Finalize installation
Secure wires, test thoroughly, and tighten all hardware.
Backlight Color Programming
SS5 LED Pods offer multiple backlight color options, including White (default), Red, Blue, Green, Purple, Yellow, Amber, and Teal.
- Start with all backlight power OFF.
- Cycle backlight power ON and OFF three times within three seconds, spacing each ON press about one second apart.
- After the third cycle, the backlight will enter programming mode.
- Continue cycling power at the same steady pace to scroll through the available colors.
- When the desired color is displayed, leave the backlight ON.
- After five seconds, the color will save automatically and exit programming mode.
- Turn power OFF.
The selected color will appear any time backlight power is applied during normal operation.
For additional SS5 mounting, wiring, and backlight information, refer to the Diode Dynamics SS5 LED Pods Installation Guide.
Backlight Color Reset
If multiple SS5 LED Pods are connected to the same backlight circuit and the colors become unsynchronized, perform the following reset procedure.
- Enter backlight programming mode by cycling power ON and OFF three times, using the same one-second timing.
- Continue cycling power through all available colors twice. This requires at least sixteen total power cycles.
- After all colors have displayed twice, all connected lights will reset to White.
- Leave the backlight ON for five seconds to save the reset.
- Program the desired backlight color as outlined above if needed.
Questions About the Installation?
If you have questions about installing the SS5 Grille CrossLink Lightbar Kit for 2017–2020 Ford Raptor, contact us via our support page.
Where Can I Buy the SS5 Grille CrossLink Lightbar Kit for 2017–2020 Ford Raptor?
Visit DiodeDynamics.com or use our Dealer Locator to find an authorized dealer.
This installation guide applies to the following SKUs: DD7335, DD7336, DD7337, DD7338, DD7334P
Share This Post