


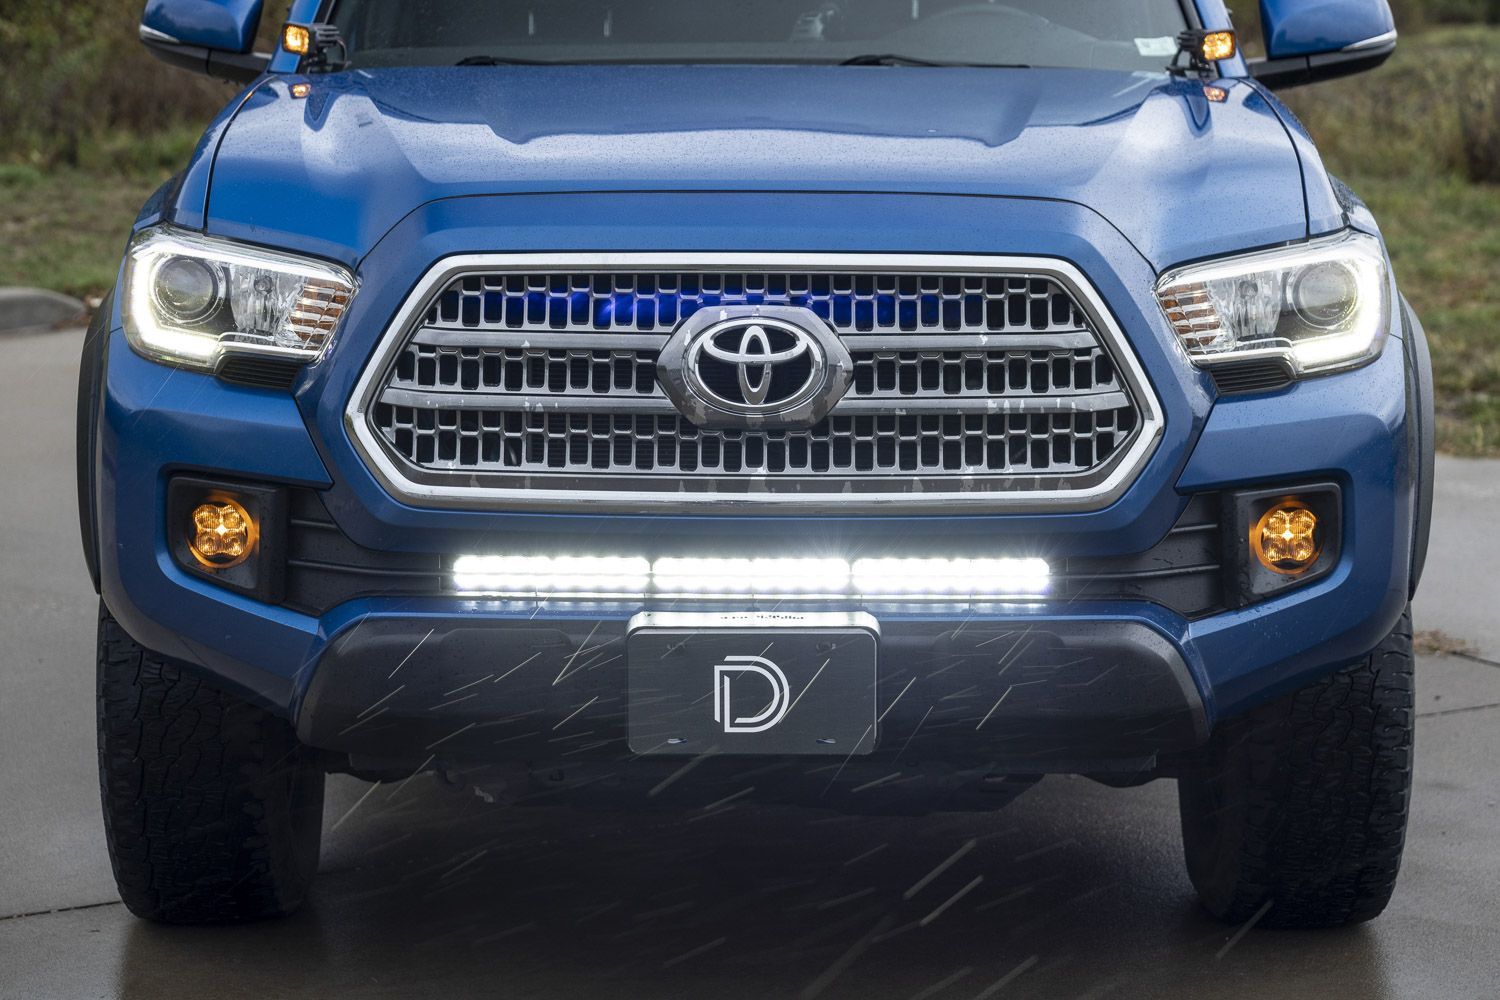
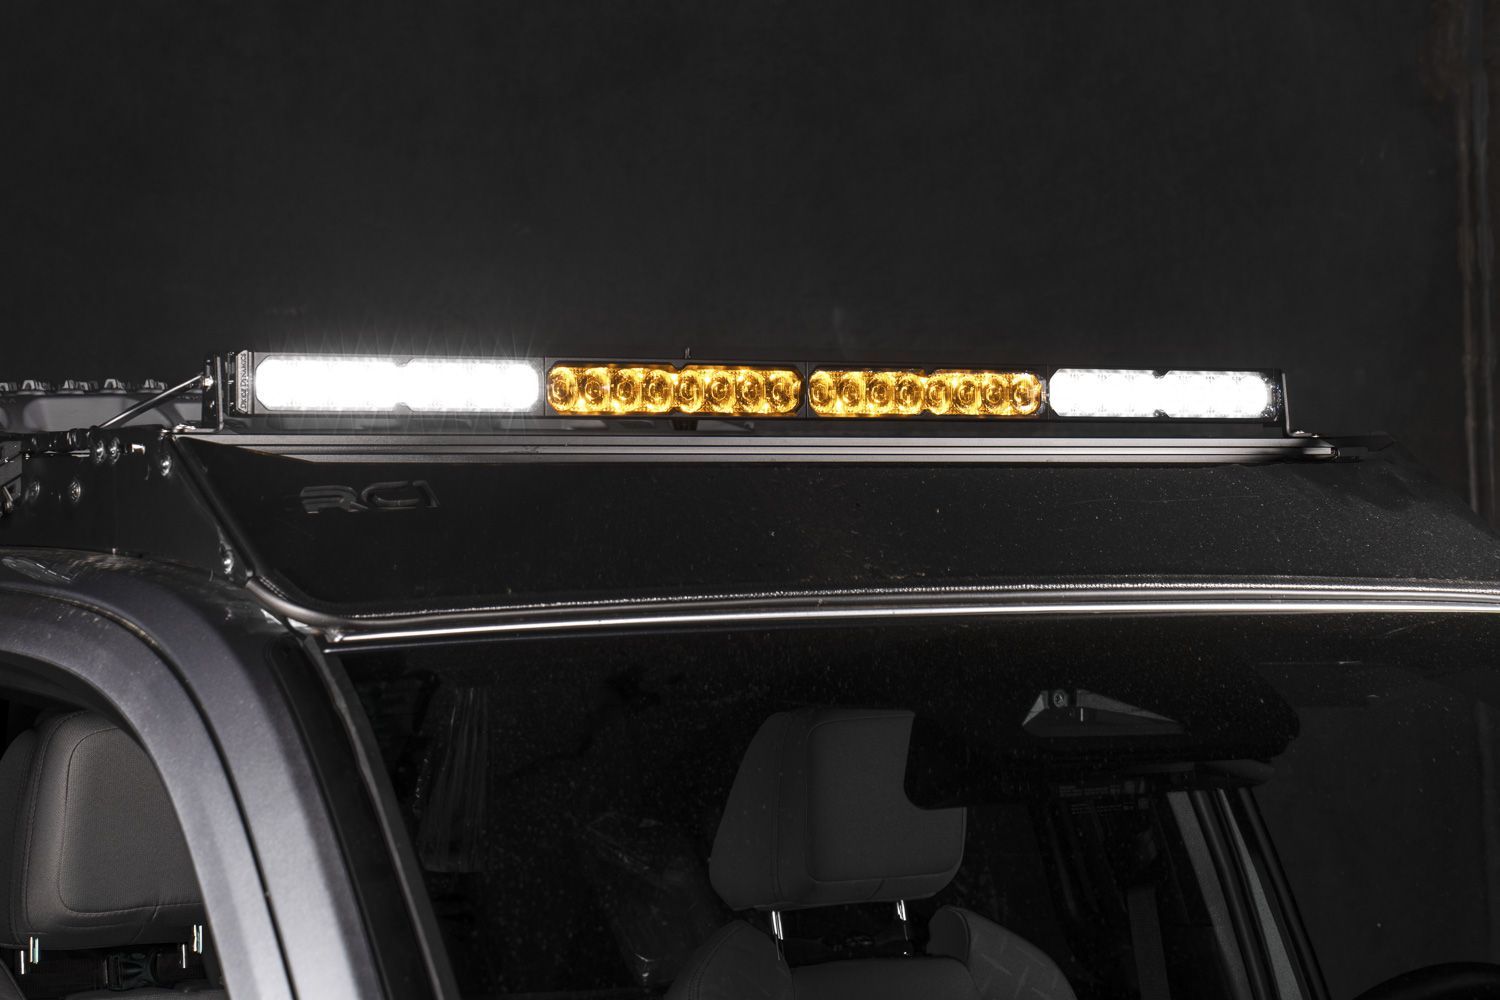
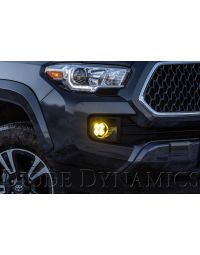
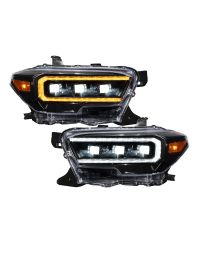
The 2016–2023 Toyota Tacoma Stealth Lightbar Kit adds powerful forward-facing illumination while maintaining a clean, factory-style appearance. This installation guide will provide you with detailed instructions on how to install the Stealth Lightbar Kit for the 2016–2023 Toyota Tacoma. Continue reading for step-by-step instructions below!
Table of Contents
- Installation Tools
- Installation Instructions
- Questions About the Installation?
- Where Can I Buy the Stealth Lightbar Kit for the 2016–2023 Toyota Tacoma
Installation Tools
- 10mm socket
- 10mm wrench
- 12mm socket
- Trim removal tool
- Cutting tool (optional)
Installation Instructions
Step 1 — Remove Upper Grille Fasteners
Using a 10mm socket, remove the two upper bolts securing the grille. Then, use a trim removal tool to remove the two push clips along the top edge.

Step 2 — Remove the Grille
Carefully pull the grille straight away from the vehicle to release the remaining clips and remove it from the front end.
Step 3 — Remove Air Deflector Push Clips
Using a trim tool, remove one push clip from each air deflector located behind the grille.

Step 4 — Remove Air Deflectors
Rotate each air deflector inward and pull it away from the vehicle to remove.
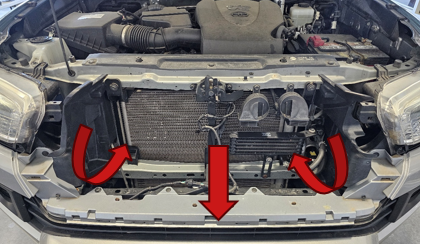
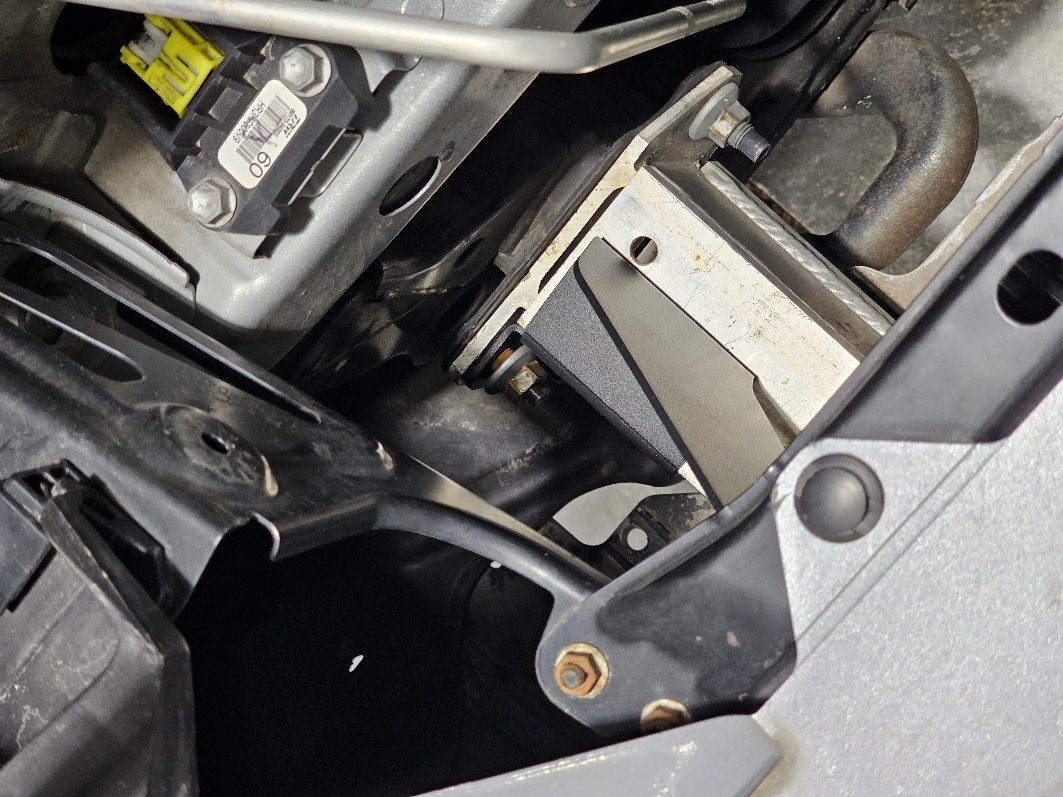
Step 5 — Remove Crash Bar Nuts
Using a 12mm socket, remove the two nuts on each side of the crash bar.
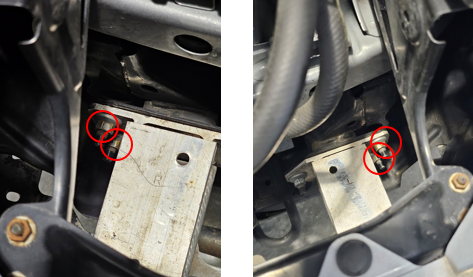
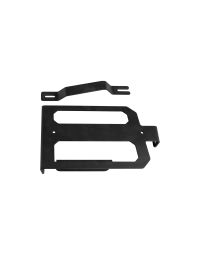
Step 6 — Loosely Install Driver-Side Mounting Bracket
Position the driver-side mounting bracket onto the crash bar and loosely reinstall the nuts. Do not fully tighten at this time.
Step 7 — Position the Lightbar
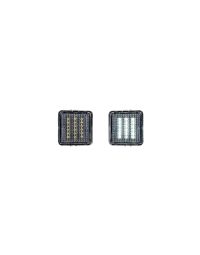
Carefully insert the lightbar into the passenger-side fog light opening, with the wire harness on the driver side. Lower the lightbar into place, then slide it toward the passenger side until centered on the crash bar.

Step 8 — Loosely Install Passenger-Side Mounting Bracket
Install the passenger-side mounting bracket onto the crash bar and loosely start the nuts.
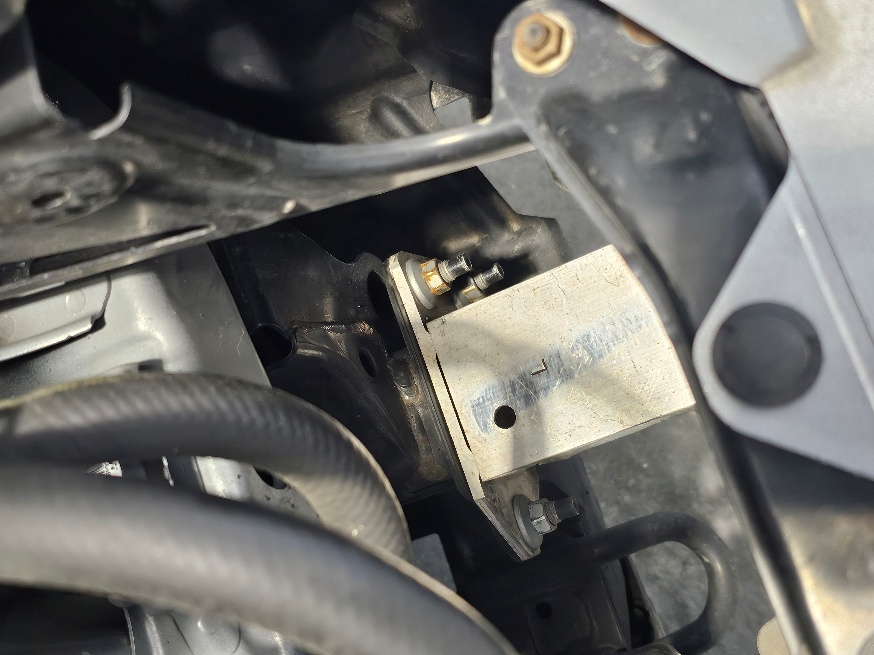
Step 9 — Attach Lightbar to Brackets
Using the supplied hardware, loosely attach the lightbar to the upper mounting holes on both brackets. Having a second person assist with this step is recommended.

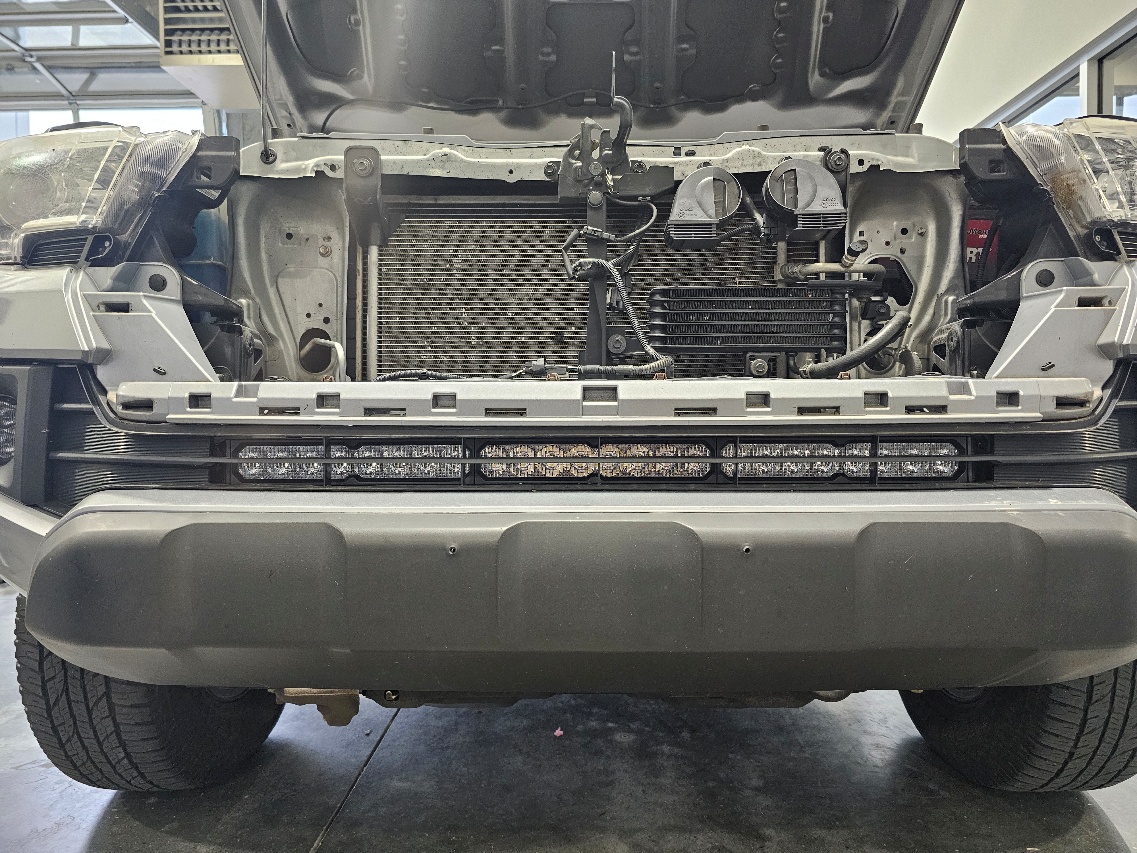
Step 10 — Tighten Hardware and Adjust Aim
Tighten the crash bar nuts to 43 ft-lbs. Adjust the vertical aiming angle of the lightbar as needed, then tighten the mounting hardware using a 10mm wrench.
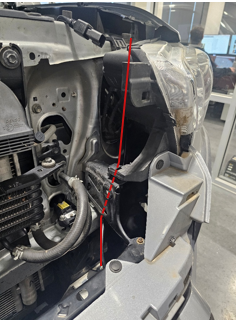
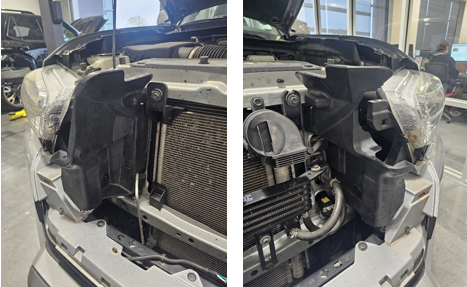
Step 11 — Route the Lightbar Harness
Route the lightbar pigtail up behind the headlight and into the engine bay.
Step 12 — Trim Air Deflectors (Optional)
If desired, use a cutting tool to trim the air deflectors. The lower portion will not be reused.
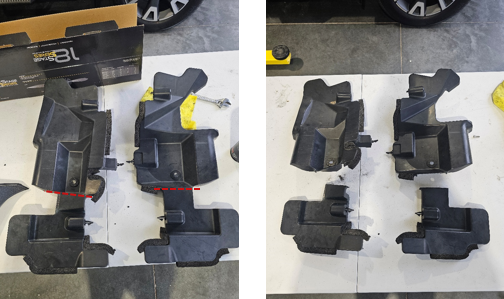
Step 13 — Reinstall Air Deflectors (Optional)
If trimmed, reinstall the air deflectors by reversing the removal steps.
Step 14 — Connect Wiring and Power
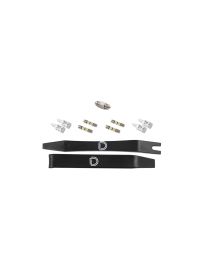
Connect the lightbar harness to the included wiring harness and route it to the battery, passing through the factory firewall grommet as needed.

Step 15 — Reinstall the Grille
Reinstall the front grille by reversing the removal steps from earlier.
The installation is now complete. Enjoy your new 2016–2023 Toyota Tacoma Stealth Lightbar Kit!
Questions About the Installation?
If you have any questions about installing the Stealth Lightbar Kit for the 2016–2023 Toyota Tacoma, contact us via our support page.
Where Can I Buy the Stealth Lightbar Kit for the 2016–2023 Toyota Tacoma?
If you're ready to upgrade your 2016–2023 Toyota Tacoma with the Stealth Lightbar Kit, visit DiodeDynamics.com or use our Dealer Locator to find a dealer near you.
Want to know more about Diode Dynamics products? Visit DiodeDynamics.com and subscribe to our newsletter for new product releases and more!
This Installation Guide is for the following SKU: DD8704, DD6072, DD6070, DD6075, DD8705, DD8678, DD8707, DD8678, DD8706, DD8677, DD8708, DD8679


Share This Post