














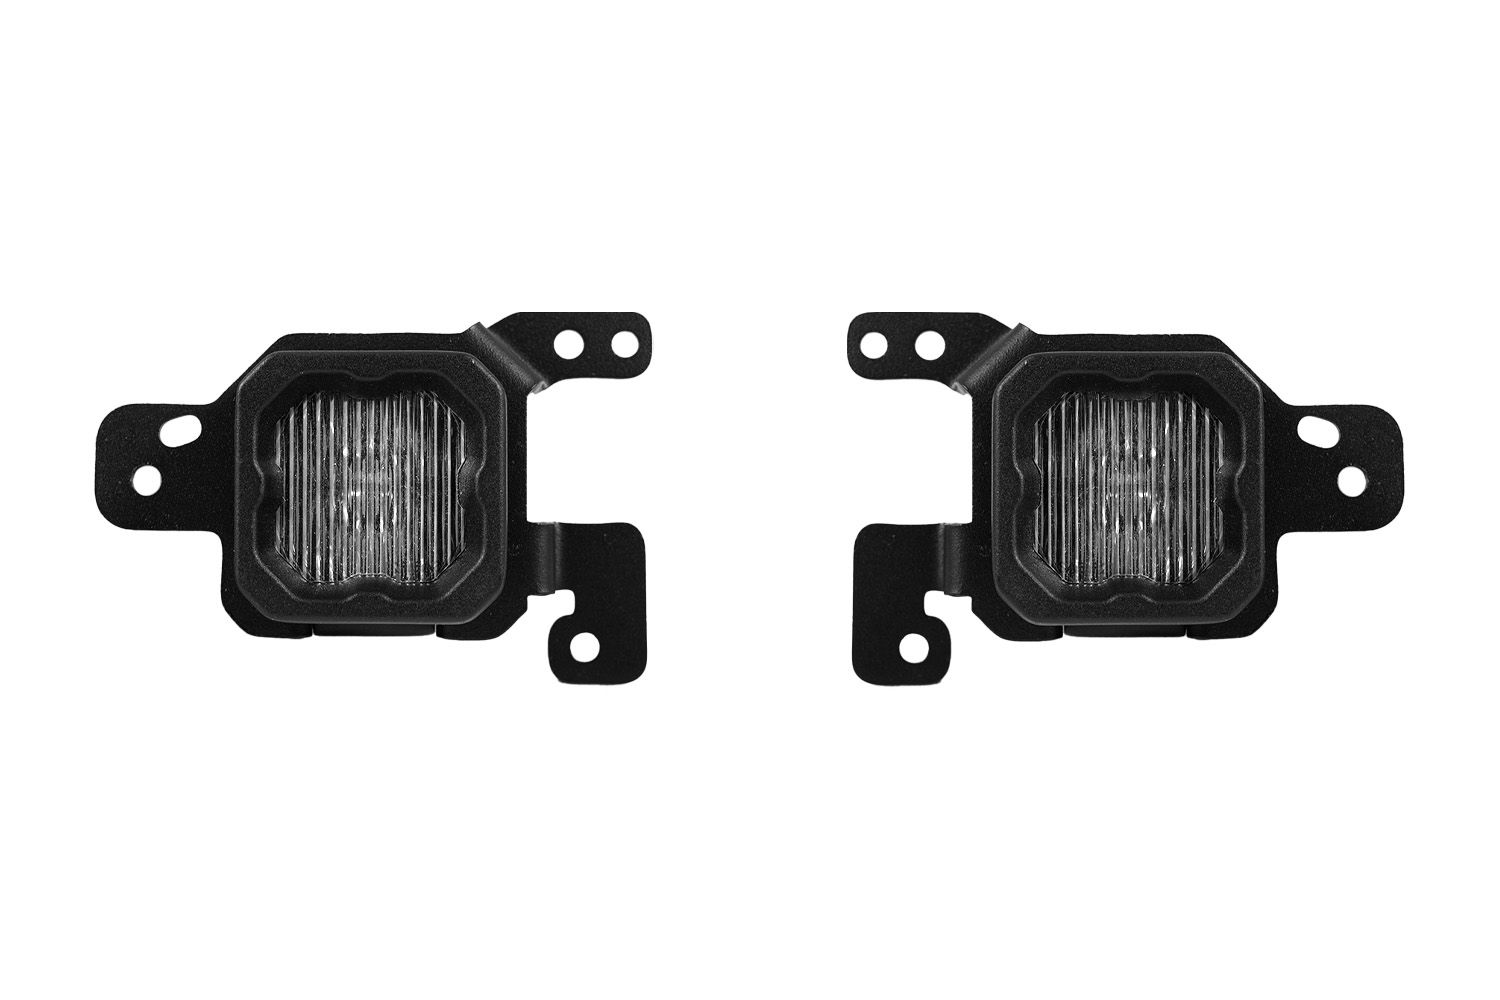
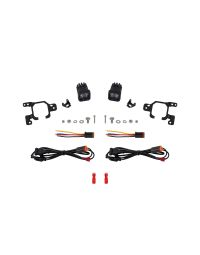
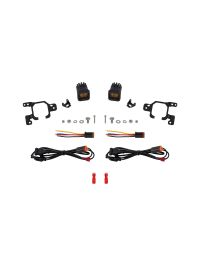
The Type G3M SSC1 Fog Bracket provides a shared mounting solution for compatible SSC1 Fog Light Kits across multiple vehicle applications. This guide explains how to access the factory fog light locations, assemble and install the Type G3M brackets, connect the supplied adapters and backlight wiring, test the lights, and complete aiming. Continue reading for step-by-step instructions below!
IMPORTANT: The components that must be removed to reach the factory fog lights will vary by vehicle. Depending on the application, access may require repositioning the fender liners, removing surrounding trim or splash shields, or temporarily removing the front bumper. Carefully inspect the fog light area and remove only the components necessary to reach the factory mounting points and electrical connectors.
Table of Contents
- Installation Tools
- Installation Instructions
- Questions About the Installation?
- Where Can I Buy Type G3M SSC1 Fog Brackets?
Installation Tools
- Trim removal tool
- Ratchet, extension, and metric socket set
- Torx drivers
- 4mm Allen key
- 3/8" wrench
- Pliers
- Multimeter or test light
Installation Instructions
Step 1 — Access the factory fog light mounting locations
Inspect the area around each factory fog light to determine the clearest access path. Remove the necessary fender liner fasteners, trim panels, splash shields, or bumper fasteners using the appropriate hand tools. If the bumper must be moved or removed, support it before releasing the final fasteners and disconnect any attached electrical connectors or retaining clips before pulling it away from the vehicle.
NOTE: Keep all removed factory fasteners organized by location for reassembly.
Step 3 — Remove the factory fog lights
Disconnect the factory electrical connector from each fog light. Remove the factory fasteners securing each light, then remove the lights from the mounting locations. Retain the factory fasteners, as they will be reused to secure the Type G3M bracket assemblies.
Step 3 — Assemble the SSC1 pods and Type G3M brackets
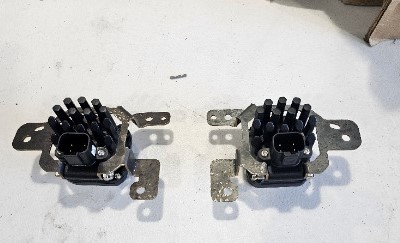
Position each SSC1 pod in its corresponding Type G3M bracket. Using a 4mm Allen key and 3/8" wrench, install the supplied pod mounting hardware. Leave the hardware slightly loose so the pods can be adjusted during aiming.
Step 4 — Install the Type G3M bracket assemblies
Position each Type G3M bracket assembly in the corresponding factory fog light location. Align the bracket mounting tabs with the factory mounting points, then hand-start the retained factory fasteners. Once all mounting points are aligned, tighten the fasteners evenly until the brackets are secure. Do not overtighten.
Step 5 — Connect the fog light adapters
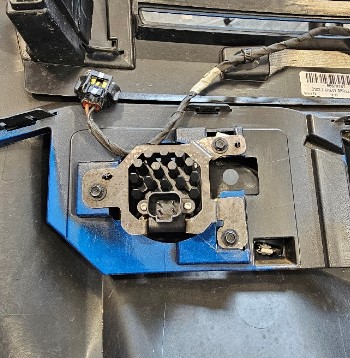
Connect the supplied H11 adapter harnesses to the factory fog light connectors, then connect the DT connectors to the SSC1 pods. The positive side of each adapter must align with the positive terminal in the corresponding factory connector.
Factory wire colors may vary by vehicle and from side to side. Do not identify polarity by wire color alone. Use a wiring diagram, multimeter, or test light to identify the factory positive fog light circuit before completing the connections.
Step 6 — Connect the backlight wiring
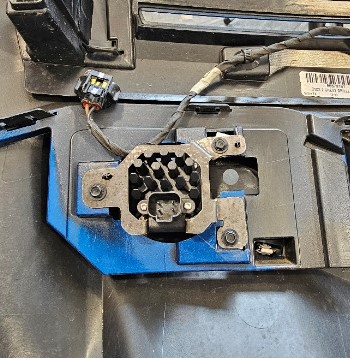
If your SSC1 pods include a backlight, locate the positive parking light or running light circuit near each headlamp. Because connector locations and factory wire colors vary by vehicle, verify the circuit with a wiring diagram, multimeter, or test light instead of relying on wire color alone.
Install the supplied wire tap or adapter connection onto the verified positive circuit, then connect the backlight extension wire. Route the extension toward the corresponding fog light location and connect it to the backlight input on the SSC1 adapter harness. Repeat on the opposite side.
Secure all wiring away from moving parts, sharp edges, and hot components. Leave enough slack at each connector to prevent tension while keeping the harness clear of the cooling fan, steering components, suspension, and exhaust.
Step 7 — Test the SSC1 functions
Reconnect any factory harnesses that were disconnected for access. Turn on the vehicle's parking lights and confirm that both SSC1 backlights illuminate. Activate the factory fog lights and confirm that both SSC1 main beams illuminate.
If one or both lights do not function correctly, turn the lights off and check each H11, DT, backlight, and factory connector. Confirm that the adapter polarity is correct and that each wire tap or adapter connection is fully seated before testing again.
Step 8 — Aim the SSC1 pods
Follow the Diode Dynamics Fog Light Aiming Instructions to adjust both SSC1 pods. Access to the pod mounting hardware varies by vehicle, so the bumper or surrounding trim may need to remain loose or be moved again during adjustment. Once the aim is correct, tighten the SSC1 pod mounting hardware.
Step 9 — Reassemble the vehicle
Reinstall the bumper, fender liners, splash shields, trim panels, and other components removed for access. Reconnect every factory electrical connector and retaining clip, then reinstall the factory fasteners in their original locations. Confirm that all panels are aligned and secure before driving the vehicle.
The installation is now complete. Enjoy your new Type G3M SSC1 Fog Brackets!
Questions About the Installation?
If you have any questions about installing the Type G3M SSC1 Fog Brackets, contact us via our support page.
Where Can I Buy Type G3M SSC1 Fog Brackets?
If you're ready to upgrade your vehicle with an SSC1 Fog Light Kit using Type G3M brackets, visit DiodeDynamics.com or use our Dealer Locator to find a dealer near you.
Want to know more about Diode Dynamics products? Visit DiodeDynamics.com and subscribe to our newsletter for new product releases and more!
This Installation Guide is for the following SKUs: DD8038, DD8039
Share This Post