



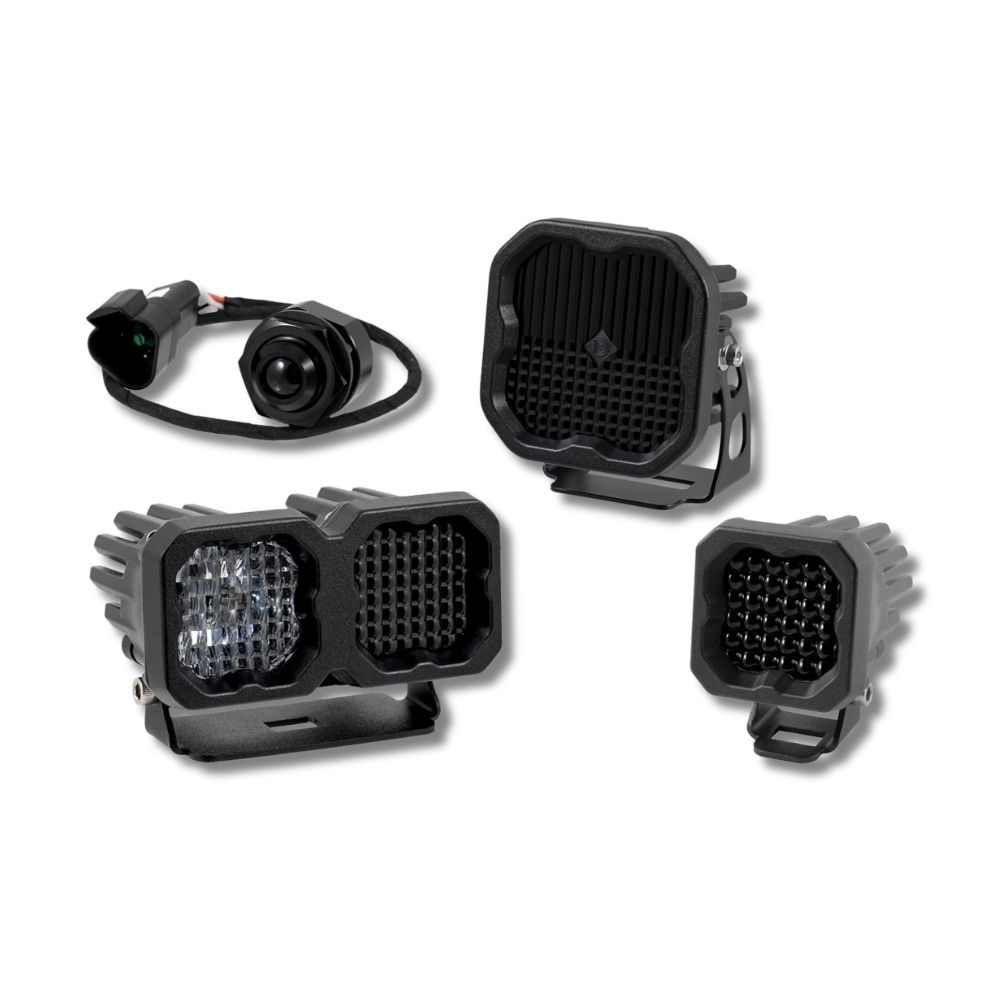











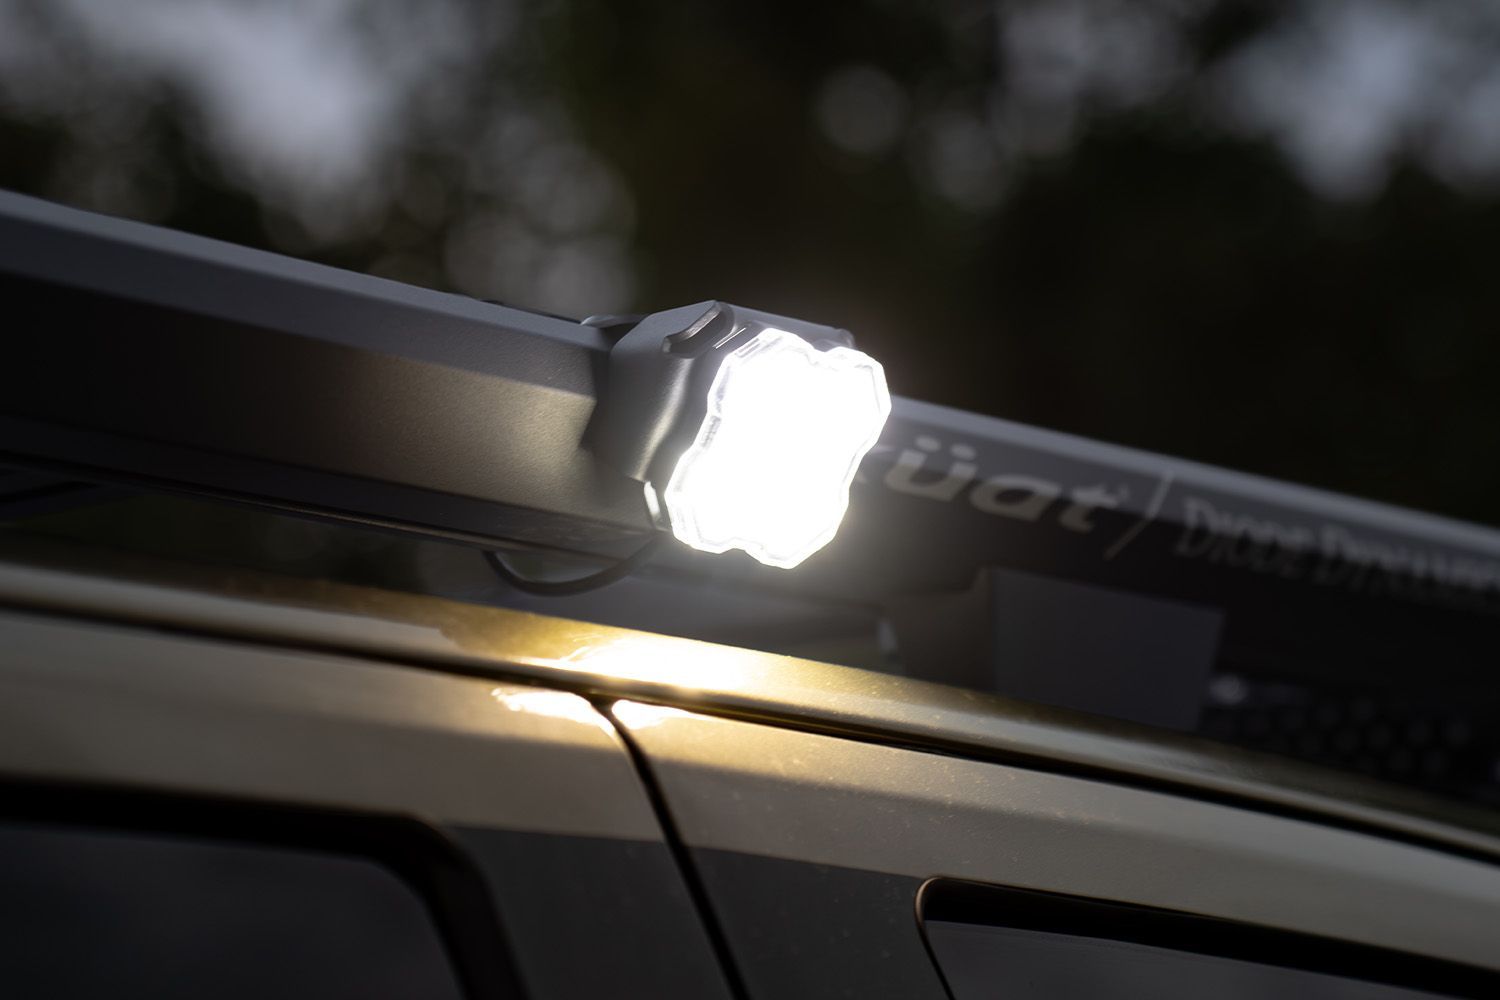
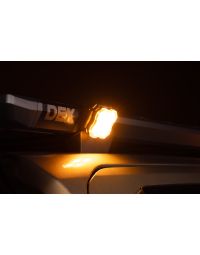
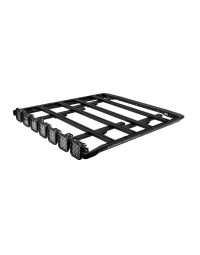
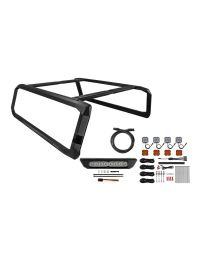
The Stage Series LED Scene Light Kit for Kuat DEK Roof Rack adds powerful area lighting to all four corners of your rack. This installation guide will provide you with detailed instructions on how to install the Stage Series LED Scene Light Kit for Kuat DEK Roof Rack. Continue reading for step-by-step instructions below!
If you have not already installed your rack, refer to the Diode Dynamics Kuat DEK Roof Rack product page for more information.
Table of Contents
- Installation Tools
- Installation Instructions
- Questions About the Installation?
- Where Can I Buy the Stage Series LED Scene Light Kit for Kuat DEK Roof Rack?
Installation Tools
- 4mm Allen wrench
- 5mm Allen wrench
- 8mm wrench
- Knife or cutters
Installation Time: 30-60 minutes
Installation Instructions
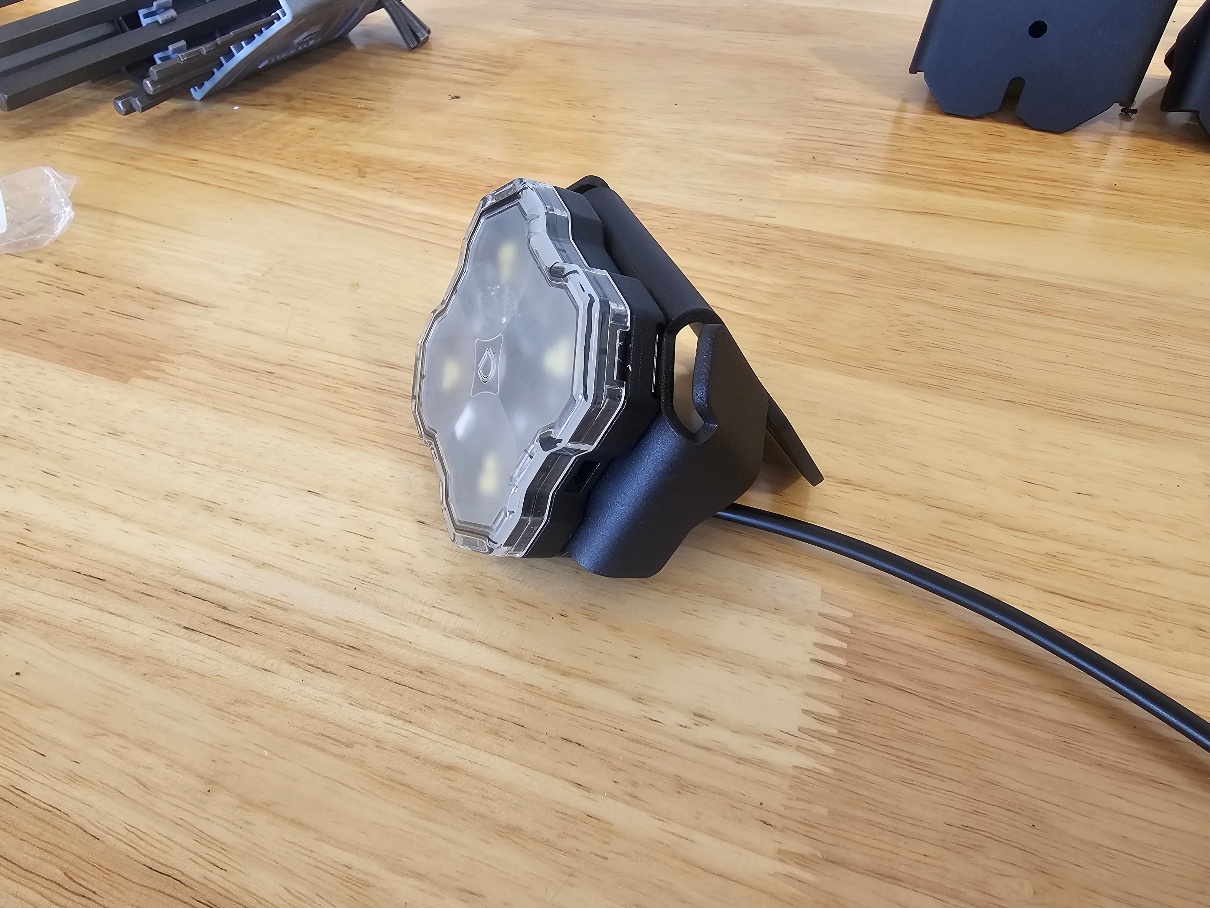
Step 1 — Attach the scene light to the bracket
Using a 4mm Allen wrench and an 8mm wrench, secure one Stage Series LED Scene Light to a mounting bracket.
Step 2 — Insert the T-slot nuts
Slide or pivot two T-slot nuts into the top channel of the Kuat DEK Roof Rack side rail. Position the nuts where you would like to mount the scene light.
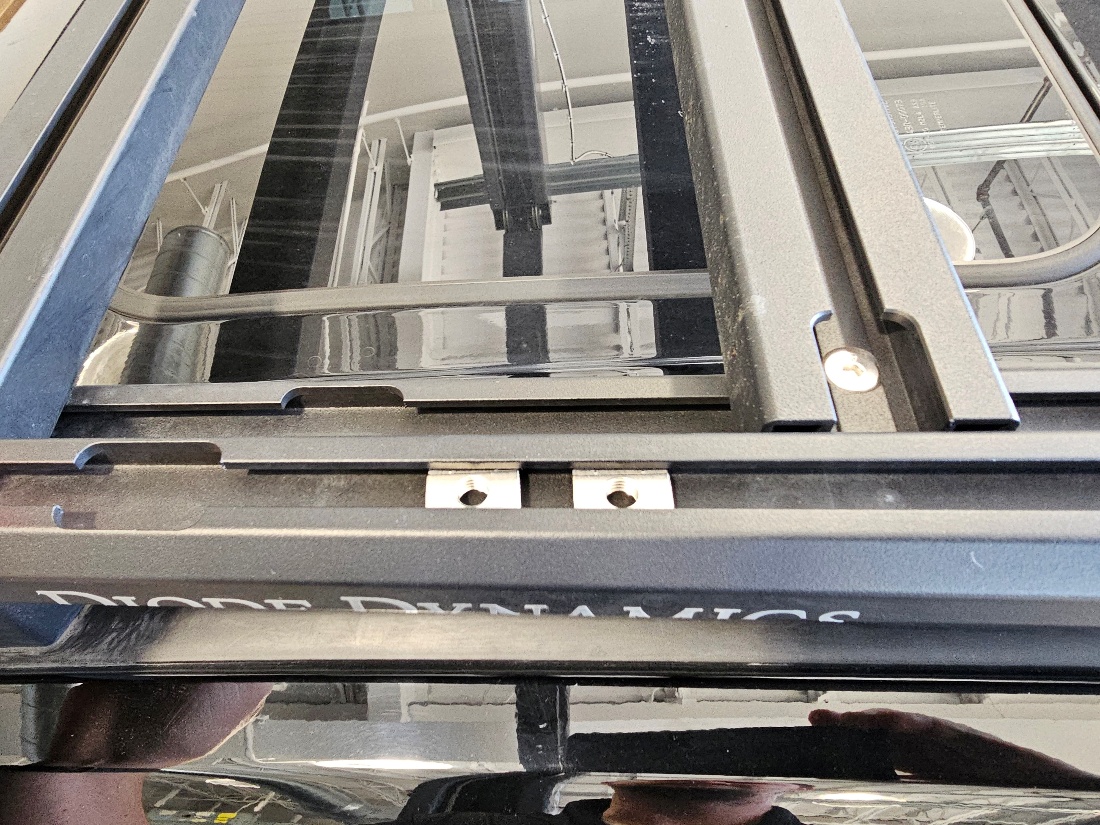
Step 3 — Secure the bracket to the rack
Align the mounting bracket with the two T-slot nuts. Using a 5mm Allen wrench, install and tighten the two mounting screws through the bracket and into the T-slot nuts. As you tighten the screws, visually confirm that both nuts remain seated correctly inside the channel.
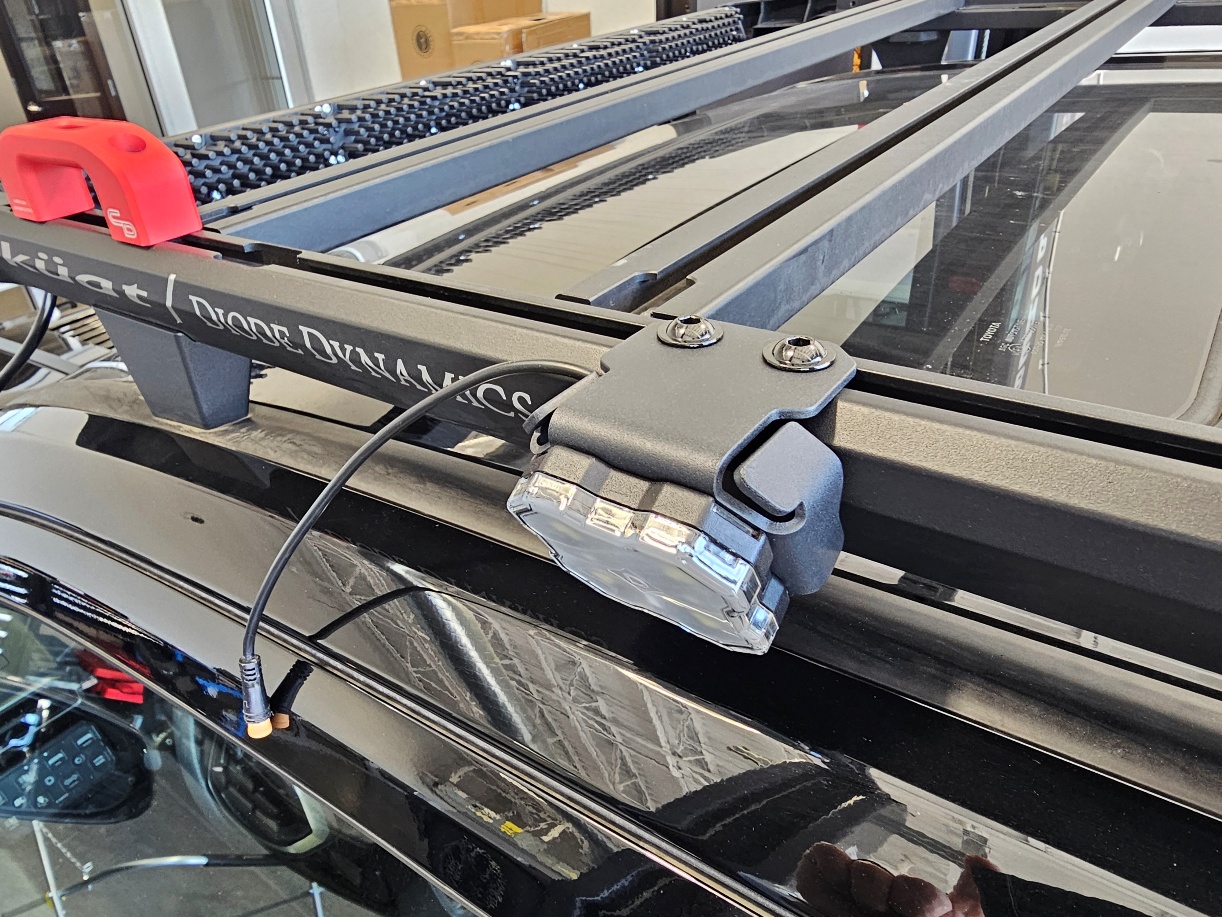
Step 4 — Mount the remaining scene lights
Repeat Steps 1 through 3 to mount the other three scene lights. Install one light at each corner of the Kuat DEK Roof Rack.
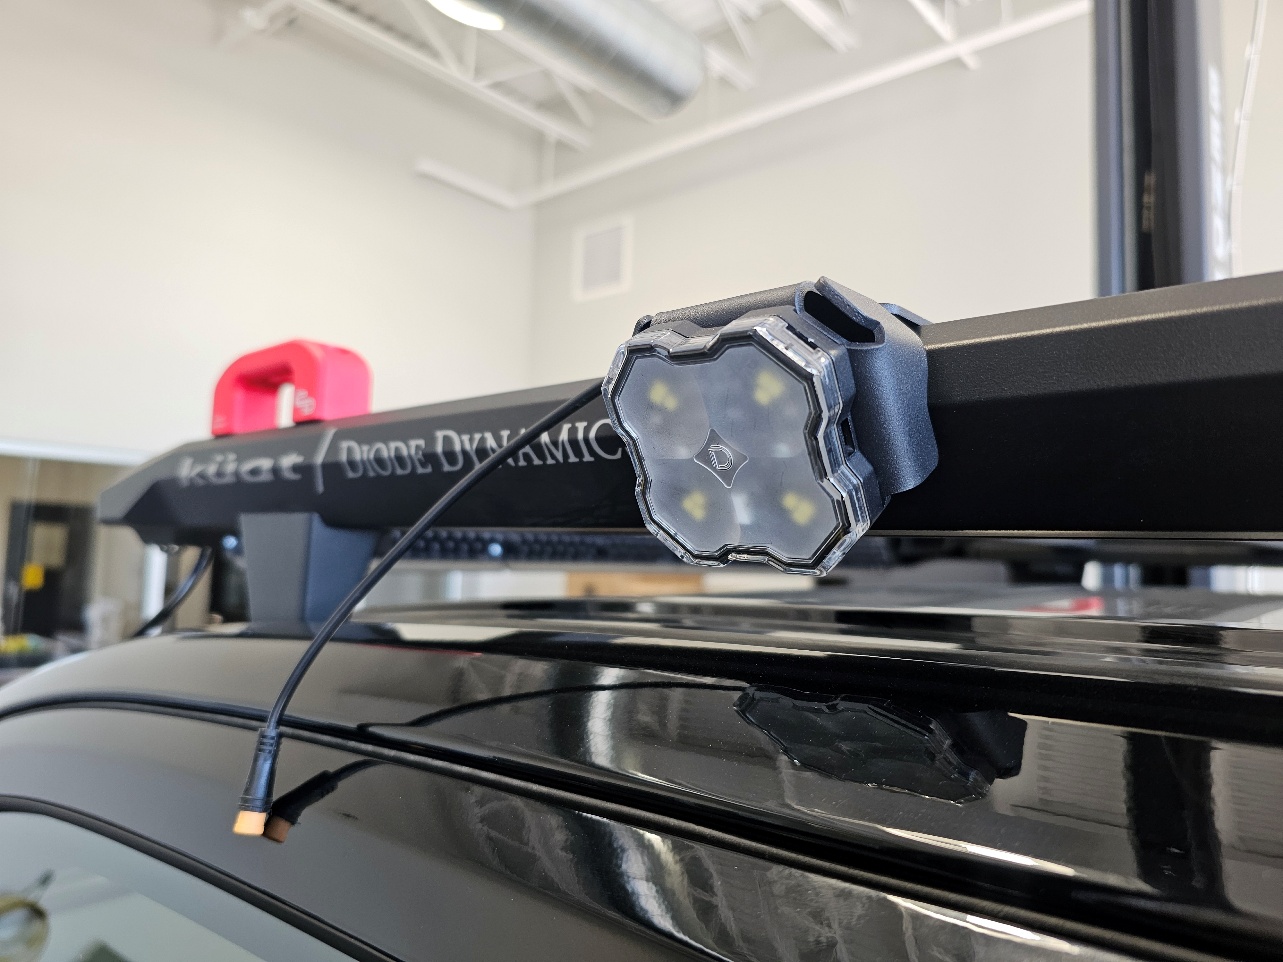
Step 5 — Connect the wiring harness
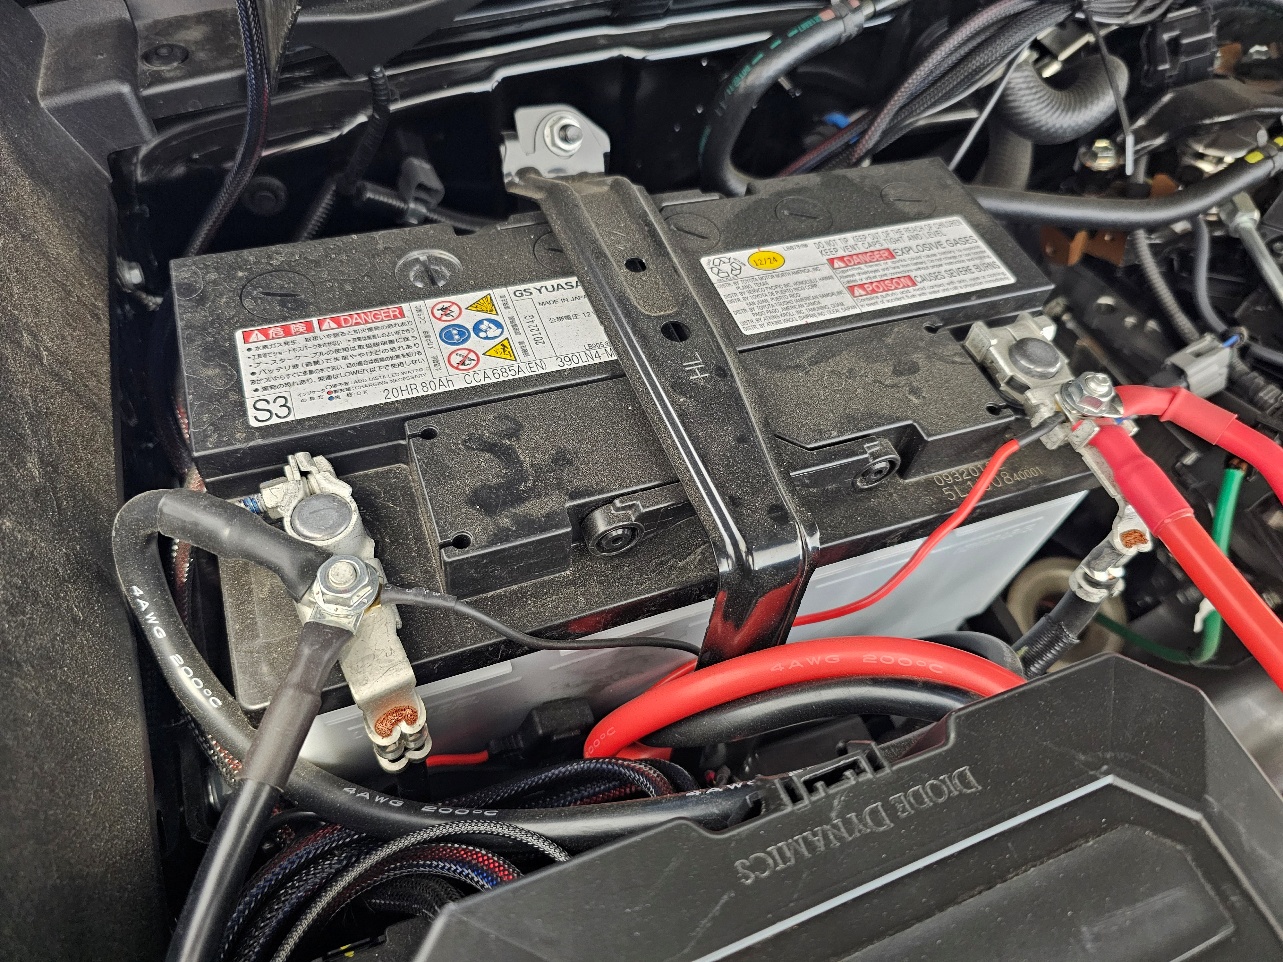
Route the main wiring harness into the engine bay. Connect the red power lead to the positive battery terminal and the black ground lead to the negative battery terminal. Route the attached toggle switch wiring through an existing firewall grommet and into the cabin. Mount the toggle switch in a location of your choice where it can be safely and conveniently accessed without interfering with the vehicle's controls. Secure the connections and keep all wiring away from hot or moving components.
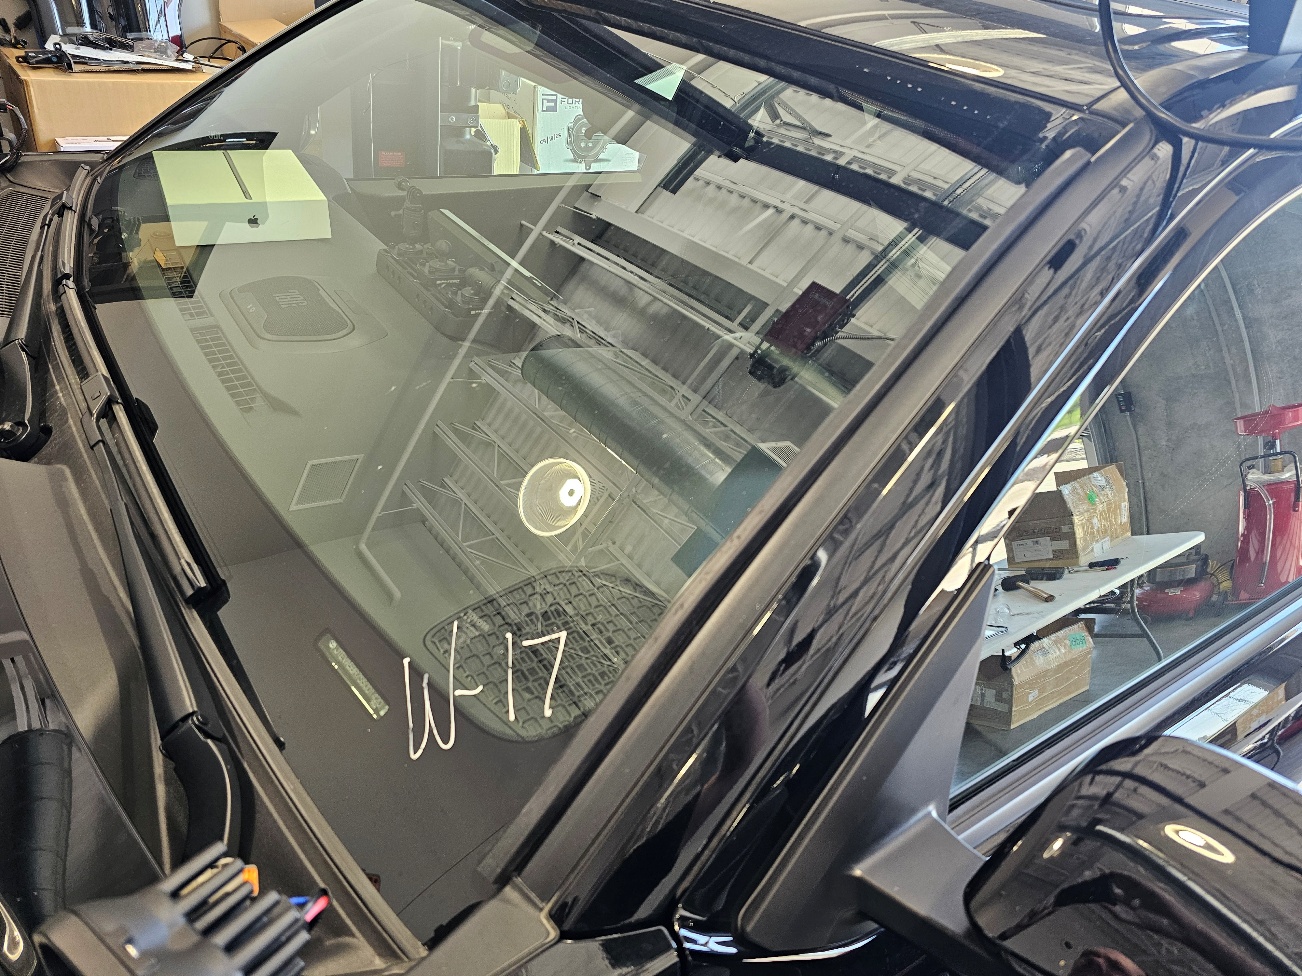
Step 6 — Install the windshield molding
Apply the included molding along either side of the windshield to conceal and protect the wiring as it travels toward the roof rack. We recommend routing the wiring along the driver's side.
Step 7 — Route and connect the light wiring
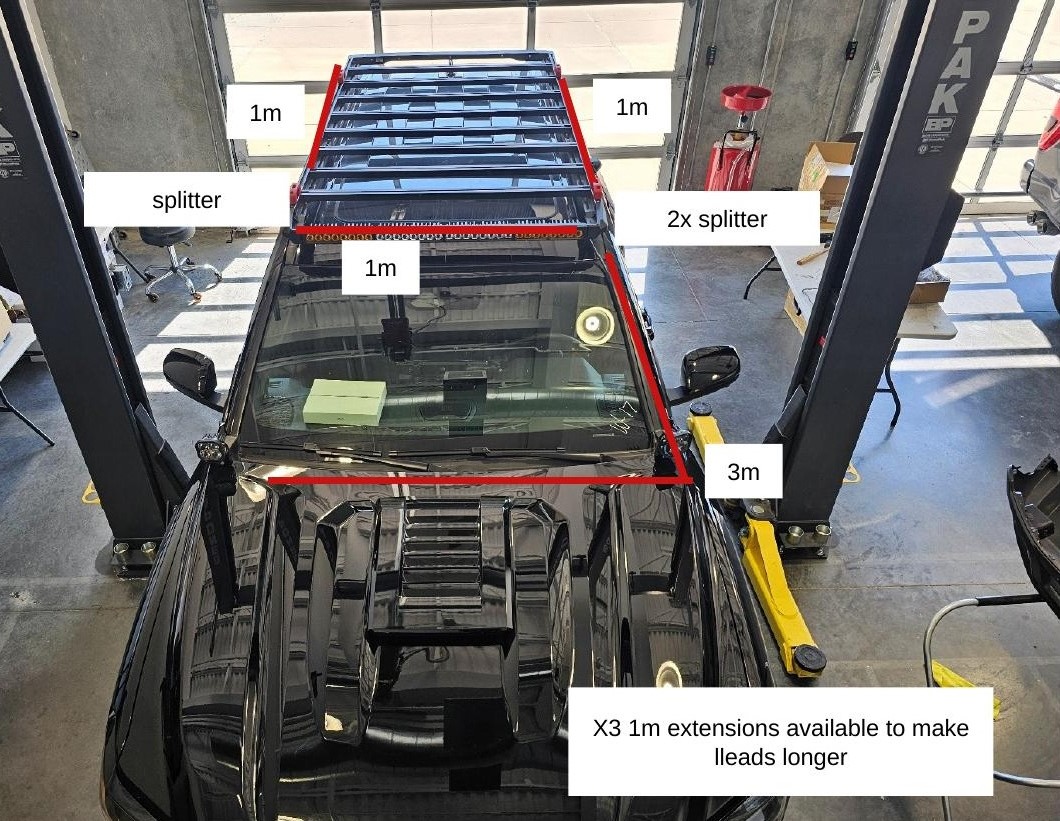
Route the extensions across the roof rack as shown. Use the included splitters and extensions to connect all four scene lights to the main wiring harness. Additional 1-meter extensions are included to lengthen the leads where needed. Confirm that each connector is fully seated, then secure any loose wiring away from sharp edges or moving components.
Step 8 — Conceal the extensions
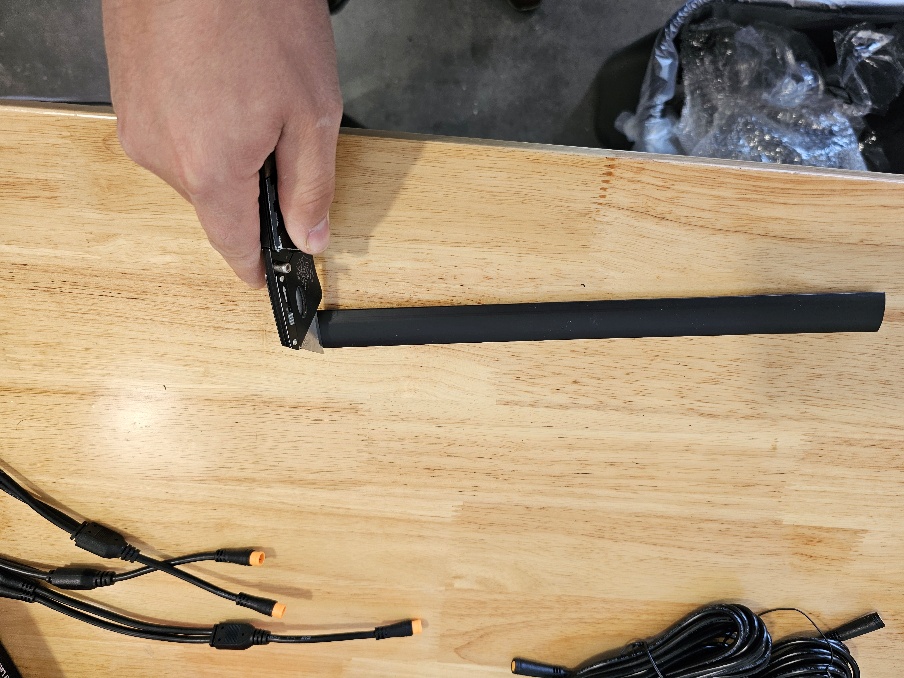
Using a knife or cutters, cut the remaining molding into smaller sections.
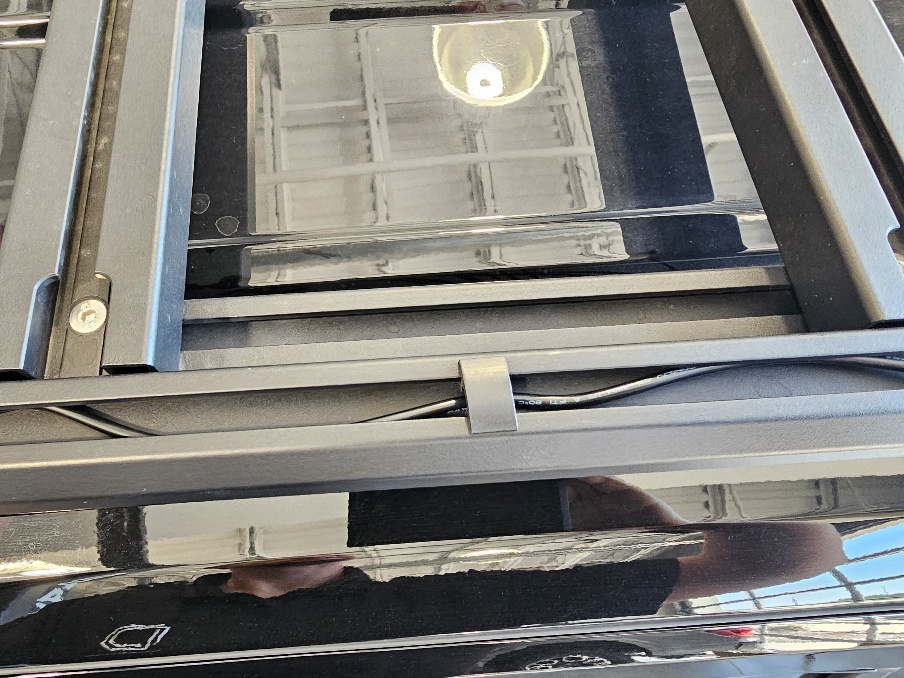
Press the molding sections into the Kuat DEK Roof Rack channels to conceal and secure the extensions. Check the entire wiring route and make sure all wiring is protected and firmly secured.
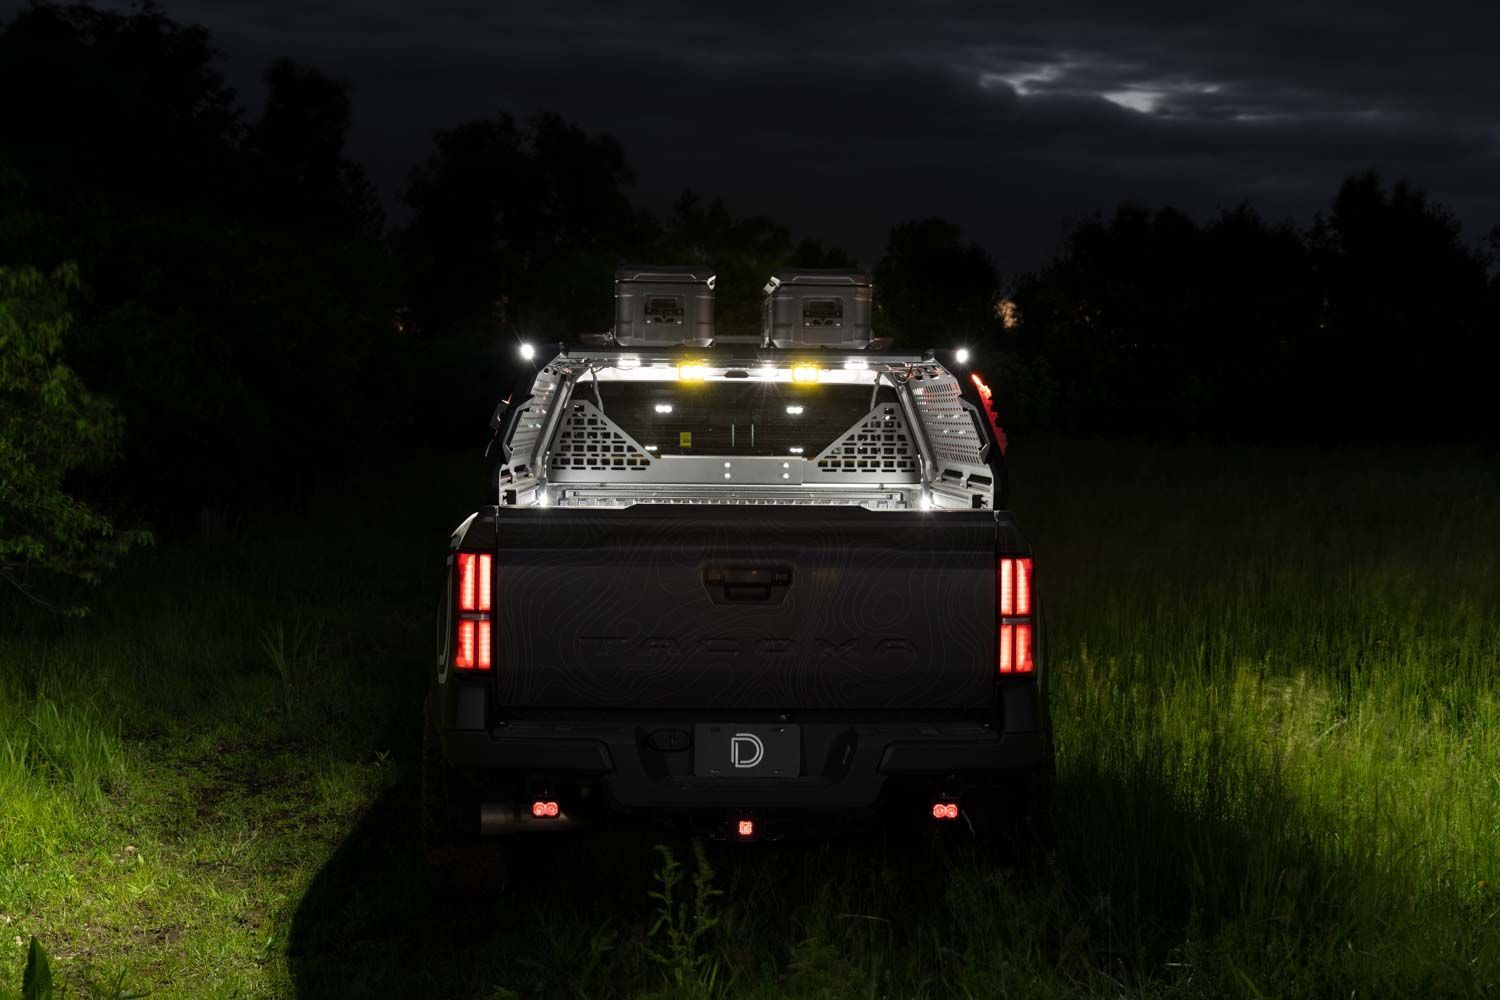
The installation is now complete. Enjoy your new Stage Series LED Scene Light Kit for Kuat DEK Roof Rack!
Questions About the Installation?
If you have any questions about installing the Stage Series LED Scene Light Kit for Kuat DEK Roof Rack, contact us via our support page.
Where Can I Buy the Stage Series LED Scene Light Kit for Kuat DEK Roof Rack?
If you're ready to upgrade your Kuat DEK Roof Rack with the Stage Series LED Scene Light Kit, visit DiodeDynamics.com or use our Dealer Locator to find a dealer near you.
Want to know more about Diode Dynamics products? Visit DiodeDynamics.com and subscribe to our newsletter for new product releases and more!
This Installation Guide is for the following SKU: DD8980, DD8979, DD8978
Share This Post