



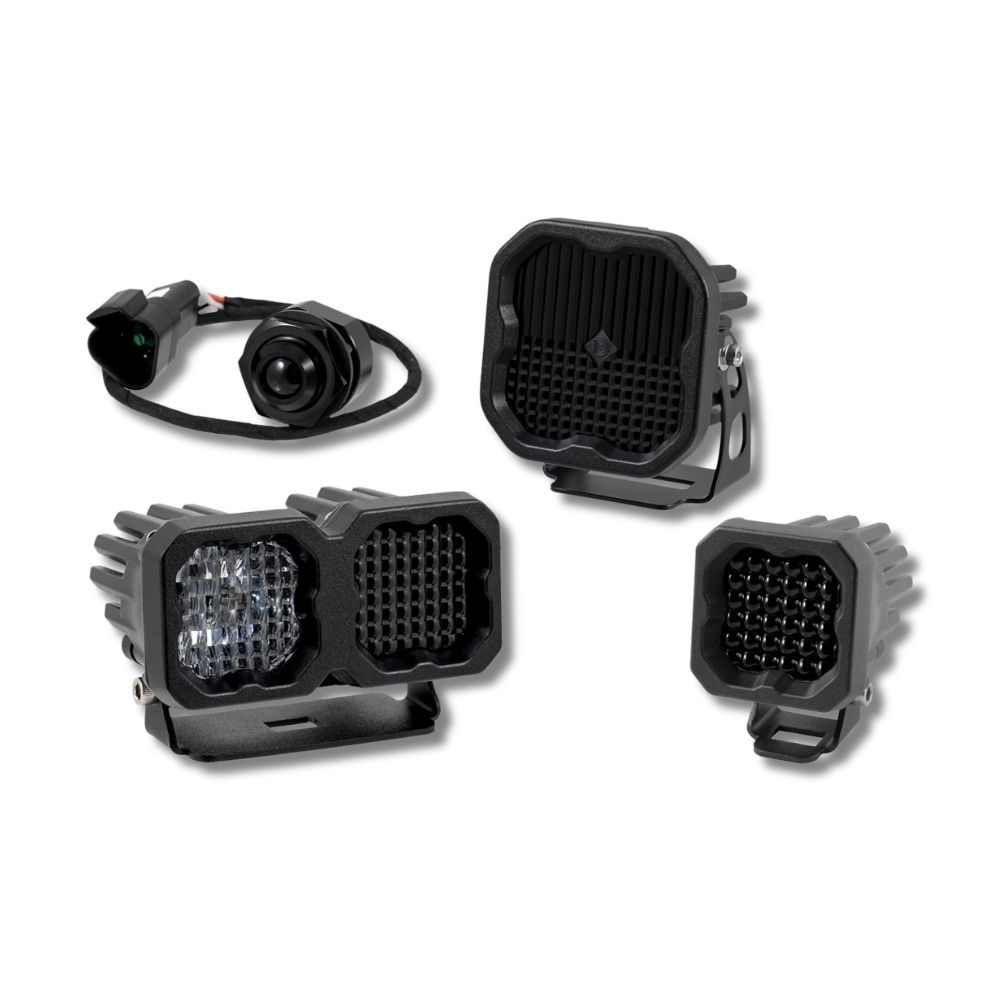











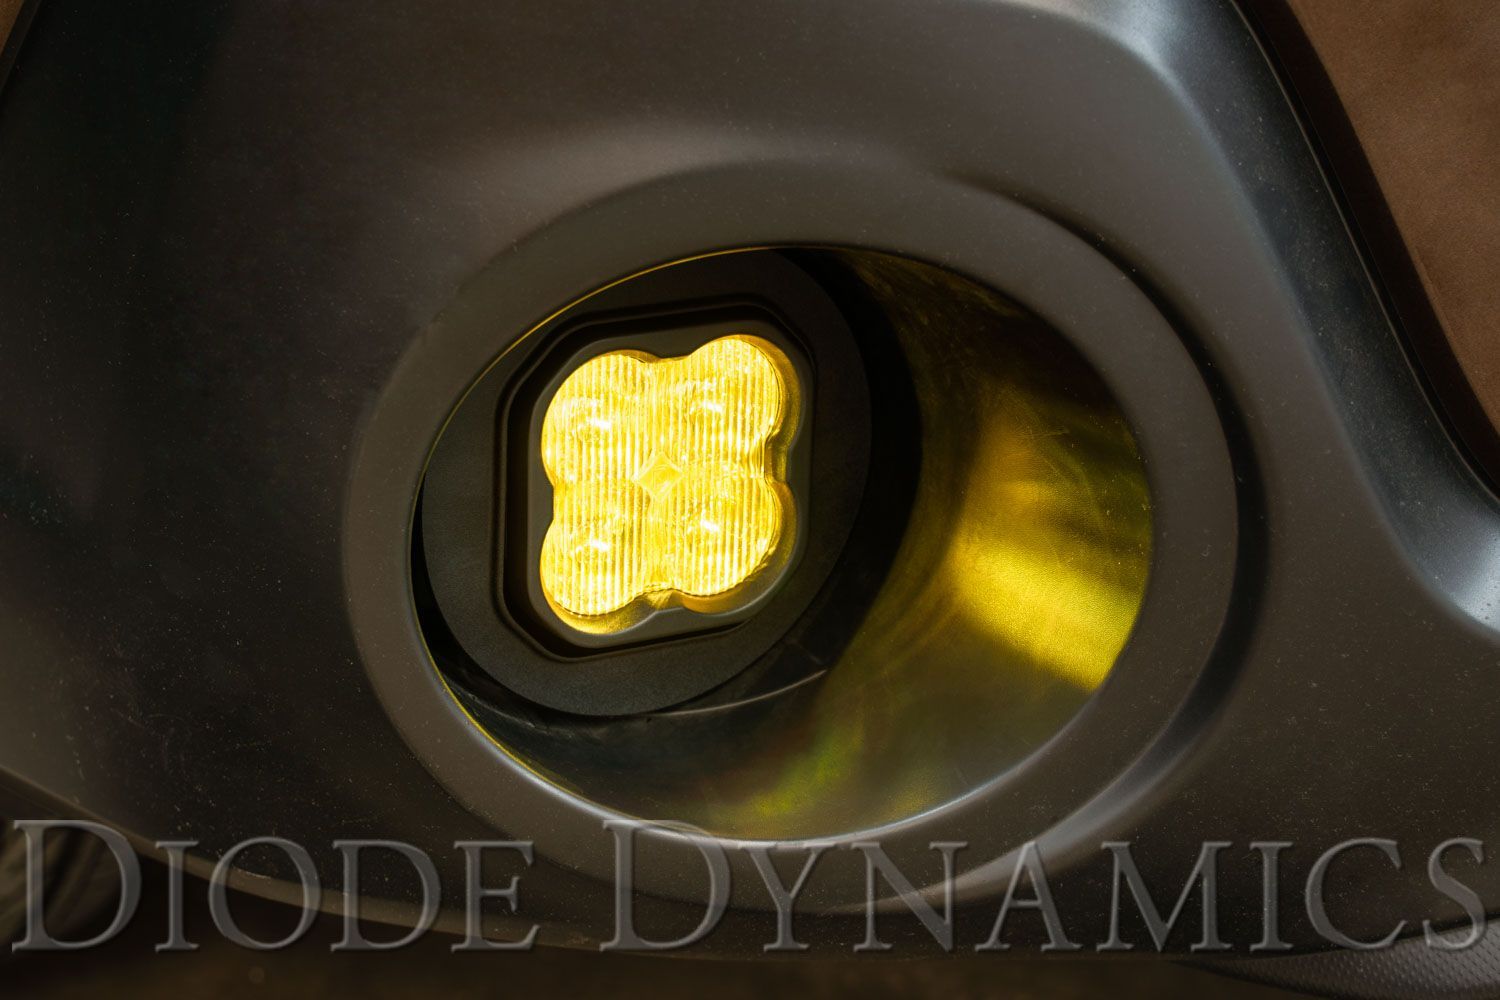
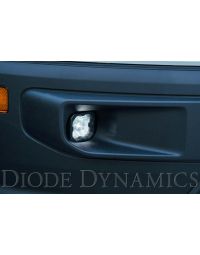
Upgrade the factory fog lights on your 2005-2009 or 2013-2019 Subaru Outback with the Diode Dynamics SS3 Type OB Fog Light Kit. CAD-designed to use existing mounting points, this kit provides a clean, direct-fit installation for SS3 3-inch LED pods.
This guide covers bracket assembly, removal of the factory fog lights, SS3 installation and wiring, and final fog light aiming.
Table of Contents
- Installation Video
- Installation Tools
- Installation Instructions
- Questions About the Installation?
- Where Can I Buy the SS3 Type OB Fog Light Kit?
Installation Video
Installation Tools
- Plastic trim removal tool
- 10mm socket
- 5/32-inch Allen key
- Tape measure
- Tape for marking aiming height and cutoff line
- Adhesive for retaining M6 carriage bolts during assembly, recommended
Time Required: Not specified in the installation guide.
Installation Instructions
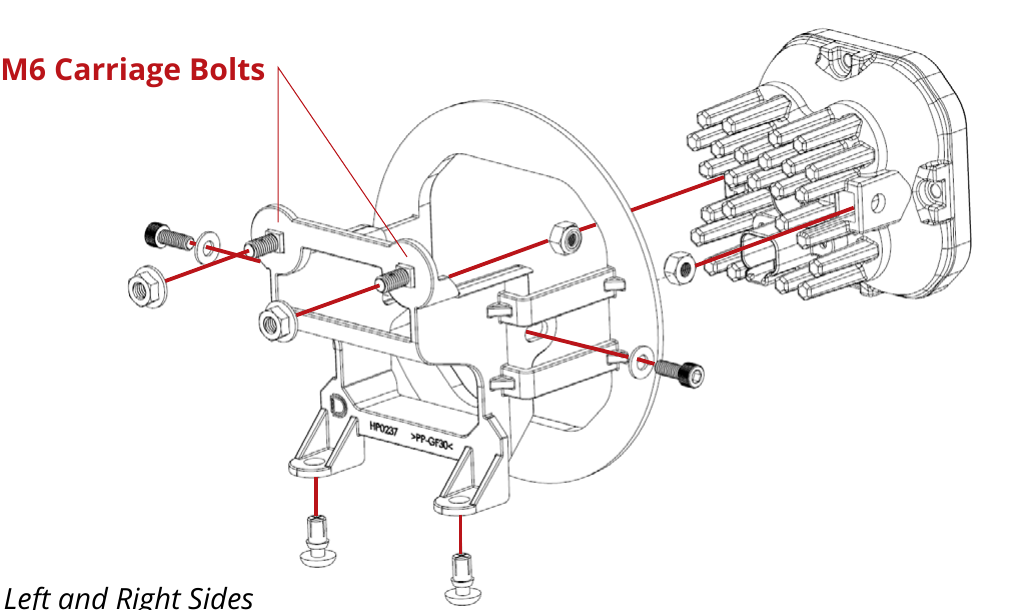
Step 1 - Install the M6 Carriage Bolts
Install the two included M6 carriage bolts into the bracket as shown. A small amount of adhesive is recommended to prevent the bolts from falling out during installation.
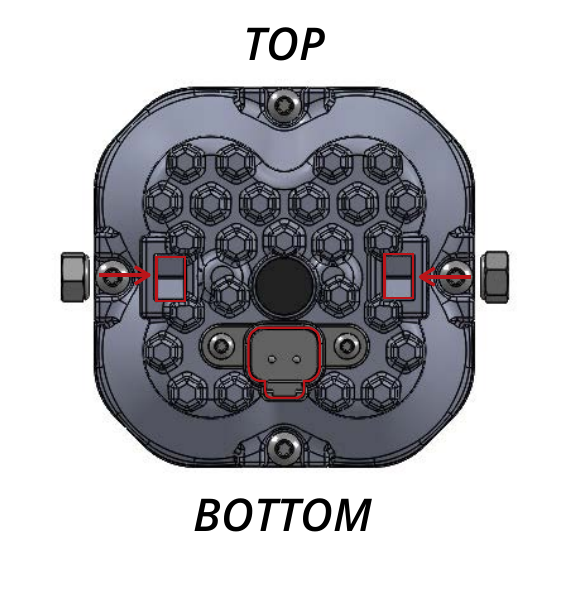
Step 2 - Attach the Bracket to the SS3 Pod
Install the supplied nuts into the SS3 pod housing with the nylon facing inward. Attach the bracket to the pod using the supplied screws and washers. Make sure the bracket is installed in the correct orientation.
Tighten the screws enough that the pod retains its position but can still pivot with force for aiming.
Step 3 - Lower the Splash Guard
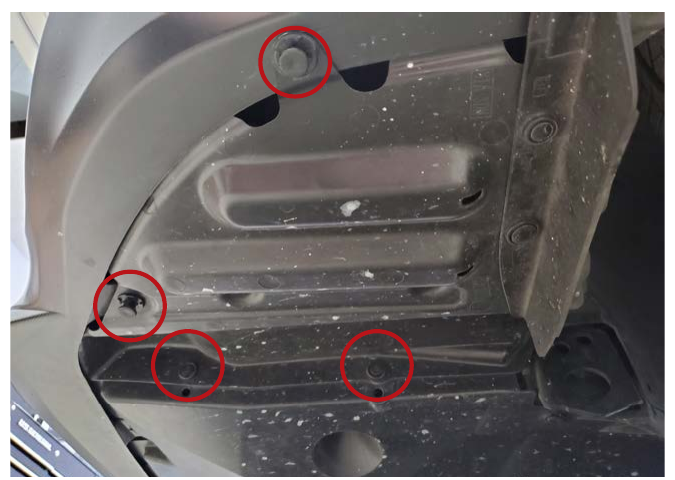
Use a plastic trim removal tool to remove the four push rivets from the outer splash guard. Gently pry the splash guard downward to gain access to the fog lights.
The splash guard will remain connected to the inner fender liner and should not need to be completely removed unless desired.
Step 4 - Remove the Factory Fog Light
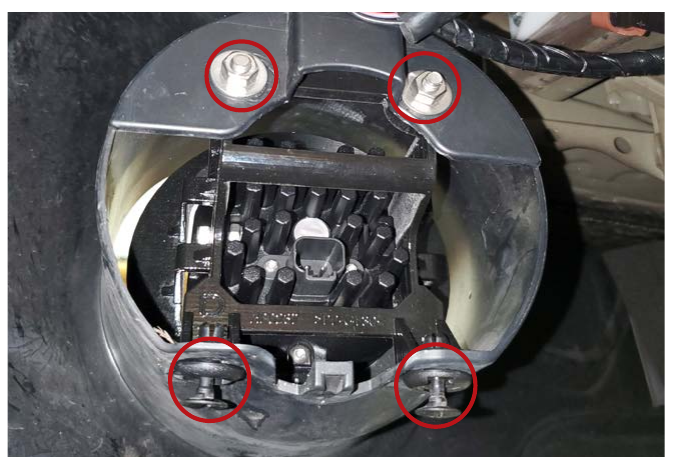
Unplug the factory fog lamp connector. Use a plastic trim removal tool to remove the two plastic push rivets along the bottom of the lamp.
While holding the front face of the lamp, use a 10mm socket to remove the two nuts. Gently pull the factory lamp out through the front of the bumper opening.
Step 5 - Loosely Install the SS3 Pod and Bracket
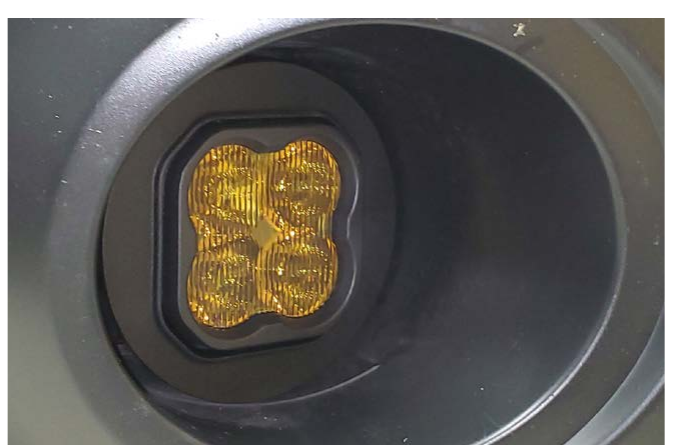
Using the OEM hardware, loosely install the SS3 bracket and pod into the factory fog light pocket. Install the nuts hand-tight and do not fully snap the push rivets into place yet, since the pod will need to be removed after aiming to lock in the final position.
Step 6 - Connect the SS3 Wiring
Plug the SS3 into the factory fog light harness using the included DT wire adapter. Both 9006-size and H11-size DT adapter wires are included with the kit. Select the adapter that matches your factory connector.
Test the light for proper function. If the light does not turn on, flip the connector 180 degrees and test again.
If you purchased backlit SS3 pods, connect the included 2-pin to 4-pin adapter wire in-line between the pod and the DT 2-pin wire adapter. Then connect the backlight power wire to a fused 12V source, such as a parking light or sidemarker circuit. T-Taps are included for this purpose.
NOTE: The power source must be fused. Do not connect the backlight power wire directly to the vehicle battery. Check local laws and regulations regarding on-road use of the backlight feature.
Step 7 - Repeat on the Opposite Side
Repeat the installation steps on the other side of the vehicle.
Step 8 - Position the Vehicle for Aiming
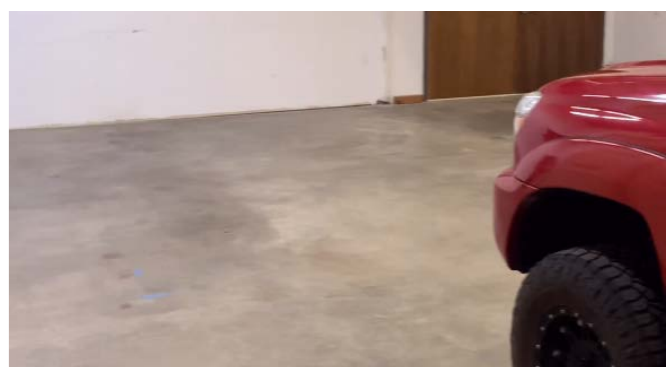
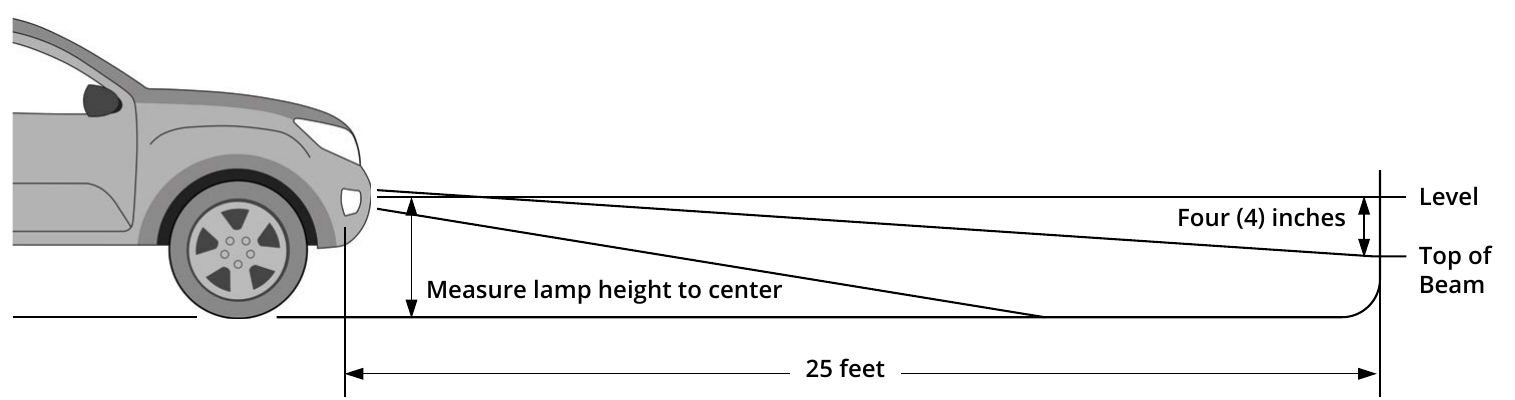
Park the vehicle on a level surface 25 feet away from a wall or garage door.
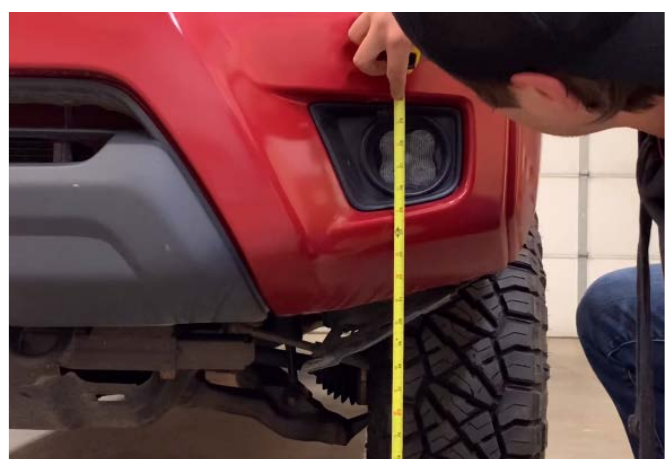
Step 9 - Measure the SS3 Mounting Height
Measure the distance between the ground and the center of the SS3 pod. This measurement is your mounting height.
Step 10 - Mark the Mounting Height
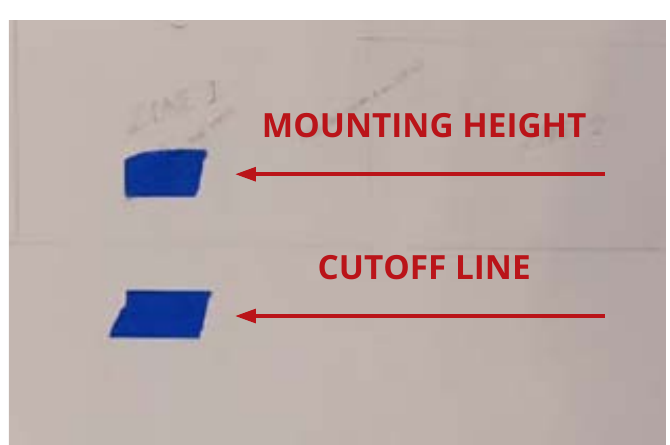
Use tape to mark the measured mounting height on the wall or garage door.
Step 11 - Mark the Fog Light Cutoff Line
Add another piece of tape four inches below the mounting-height mark. This lower mark is the fog light cutoff line.
Step 12 - Aim the SS3 Pods
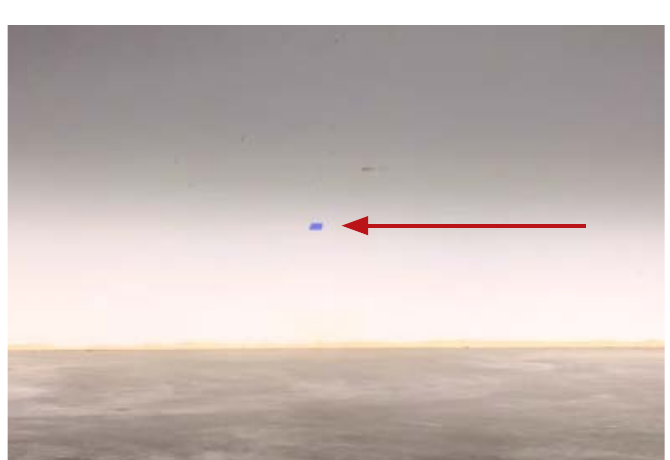
Aim the SS3 pods on each side of the vehicle so the top of the beam pattern aligns with the cutoff line.
Step 13 - Tighten the SS3 Pod
Once the desired aiming position has been reached, gently remove the assembly and fully tighten the 5/32-inch Allen bolts.
Do not overtighten the bolts or use power tools to torque them down.
Step 14 - Reinstall the SS3 Assembly
Reinstall the assembly on the vehicle. There will be a slight gap between the bracket bezel and the bumper opening. Make sure the lamp is centered within the fog pocket with even gaps around the bezel.
Step 15 - Reinstall the Splash Guard
Reinstall the splash guard using the OEM push rivets to complete the installation.
Questions About the Installation?
If you have any questions about installing the SS3 Type OB Fog Light Kit for the 2005-2009 and 2013-2019 Subaru Outback, contact us via our support page.
Where Can I Buy the SS3 Type OB Fog Light Kit for the 2005-2009 and 2013-2019 Subaru Outback?
If you're ready to upgrade your 2005-2009 or 2013-2019 Subaru Outback with the SS3 Type OB Fog Light Kit, visit DiodeDynamics.com or use our Dealer Locator to find a dealer near you.
Want to know more about Diode Dynamics products? Visit DiodeDynamics.com and subscribe to our newsletter for new product releases and more!
This Installation Guide is for the following SKUs: DD6635, DD7067, DD6636, DD7068, DD6637, DD7069, DD6638, DD7070, DD6639, DD7071, DD6640, DD7072, DD6708, DD7073, DD6709, DD7074
Share This Post