


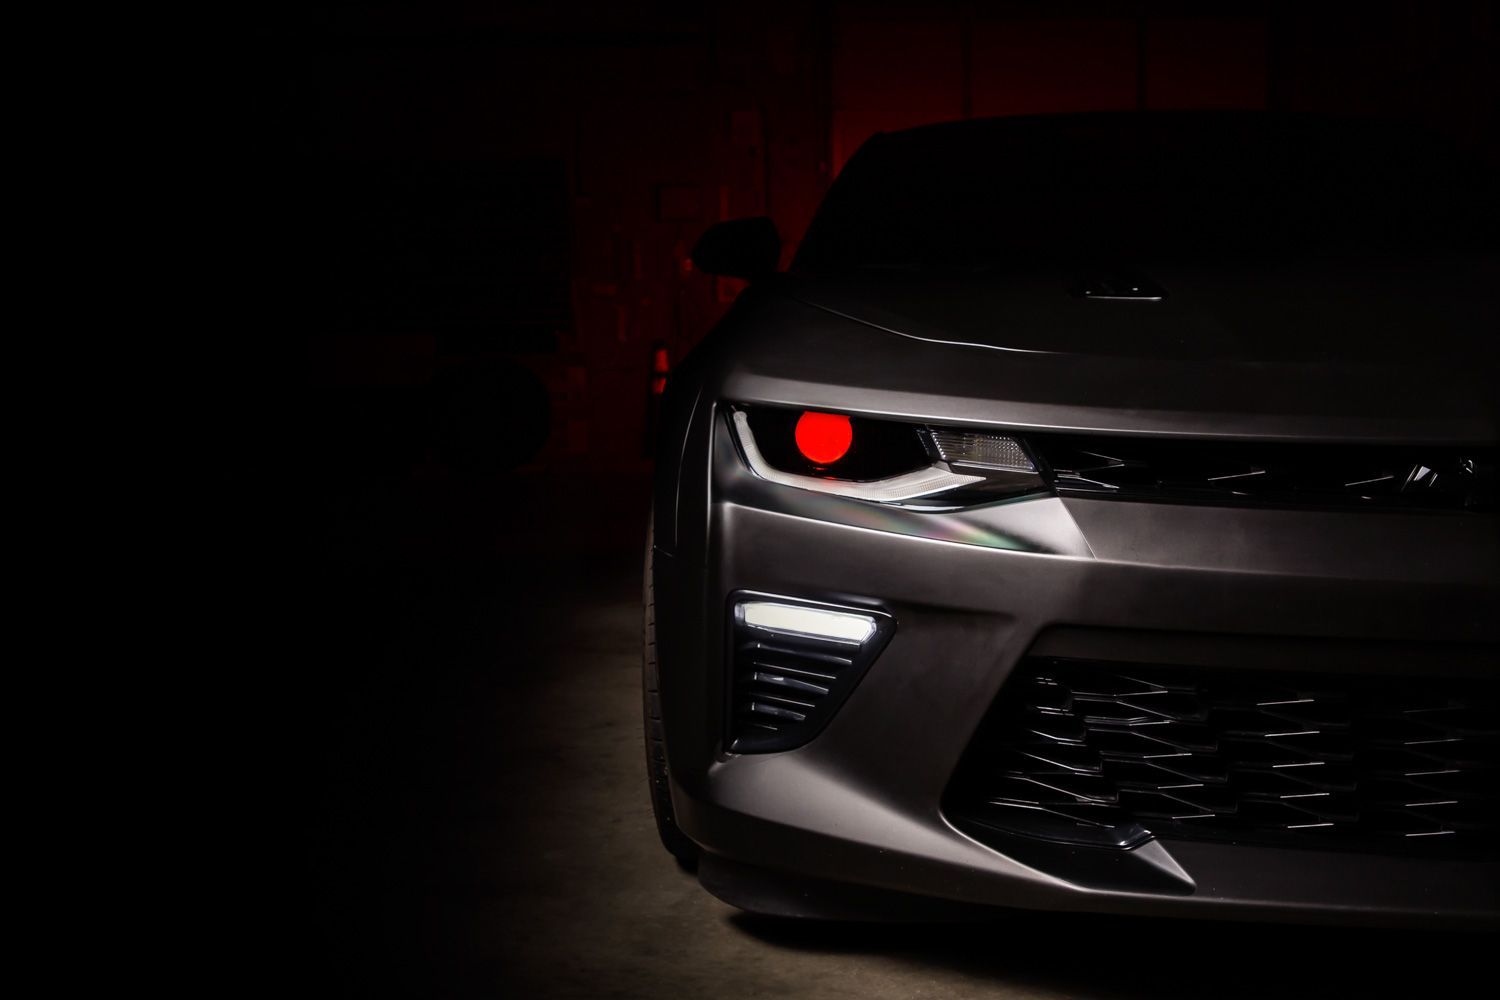
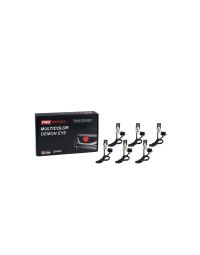
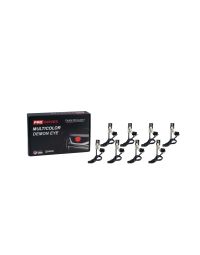
The Diode Dynamics Pro Series RGBW Demon Eyes are designed to add vivid multicolor accent lighting inside your projector headlights. Built with full aluminum construction and high-power constant-current drivers, these Demon Eyes deliver reliable performance and full RGBW control for a truly custom look.
This guide outlines the universal installation process for the Pro Series RGBW Demon Eyes. While this guide references installation in a Mini H1 projector, the Demon Eyes can be custom-mounted in other projector housings as well. Because installation requires opening the headlights, professional installation is strongly recommended.
Please note: Headlights must be opened before proceeding with installation. This process can be completed by heating and prying the lens from the housing. We recommend viewing example videos online to understand the process however, professional installation is strongly recommended. Please contact Diode Dynamics if you need assistance locating an installer.
Table of Contents
- Installation Video
- Installation Tools
- Installation Instructions
- Questions About the Installation?
- Where Can I Buy Pro Series RGBW Demon Eyes?
Installation Video
Installation Tools
- Pliers
- Small Phillips screwdriver
- Basic hand tools for headlight removal
- Heat gun or oven (for opening headlights)
Time Required: Approximately 2–4 hours.
Installation Instructions
Step 1 – Open the headlight housing
Remove the headlights from the vehicle and open the housings by heating and carefully separating the lens from the housing. Because this process is permanent, professional installation is strongly recommended.
Step 2 – Attach the Demon Eye to the bracket (if applicable)
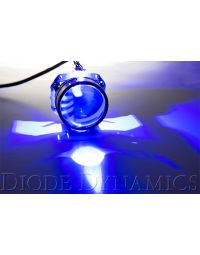
If installing in a Mini H1 projector, attach the Demon Eye to the top of the bracket using the included locking screw and locknut. Ensure the locknut is positioned on the bottom side of the Demon Eye. Tighten using pliers and a small Phillips screwdriver.

Step 3 – Mount the Demon Eye inside the projector
Mount the Demon Eye inside the projector housing, ensuring the Demon Eye board is positioned inside the shroud. The bracket may be mounted on either the front or back side of the projector housing. Secure both sides using the included locking screws and locknuts.

Step 4 – Connect the Demon Eye to the driver
Connect the Demon Eye to the driver, then connect the driver to your RGBW controller. Do not connect the Demon Eye directly to the controller without the driver, as the driver is required to regulate power.

Step 5 – Wire power, ground, and optional shutoff
Connect the black wire to ground at all times for proper function. Power the RGBW controller using a 12V power source and ground.
Optionally, connect the blue wire to a headlight signal so the Demon Eyes shut off automatically when the headlights are activated. This helps reduce heat exposure and prolongs Demon Eye life.
Step 6 – Mount the driver and controller
Mount the drivers and controller outside of the headlight housing for serviceability, in a location away from the engine block to avoid excessive heat buildup. Secure and tidy all wiring.
Step 7 – Test and reinstall
Test the system thoroughly to ensure proper RGBW operation. Once confirmed, reseal the headlight housing and reinstall it on the vehicle.
The installation is now complete. Enjoy your new Diode Dynamics Pro Series RGBW Demon Eyes!
Questions About the Installation?
If you have any questions about installing the Diode Dynamics Pro Series RGBW Demon Eyes, contact us via our support page.
Where Can I Buy the Diode Dynamics Pro Series RGBW Demon Eyes?
If you're ready to upgrade your projector headlights with the Diode Dynamics Pro Series RGBW Demon Eyes, visit DiodeDynamics.com or use our Dealer Locator to find a dealer near you.
Want to know more about Diode Dynamics products? Visit DiodeDynamics.com and subscribe to our newsletter for new product releases and more!
This Installation Guide is for the following SKUs: DD2230, DD2298, DD2299
Share This Post