


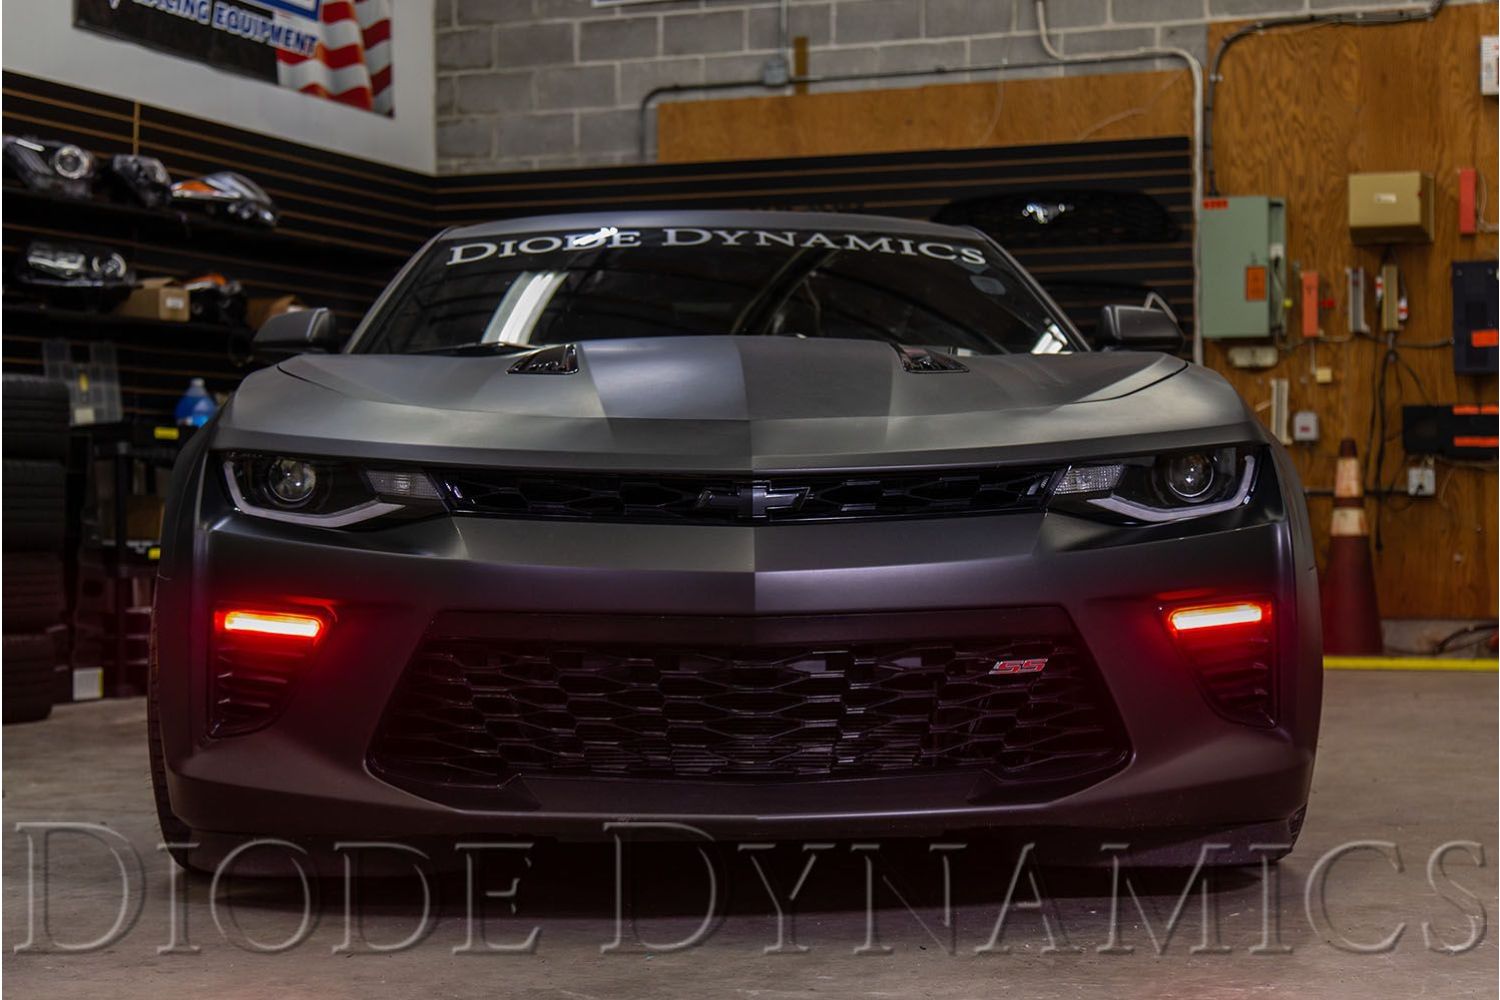
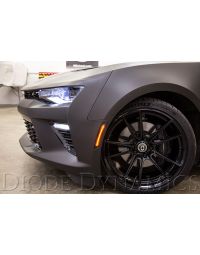
The Diode Dynamics Multicolor DRL LED Boards for the 2016–2018 Chevrolet Camaro SS allow you to transform the factory lower daytime running lights into a fully customizable RGBW accent with an integrated amber turn signal. These boards are a direct replacement for the factory lower DRL LED panels inside the headlight.
This guide focuses specifically on installing the lower DRL LED boards only, which are the currently available configuration. The installation requires opening the headlights, so professional installation is strongly recommended.
Please note: Headlights must be opened before proceeding with installation. Before baking the headlight, remove the T20 torx screws holding the ballast to the housing and the three T20 torx screws holding the LED driver to the housing. Disconnect the OEM harness from ballast. Professional installation is strongly recommended. Please contact Diode Dynamics if you need assistance locating an installer.
Table of Contents
- Installation Tools
- Installation Instructions
- Questions About the Installation?
- Where Can I Buy the Multicolor DRL LED Boards?
Installation Tools
- Torx T10 screwdriver
- Torx T20 screwdriver
- Basic hand tools for headlight removal
- Heat gun or oven (for opening headlights)
Time Required: Approximately 3–5 hours.
Installation Instructions
Step 1 – Remove and open the headlights
Remove the headlights from the vehicle. Open the headlight housings by heating and carefully separating the lens from the housing. Before baking the headlight, remove the T20 screws securing the ballast and LED driver, and disconnect the OEM harness.
Step 2 – Remove the reflector and factory lower DRL board
After the lens has been removed, remove the three T20 torx screws holding the lower DRL reflector in place. Next, remove the three T20 torx screws securing the factory lower DRL LED board to the reflector. Remove the factory board; it will not be reused.
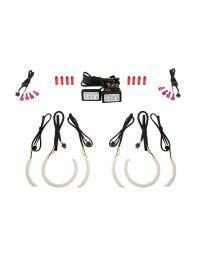
Step 3 – Install the new lower DRL LED board
Install the Diode Dynamics lower DRL LED board in place of the factory board using the original screws. Ensure the board is properly aligned and securely fastened.

Step 4 – Reinstall the reflector
Using the original screws, reinstall the reflector back into the headlight housing. Repeat Steps 2–4 for the other headlight.
Step 5 – Connect the LED board to the driver and controller
Connect the lower DRL LED board to the RGBW driver. Then connect the driver to the RGBW controller using the included JST-to-M8 adapter and extension wiring as required.
Do not connect the LED board directly to the controller without the driver, as the driver is required to regulate power.
Step 6 – Wire power and turn signal inputs
Tap the wiring harness to the appropriate factory signals to determine DRL operation:
- Black wire: Ground
- Yellow wire: Turn signal input
- Blue wire: Parking/DRL signal
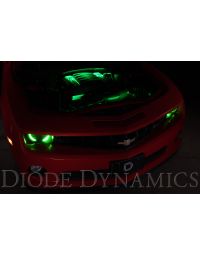
These connections control when the DRL boards illuminate and activate the amber turn signal function.

Step 7 – Mount components and test
Mount the driver and controller outside of the headlight housing for serviceability, in a location away from the engine block to prevent excessive heat buildup. Test the system thoroughly to confirm proper RGBW and turn signal operation.
Step 8 – Reseal and reinstall headlights
Once testing is complete, reseal the headlight housings and reinstall them on the vehicle.
The installation is now complete. Enjoy your new Diode Dynamics Multicolor Lower DRL LED Boards for 2016–2018 Chevrolet Camaro SS!
Questions About the Installation?
If you have any questions about installing the Diode Dynamics Multicolor Lower DRL LED Boards for 2016–2018 Chevrolet Camaro SS, contact us via our support page.
Where Can I Buy the Multicolor DRL LED Boards for 2016–2018 Chevrolet Camaro SS?
If you're ready to upgrade your 2016–2018 Chevrolet Camaro SS with the Multicolor Lower DRL LED Boards, visit DiodeDynamics.com or use our Dealer Locator to find a dealer near you.
Want to know more about Diode Dynamics products? Visit DiodeDynamics.com and subscribe to our newsletter for new product releases and more!
This Installation Guide is for the following SKUs: DD2242
Share This Post