


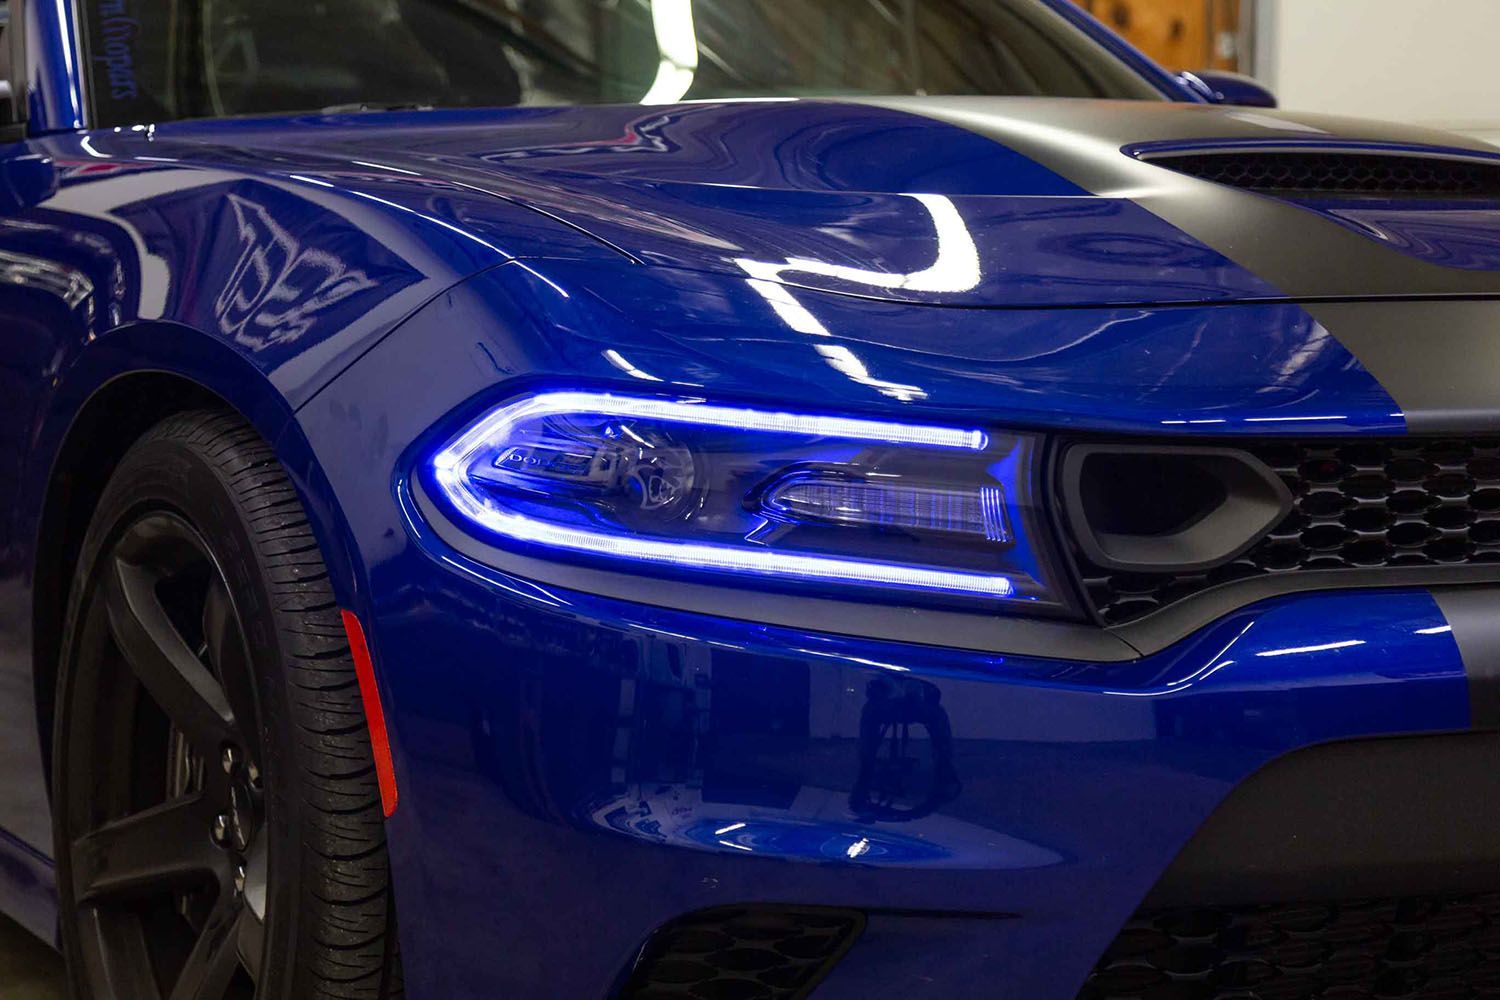
The Diode Dynamics Multicolor DRL LED Boards for the 2019–2021 Dodge Charger are a direct replacement for the factory LED panels inside the headlight, allowing you to add full RGBW color control while retaining a clean, OEM-style appearance.
This guide walks through the installation process for the Dodge Charger Multicolor DRL LED Boards, including removal of the factory boards, installation of the new Diode Dynamics boards, wiring, and final testing. Because this installation requires opening the headlights, professional installation is strongly recommended.
Please note: Headlights must be opened before proceeding with installation. Professional installation is strongly recommended. Please contact Diode Dynamics if you need assistance locating an installer.
Table of Contents
- Installation Video
- Installation Tools
- Installation Instructions
- Questions About the Installation?
- Where Can I Buy the Multicolor DRL LED Boards?
Installation Video
Installation Tools
- Torx T15 screwdriver
- Torx T20 screwdriver
- Basic hand tools for headlight removal
Time Required: Approximately 3–4 hours.
Installation Instructions
Step 1 – Access the factory DRL board
Remove the four T20 torx screws securing the black bezel inside the headlight. Carefully remove the bezel and set it aside.

Step 2 – Remove the factory LED board
Remove the two T20 torx screws holding the heatsink and black alignment bracket in place. Unclip the power connector from the factory LED board. Remove the two T15 screws securing the alignment bracket to the heatsink, then remove the final T20 screw holding the factory board in place.

Step 3 – Transfer the thermal pad
Carefully remove the thermal adhesion pad (sil-pad) from the back of the factory LED board and reattach it to the back of the new Diode Dynamics LED board.

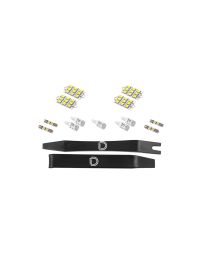
Step 4 – Install the new DRL LED board
Using the alignment tabs, place the new Diode Dynamics LED board into position and secure it with the original T20 screw. Reinstall the black alignment bracket using the original T15 screws, taking care not to overtighten. Reinstall the heatsink using the original T20 screws.

Step 5 – Route wiring and reinstall bezel
Route the wiring out of the headlamp through the dust cap, sealing any holes you create. Reinstall the black bezel using the original T20 screws and reinstall the headlamp lens. Repeat Steps 1–5 for the opposite headlight.

Step 6 – Connect the LED boards to the driver and controller
Connect each LED board to its RGBW driver, then connect the drivers to a Diode Dynamics LED controller (sold separately). Do not connect the LED boards directly to the controller without the drivers.

Step 7 – Power and wiring connections
Connect your controller to 12V power and ground, or to the included SolidState Relay Harness if applicable. Tap the appropriate factory wires to determine when the DRLs activate, such as parking lights or DRL signals.

Step 8 – Mount components and test
Mount the drivers and controller outside of the headlight housing for serviceability, in a location away from the engine block to avoid excessive heat buildup. Test the system thoroughly, then reseal the headlights and reinstall them on the vehicle.

The installation is now complete. Enjoy your new Multicolor DRL LED Boards!
Questions About the Installation?
If you have any questions about installing the Diode Dynamics Multicolor DRL LED Boards for 2019–2021 Dodge Charger, contact us via our support page.
Where Can I Buy the Multicolor DRL LED Boards for 2019–2021 Dodge Charger?
If you're ready to upgrade your 2019–2021 Dodge Charger with Multicolor DRL LED Boards, visit DiodeDynamics.com or use our Dealer Locator to find a dealer near you.
Want to know more about Diode Dynamics products? Visit DiodeDynamics.com and subscribe to our newsletter for new product releases and more!
This Installation Guide is for the following SKUs: DD2282
Share This Post