


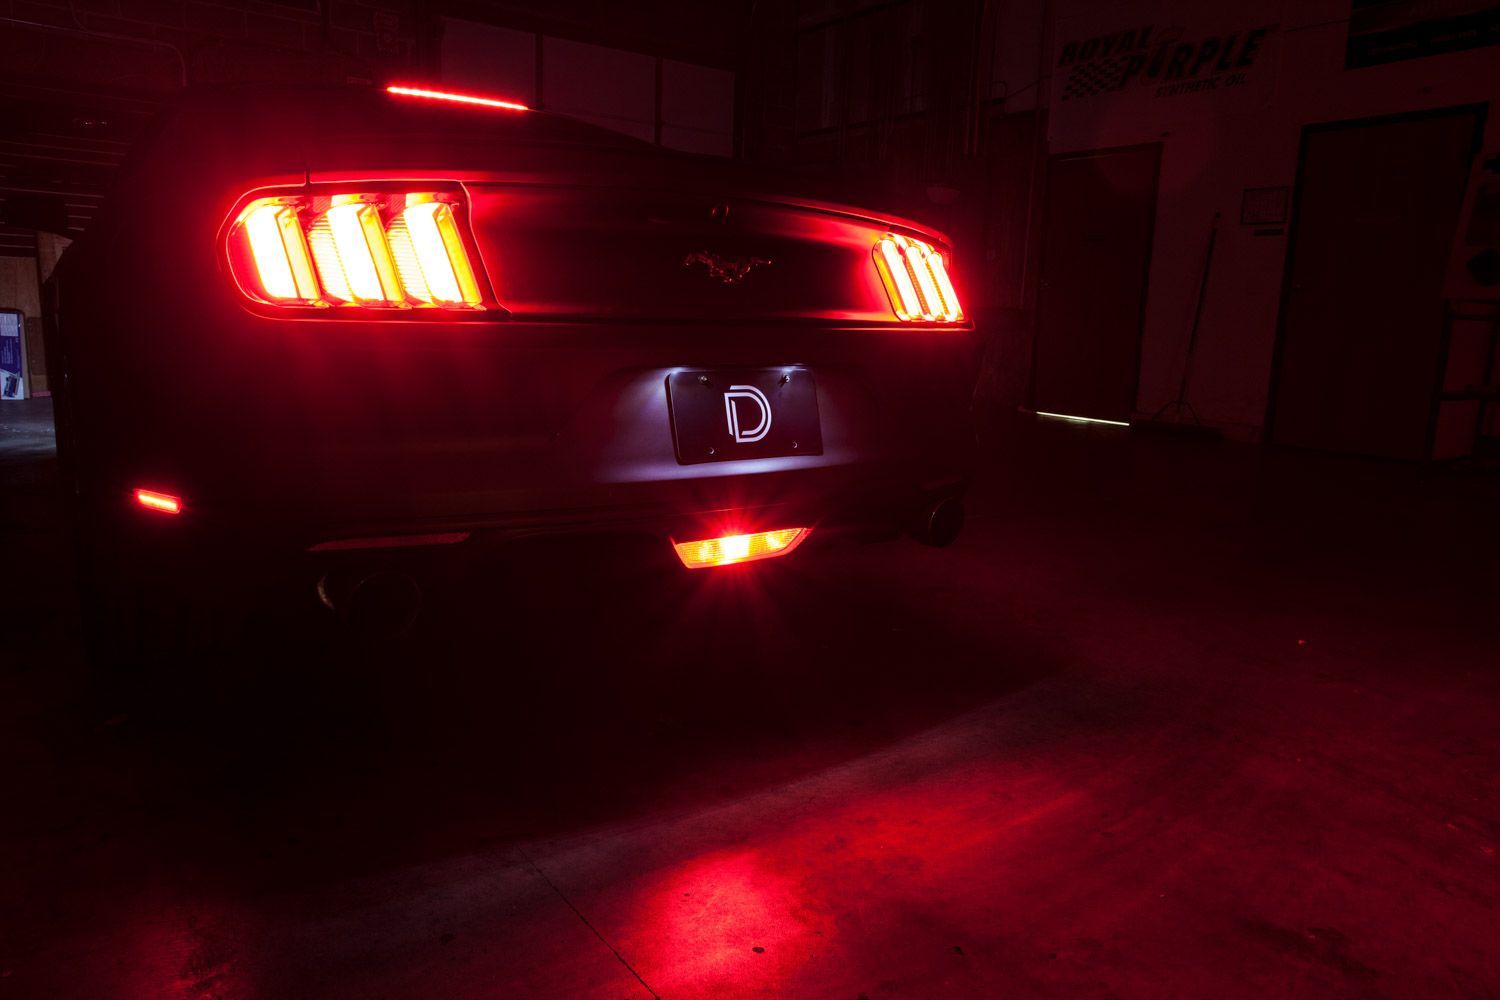
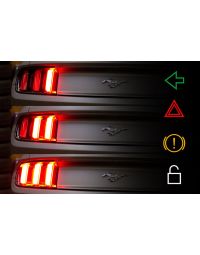
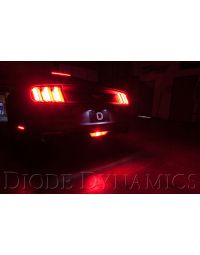
The Diode Dynamics 4th Brake Light Module for the 2015–2023 Ford Mustang adds an additional center-mounted brake light while also upgrading the factory reverse light to a bright white LED and adding a red running light function at night. This module is designed to integrate cleanly with the factory wiring for a plug-and-play installation.
In this guide, we’ll walk through the installation process for the Mustang 4th Brake Light Module, from accessing the factory tail light connectors to installing the new LED bulb and securing all wiring.
Table of Contents
- Installation Video
- Installation Tools
- Installation Instructions
- Questions About the Installation?
- Where Can I Buy the 4th Brake Light Module?
Installation Video
Installation Tools
- Trim or panel removal tool
- Small screwdriver (included with kit)
Time Required: Approximately 30–45 minutes.
Installation Instructions
Step 1 – Remove the trunk liners
Open the trunk and remove the plastic liner by taking out the four screws securing it to the back of the trunk. Pull straight up and out to remove the liner, then remove the trunk floor liner and set both aside.

Step 2 – Access the tail light connectors
Remove the plastic locking screws from the factory liner to gain access to the tail light connectors on both sides of the vehicle.

Step 3 – Install the 4th brake light module inline
Unclip the factory tail light connector and install the first 4th Brake Light Module connector inline. Route the second module connector to the opposite side and install it inline with the other tail light as well.

Step 4 – Route the red wire through the trunk grommet
Route the remaining red wire out of the vehicle using the factory grommet at the bottom of the trunk. Gently push the grommet aside and feed the wire through until there is no slack.

Step 5 – Remove the factory reverse light bulb
From underneath the vehicle, unplug the factory reverse light bulb by turning it counterclockwise and pulling straight out. Depress the tab to remove the bulb holder.

Step 6 – Prepare the bulb connector
Using the included screwdriver, push the green rubber seal out of the center socket on the bulb connector to allow installation of the new terminal.

Step 7 – Insert the red wire terminal
Insert the terminal on the end of the red wire into the empty center socket from the back of the connector. The terminal should click into place securely.


Step 8 – Install the LED bulb and reassemble
Remove the factory bulb from the holder and install the new Diode Dynamics LED bulb. Plug the bulb holder back into the socket and reinstall the reverse light assembly. Secure all wiring, reinstall the trunk panels, and fasten everything using the original hardware.

The installation is now complete. Enjoy your new Diode Dynamics 4th Brake Light Module!
Questions About the Installation?
If you have any questions about installing the Diode Dynamics 4th Brake Light Module for 2015–2023 Ford Mustang, contact us via our support page.
Where Can I Buy the 4th Brake Light Module for 2015–2023 Ford Mustang?
If you're ready to upgrade your 2015–2023 Ford Mustang with the Diode Dynamics 4th Brake Light Module, visit DiodeDynamics.com or use our Dealer Locator to find a dealer near you.
Want to know more about Diode Dynamics products? Visit DiodeDynamics.com and subscribe to our newsletter for new product releases and more!
This Installation Guide is for the following SKUs: DD3017


Share This Post