


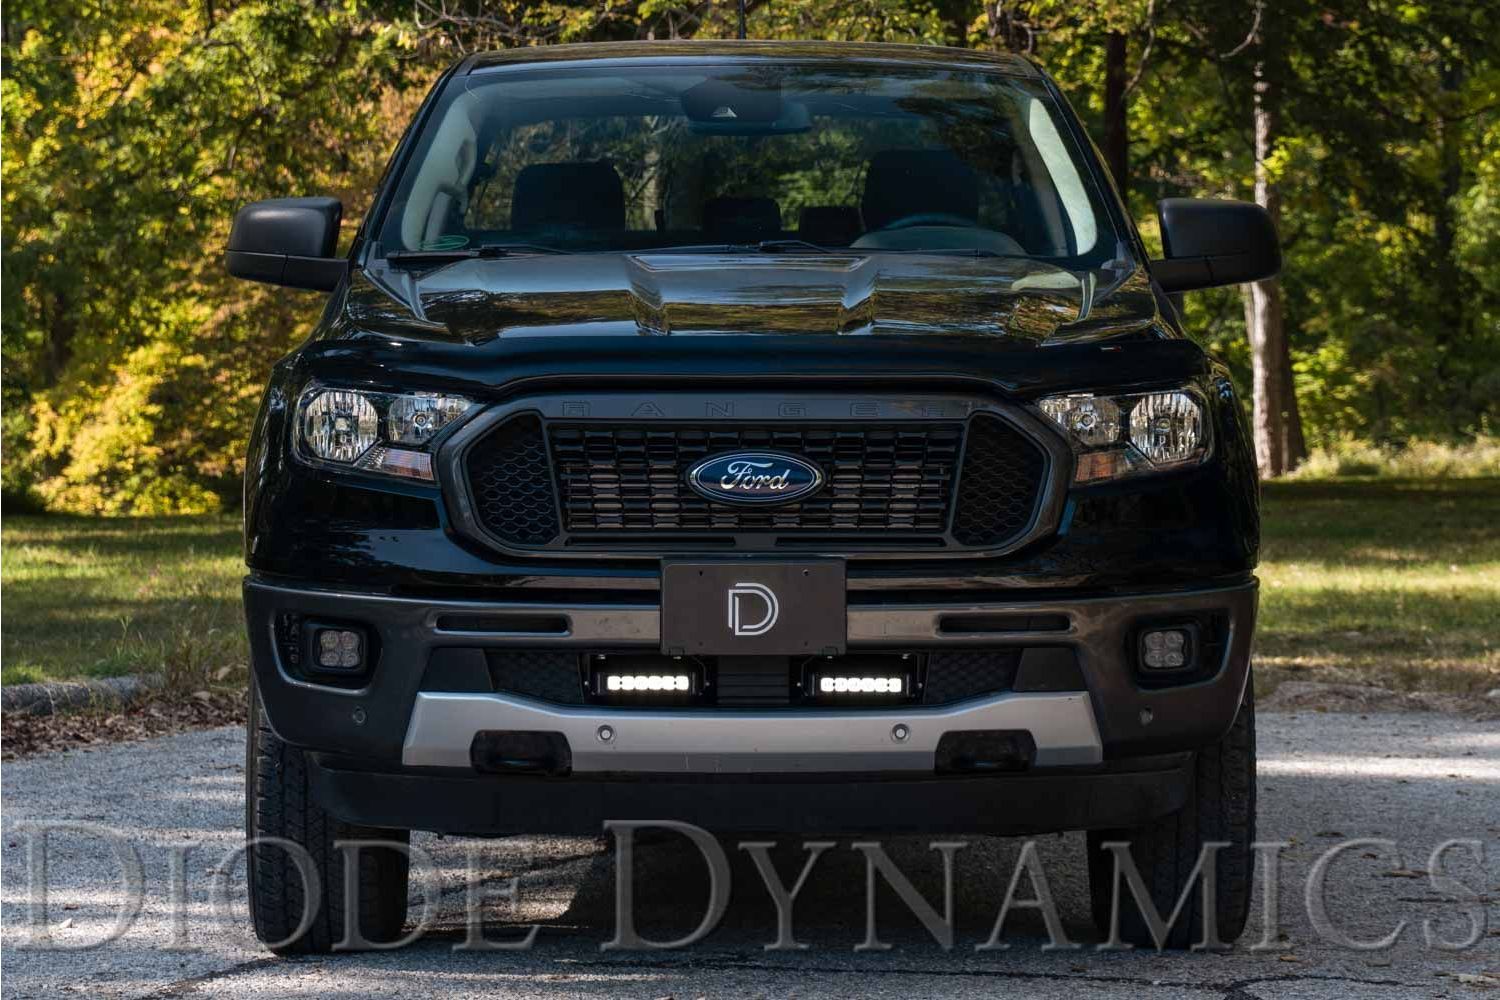
The Stage Series LED Lightbar Kit for the 2019-2021 Ford Ranger adds powerful forward-facing illumination while maintaining a clean, factory-style appearance. This installation guide will provide you with detailed instructions on how to install the Stage Series LED Lightbar Kit for the 2019-2021 Ford Ranger. Continue reading for step-by-step instructions below!
Table of Contents
- Installation Tools
- Installation Instructions
- Questions About the Installation?
- Where Can I Buy the Stage Series LED Lightbar Kit for the 2019-2021 Ford Ranger?
Installation Tools
- Flat-head screwdriver or trim removal tool
- 10mm socket
- 13mm socket
Installation Instructions
Step 1 — Remove license plate holder (if applicable)
If applicable, remove the license plate holder by removing the two (2) 10mm screws along the bottom of the holder. Then, using a trim removal tool or flat-head screwdriver, pry up on the two (2) mounting clips located on the top of the holder to remove it from the vehicle. Set it aside.

Step 2 — Remove lower grille push rivets
Using a trim removal tool or flat-head screwdriver, remove the five (5) plastic push rivets from along the top of the lower grille opening.
NOTE: The center push rivet will be reused.

Step 3 — Route wiring harness
Route your wiring harness. We recommend routing the harness across the front of the engine bay and down the front passenger-side corner to the lower grille area. This will require the core-support trim panel to be removed. It is held in place with four (4) plastic push rivets and two (2) screws on the intake.
NOTE: We recommend routing the harness before installing the light bar, as it will be difficult to access the harness once the light is installed.

Step 4 — Install clip-on barrel nuts
Install the four (4) included clip-on barrel nuts in the holes along the top of the lower grille where the push rivets were previously located.
NOTE: The barrel nut retainer clips may need to be slightly bent outward to prevent damaging the paint during installation.

Step 5 — Install light bar brackets
Using a 13mm socket and the included M8 bolts, washers, and lock washers, install your new light bar brackets.
NOTE: The side of the bracket with the curved mounting slot should be on the innermost side of the vehicle.

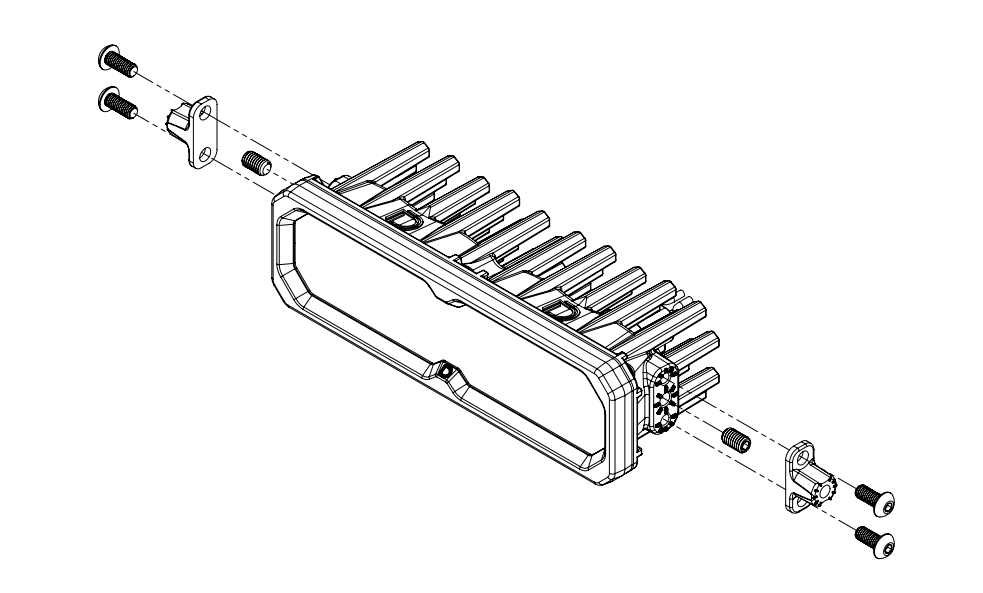
New Stage Series Lightbars — Mounting Adapter Bracket
New Stage Series Lightbars include a mounting adapter bracket that allows them to work with existing mounting brackets used across current kits. This adapter ensures proper fitment without requiring a redesigned bracket.
If your kit includes this adapter, it must be installed onto the lightbar before attaching the lightbar to the main mounting brackets.
Install the included set screws in the center mounting position on both sides of the lightbar. Then, attach the adapter to the lightbar using the included Torx screws in the top and bottom mounting holes. Once the adapter is secured, use the supplied hex bolt to mount the lightbar to the main mounting bracket as normal.

Step 6 — Connect light bars to harness
Connect your new 6" light bars to the wiring harness.
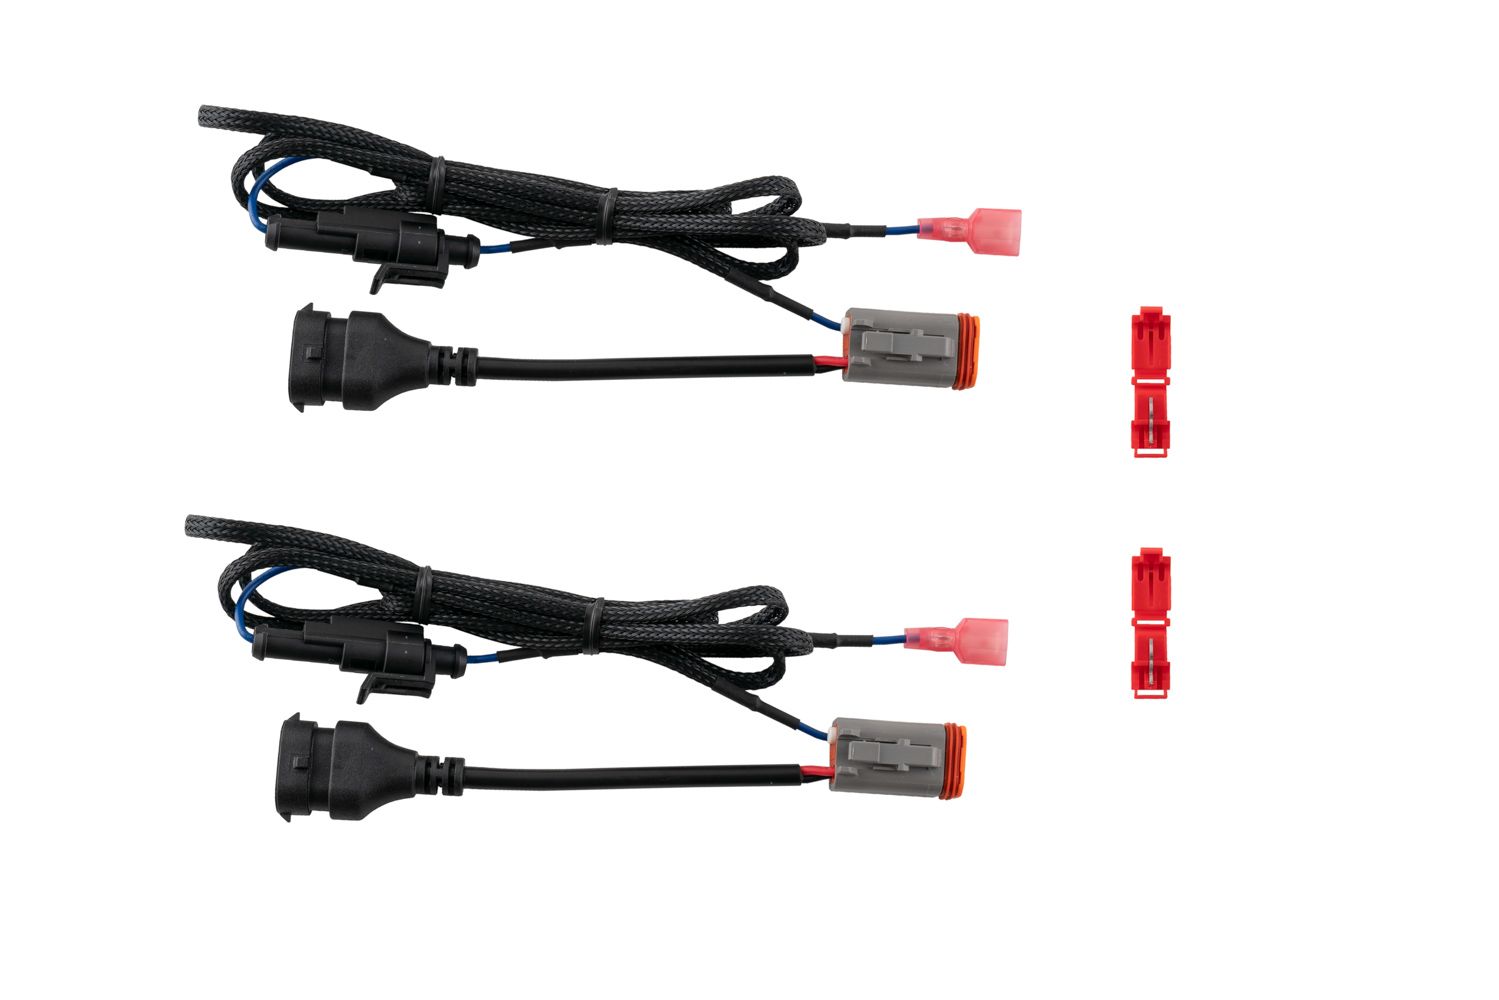
Connect Backlight Wire (Optional)
New Stage Series Light Bars feature an integrated amber backlight that fully illuminates the TIR optic, creating a distinctive accent appearance while improving visibility when parked, staged, or stopped on the trail.
If your light bar is equipped with the backlight function, connect the blue wire with the red male spade connector to a fused 12V source. The parking light or sidemarker circuit is commonly used so the backlight activates with your vehicle’s exterior lighting.
Use the included T-taps to make this connection:
-
Position the T-tap over the selected wire.
-
Use needle-nose pliers to fully seat and crimp the tap.
-
Insert the red male spade connector into the T-tap until secure.
NOTE: The power source must be fused. Do not connect the backlight wire directly to the vehicle battery.
Step 7 — Mount light bars and adjust
Using a 10mm wrench and the included hardware, install the light bars onto the brackets. Using the adjustment slots, adjust the height of the light bars, and adjust the brackets so that light is being directed where desired. Once adjustments are complete, tighten the 10mm and 13mm nuts.
Step 8 — Reinstall grille and license plate holder
Reinstall the lower grille and license plate holder (if applicable) using the original hardware.
If applicable, confirm the adaptive cruise control and lane assist functions are operating properly to complete the installation.
The installation is now complete. Enjoy your new Stage Series LED Lightbar Kit for the 2019-2021 Ford Ranger!
Questions About the Installation?
If you have any questions about installing the Stage Series LED Lightbar Kit for the 2019-2021 Ford Ranger, contact us via our support page.
Where Can I Buy the Stage Series LED Lightbar Kit for the 2019-2021 Ford Ranger?
If you're ready to upgrade your 2019-2021 Ford Ranger with the Stage Series LED Lightbar Kit for the 2019-2021 Ford Ranger, visit DiodeDynamics.com or use our Dealer Locator to find a dealer near you.
Want to know more about Diode Dynamics products? Visit DiodeDynamics.com and subscribe to our newsletter for new product releases and more!
This Installation Guide is for the following SKU: DD8869 DD8621 DD8625 DD6592 DD8871 DD8623 DD8627 DD8870 DD8622 DD8626 DD6593 DD8872 DD8624 DD8628 DD6595

Share This Post