


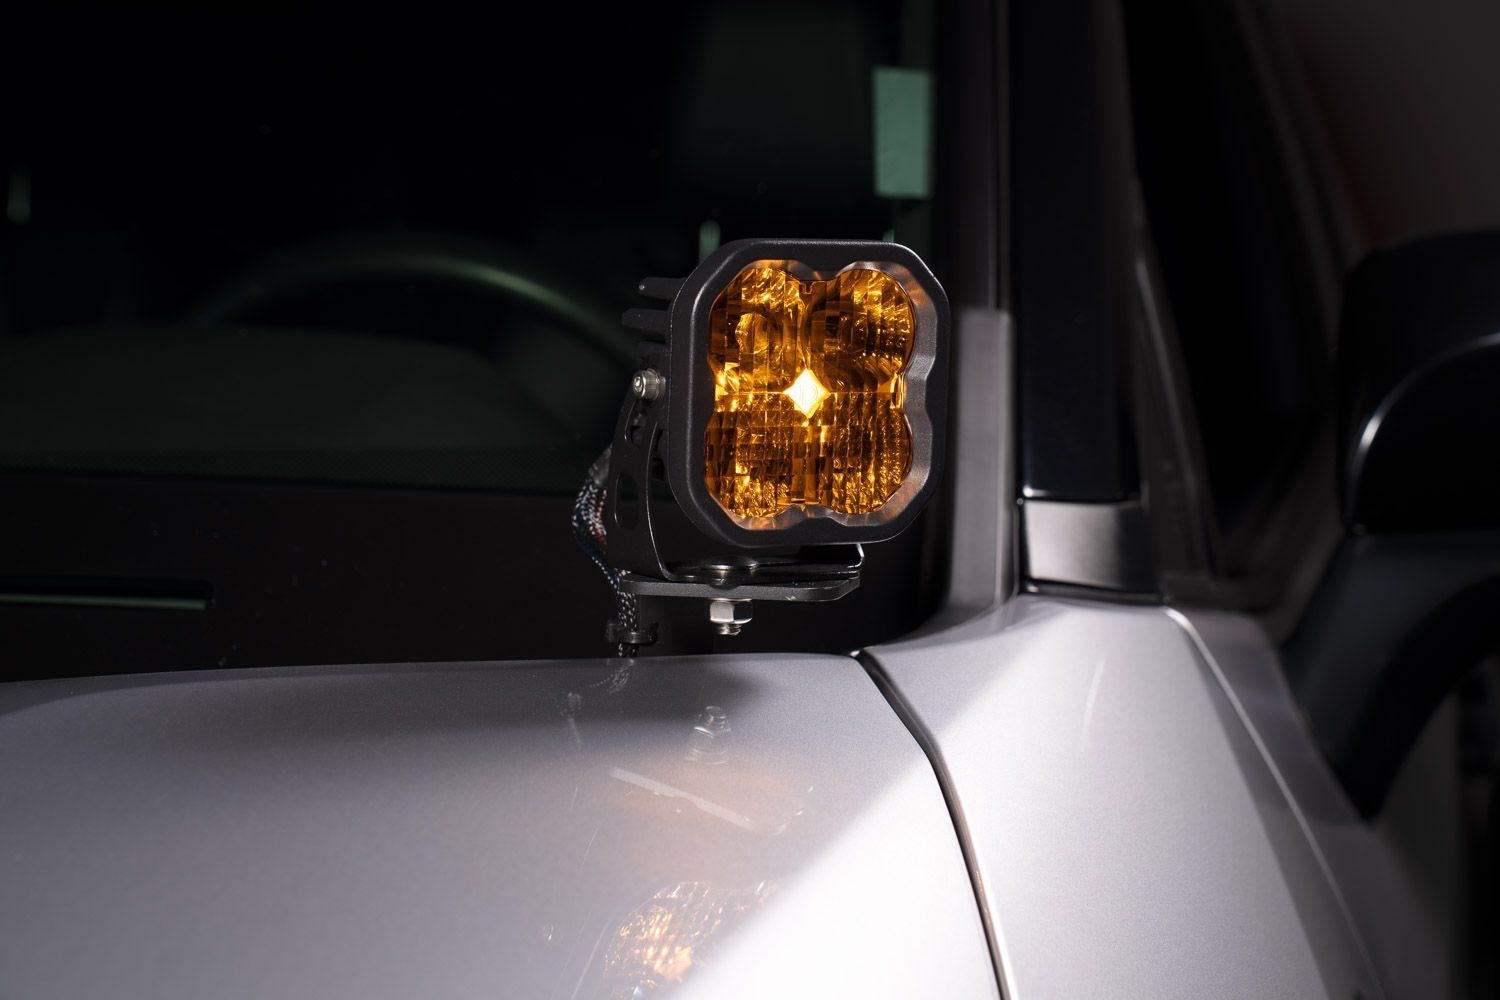
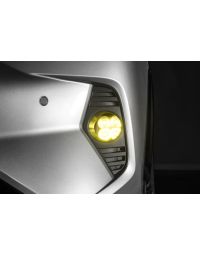
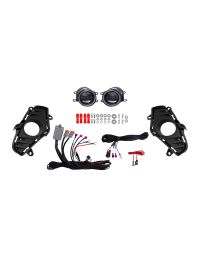
The 2019–2025 Toyota RAV4 Stage Series Backlit Ditch Light Kit adds powerful forward-facing auxiliary lighting with integrated backlight accents for enhanced visibility on the trail and off-road. This installation guide will provide you with detailed instructions on how to install the 2019–2025 Toyota RAV4 Stage Series Backlit Ditch Light Kit. Continue reading for step-by-step instructions below!
Table of Contents
- Installation Video
- Installation Tools
- Installation Instructions
- Questions About the Installation?
- Where Can I Buy the 2019–2025 Toyota RAV4 Stage Series Backlit Ditch Light Kit?
Installation Video
Installation Tools
- 10mm socket
- 12mm socket
- 13mm wrench
- Trim removal tool
- Cable fish or pull tool
Installation Instructions
Step 1 — Loosen hood hinge bolts
Open the hood and use a 10mm socket to loosen the two hood hinge bolts on one side of the vehicle. Do not fully remove the bolts.
Step 2 — Install hood-mounted ditch light bracket
Slide the supplied ditch light bracket between the hood hinge and the vehicle body. On the passenger side, ensure the windshield washer fluid line is not pinched during installation.

Step 3 — Adjust bracket and secure hood bolts
Adjust the bracket so it does not contact any painted surfaces, then retighten the hood hinge bolts to approximately 10 ft-lbs. Repeat Steps 1–3 on the opposite side.

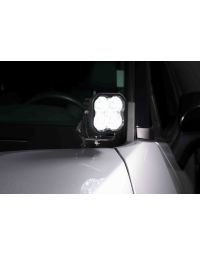
Step 4 — Mount LED pod to bracket
Feed the carriage bolt through the LED pod U-bracket and the hood-mounted bracket. Use a 13mm wrench to tighten the hardware, leaving the pod slightly loose for aiming later.

Step 5 — Route wiring into engine bay
Route the wiring harness from each LED pod toward the engine bay, securing the wiring away from sharp edges and moving components.

Step 6 — Connect power and ground
Connect the harness power wire to the battery or designated power post. On hybrid models, connect power at the fuse box power post. Connect the ground wire to a factory grounding point near the driver-side headlamp.

Step 7 — Route switch wiring through firewall
Using a factory firewall grommet, route the switch wiring into the cabin. A cable fish or pull tool may help guide the wiring through the firewall.

Step 8 — Route wiring to switch location
Route the wiring across the dash to the desired switch location. An extension harness may be used if additional length is required.
Step 9 — Mount rocker switch
Install the three-position rocker switch in an available factory switch blank or another preferred mounting location inside the cabin.

Step 10 — Test function and aim lights
Turn the ignition on and test the ditch lights and backlight function. Adjust the LED pod angle as desired, then fully tighten all mounting hardware.
The installation is now complete. Enjoy your new 2019–2025 Toyota RAV4 Stage Series Backlit Ditch Light Kit!
Questions About the Installation?
If you have any questions about installing the 2019–2025 Toyota RAV4 Stage Series Backlit Ditch Light Kit, contact us via our support page.
Where Can I Buy the 2019–2025 Toyota RAV4 Stage Series Backlit Ditch Light Kit?
If you're ready to upgrade your 2019–2025 Toyota RAV4 with the Stage Series Backlit Ditch Light Kit, visit DiodeDynamics.com or use our Dealer Locator to find a dealer near you.
Want to know more about Diode Dynamics products? Visit DiodeDynamics.com and subscribe to our newsletter for new product releases and more!
This Installation Guide is for the following SKUs: DD8803, DD8804, DD8805, DD8806, DD8809, DD8810, DD8811, DD8812, DD8802

Share This Post