














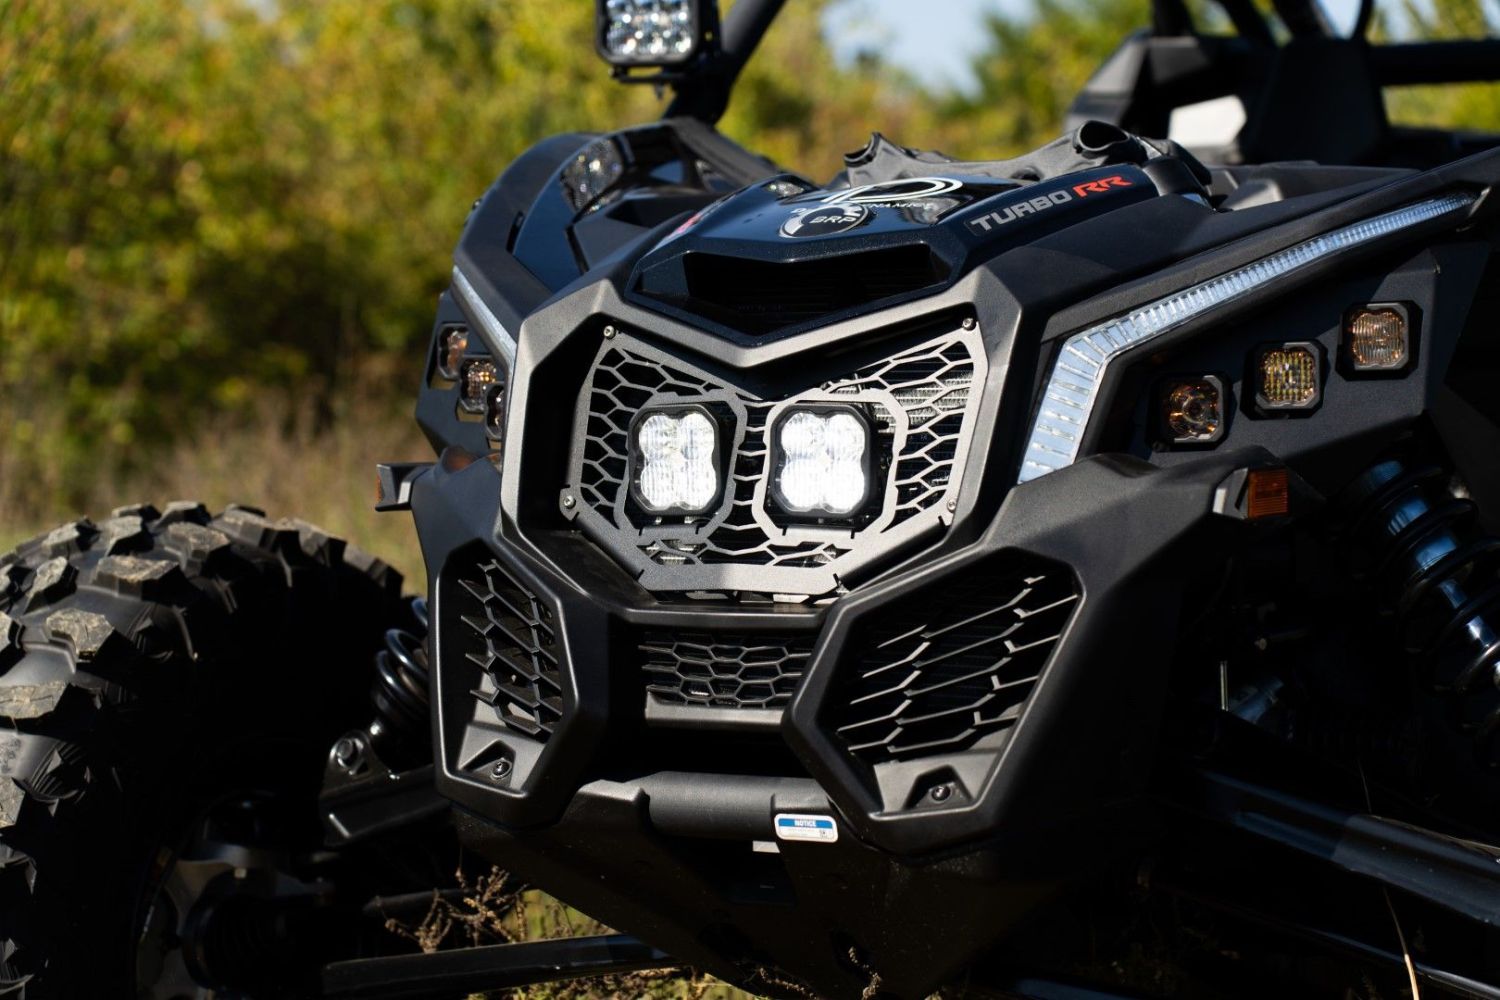
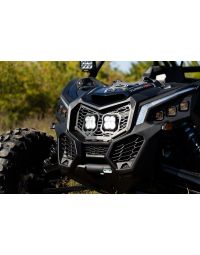
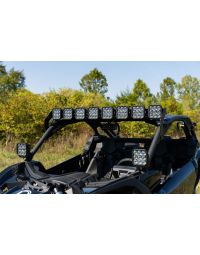
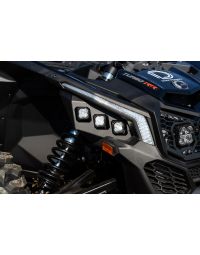
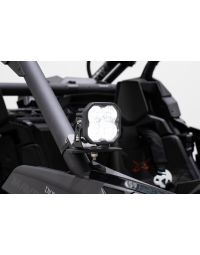
The SS3 LED Grille Kit for the 2017-2025 Can-Am Maverick X3 and SS10 LED Grille Kit for the 2017-2025 Can-Am Maverick X3 replace the factory grille with a direct-fit stainless steel grille and powerful Stage Series lighting for improved off-road visibility. This installation guide will provide you with detailed instructions on how to install either LED grille kit on your Can-Am Maverick X3. Watch our installation video or continue reading below for detailed instructions!
Table of Contents
- Installation Tools
- Installation Video
- Installation Instructions
- Questions About the Installation?
- Where Can I Buy the SS3 or SS10 LED Grille Kit for the 2017-2025 Can-Am Maverick X3?
Installation Tools
- 10mm wrench
- 10mm socket
- 13mm wrench
- 13mm socket
- 18mm socket
- Ratchet
- 4mm Allen key
- 5mm Allen wrench
- Trim removal tool
- Wire fisher or wire running tool
- Electrical tape
- Zip ties
Installation Video
Installation Instructions
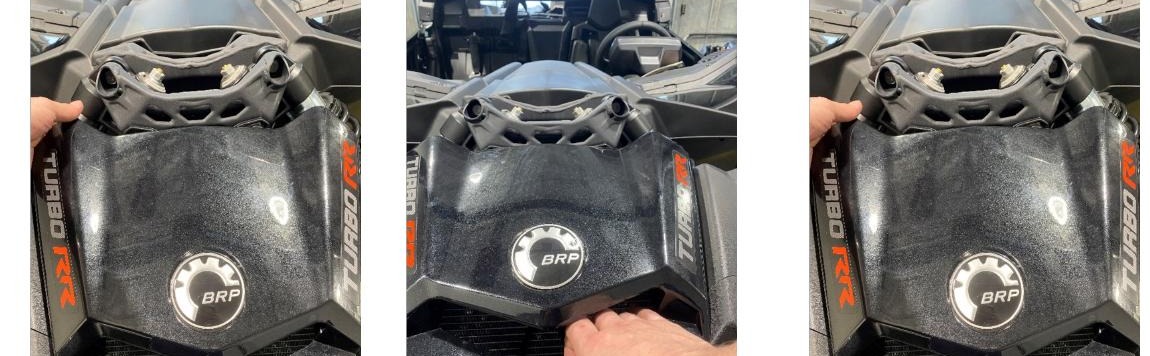
Step 1 — Remove the hood
Starting at the upper-left corner, firmly pull the hood upward and away from the vehicle. Continue around the hood until all five retention points release, then set the hood aside for reinstallation.
Step 2 — Release the factory grille
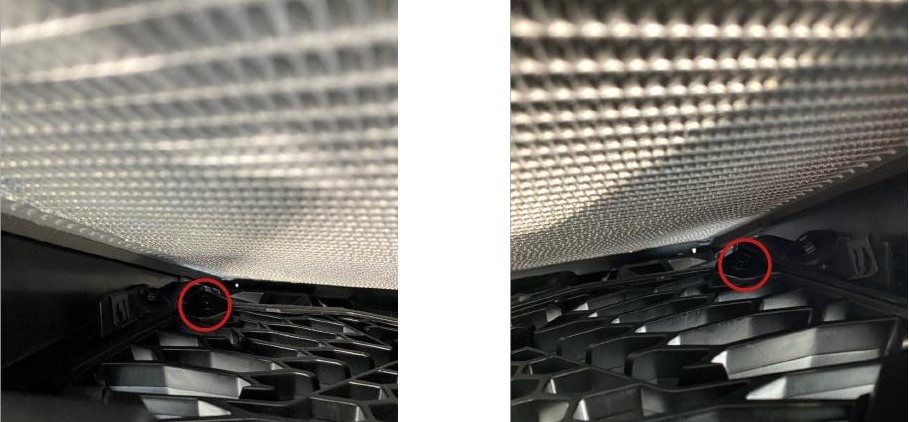
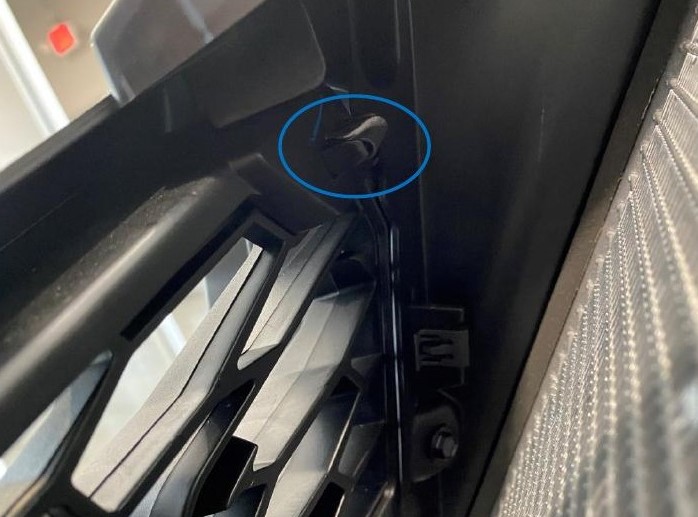
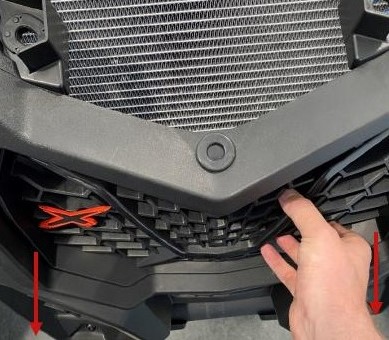
Use a 10mm wrench to remove the two bolts along the bottom of the factory grille. Press the retaining clip at the upper-left corner of the grille to release it from the body, then repeat on the right side.
Step 3 — Remove the factory grille
After removing both lower bolts and releasing both upper clips, pull the factory grille forward and remove it from the vehicle.
Step 4 — Assemble the selected light configuration
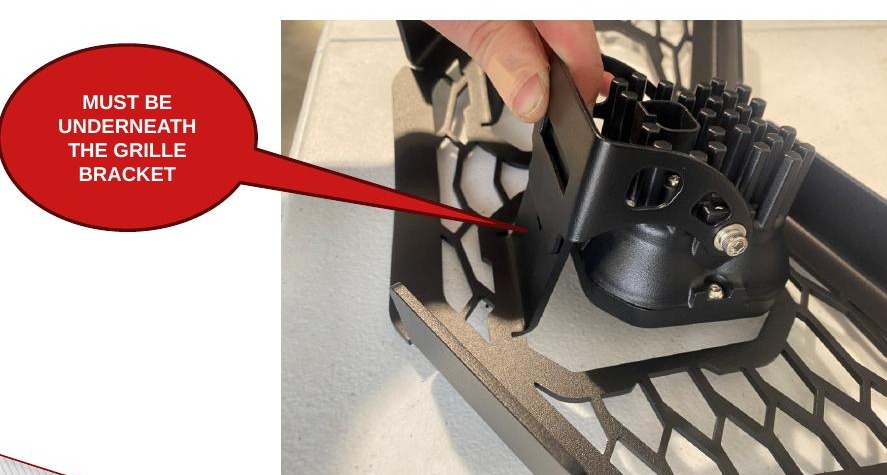
SS3 configuration: Slide each universal bracket underneath its mounting tab on the replacement grille. Insert the supplied carriage bolt from the top, then install the washer, lock washer, and nut underneath. Align the rear edge of the universal bracket with the rear edge of the grille mounting tab and center each SS3 LED pod in its opening. Tighten the mounting nuts with a 13mm wrench.
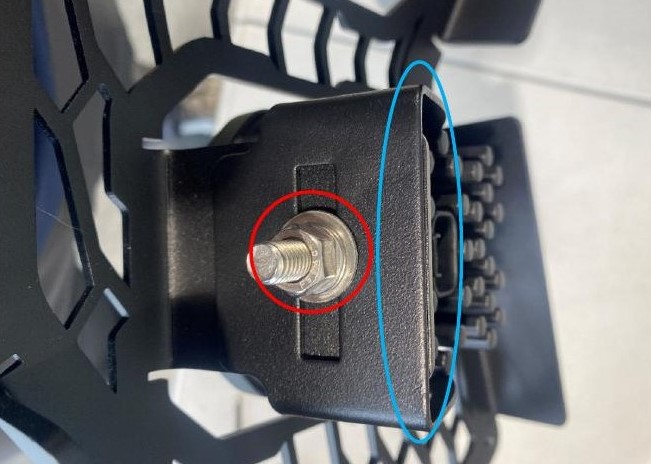
SS10 configuration: Position the SS10 LED light bar on the replacement grille with the light bar facing downward as shown. Use the center mounting hole on each end of the light bar and install the included mounting hardware. Leave the hardware slightly loose for final aiming.
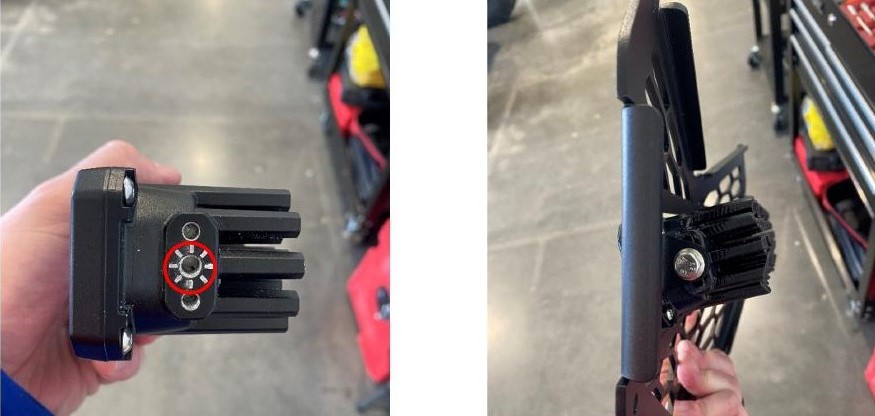
Step 5 — Prepare the grille assembly for installation
SS3 configuration: Connect the included two-way DT splitter to both SS3 LED pods. Confirm that both connections are fully seated, then set the assembled grille aside in a safe location. The splitter will connect to the main wiring harness in Step 16.
SS10 configuration: Set the assembled SS10 grille aside in a safe location. The main wiring harness will connect directly to the SS10 LED light bar in Step 16.
Continue to Step 6 to complete the shared wiring procedure before installing either grille assembly.
Step 6 — Disconnect the passenger seat belt
Inside the vehicle, disconnect the passenger seat belt from the base of the seat by feeding the looped end through the buckle and pulling it free.
Step 7 — Remove the passenger seat
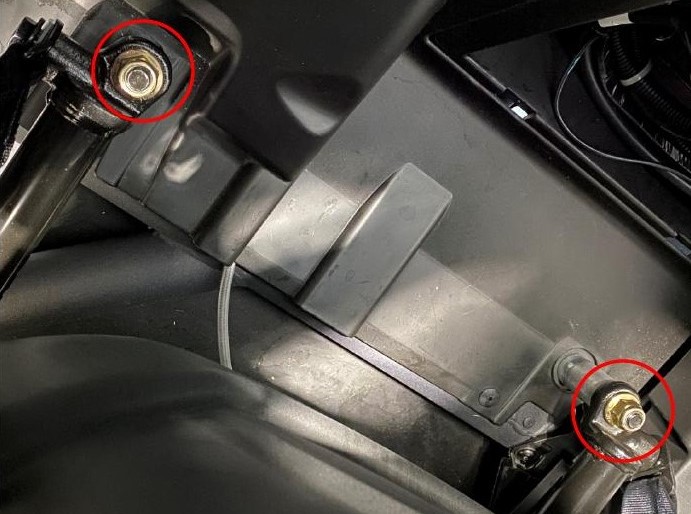
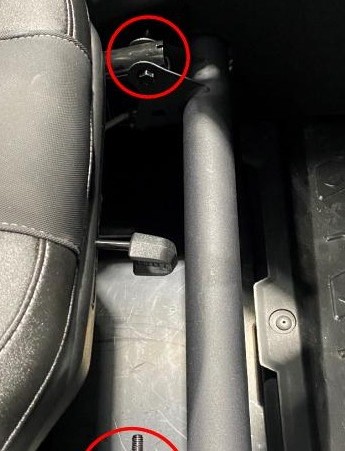
Pull the seat adjustment lever and move the passenger seat fully forward. Reach behind the seat and use an 18mm socket and ratchet to remove the two rear locking nuts. Slide the seat fully rearward, then use a 13mm wrench and 13mm socket to remove the two front bolts and locking nuts. Carefully lift the seat out of the vehicle.
Step 8 — Disconnect the battery
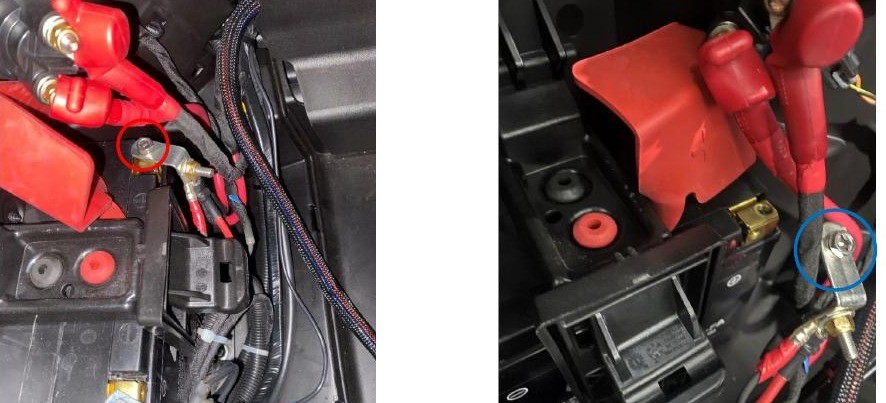
Use a 10mm socket or wrench to disconnect the positive battery cable. Secure the cable away from the battery terminal while installing the harness.
Step 9 — Remove the passenger-side console panels
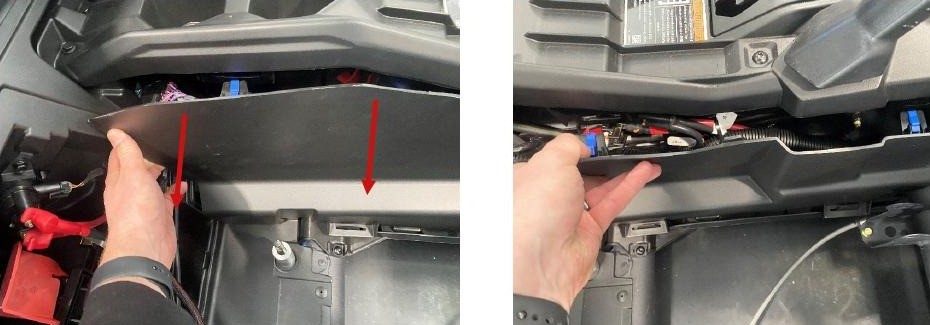
Begin with the rear passenger-side console panel. Pull gently from the upper-left corner and work forward to release the retaining clips, then lift the panel away. Remove the forward console panel using the same method to expose the bus bar and harness-routing area.
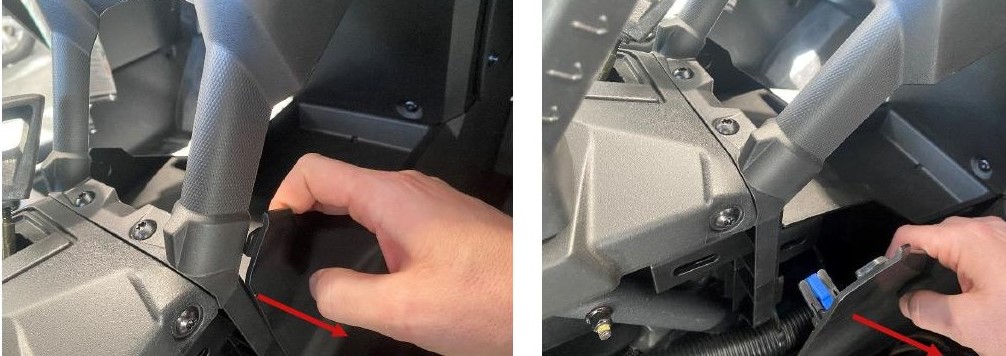
Step 10 — Access the bus bar
Peel back the rubber protective cover from the bus bar. Use a 10mm socket and ratchet to loosen the positive and negative connection points.
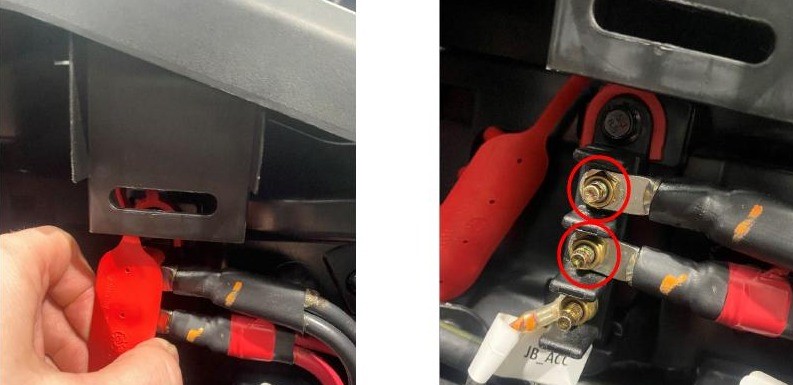
Step 11 — Connect the main wiring harness
Connect the harness red wire to the positive bus-bar terminal and the black wire to the negative terminal. Tighten both connections securely with a 10mm socket and ratchet. Reposition the rubber protective cover, then place the relay in an open area that will not interfere with console-panel reinstallation.
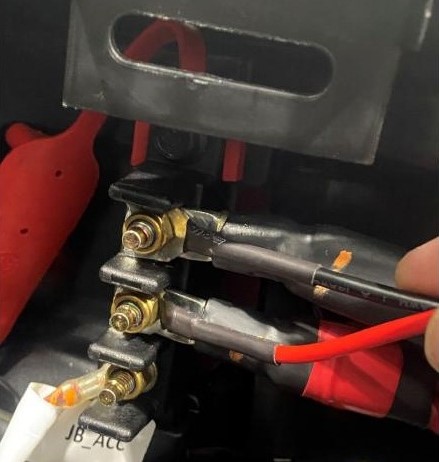
Step 12 — Route the harness through the console
Route the DT connector and switch lead forward through the center console behind the removed panels. Pass both leads toward the driver-side floorboard. Keep the wiring away from the driveshaft, hot surfaces, sharp edges, and moving parts.
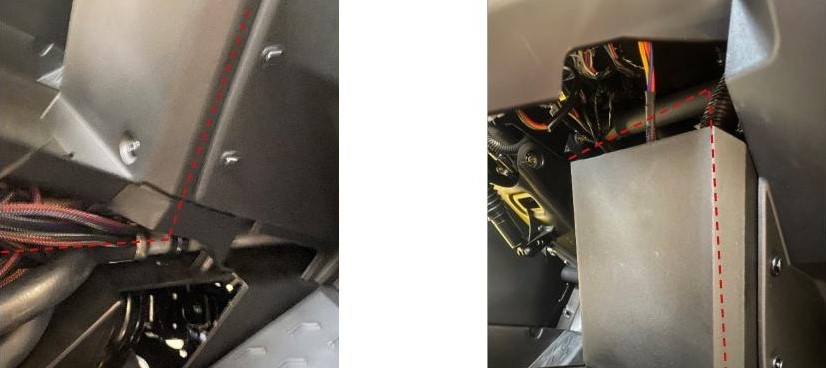
Step 13 — Route and connect the switch
Choose a suitable switch location and route the switch lead to it. Connect the included toggle switch according to the harness connections shown. Do not permanently install the switch until you confirm proper operation.
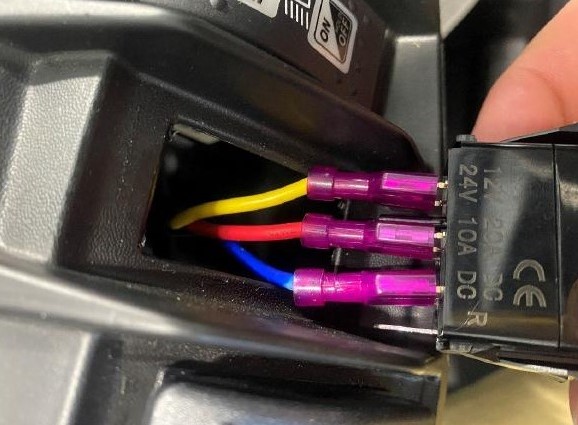
Step 14 — Install the rectangular rocker switch if desired
If desired, the included wiring harness can be controlled using the Diode Dynamics Rectangular Rocker Switch. Disconnect the included toggle switch from the white inline connector on the switch lead, then connect the rectangular rocker switch directly to that connector.
Route the switch wiring to your preferred mounting location. Remove the corresponding factory switch blank from the dashboard or switch panel, then press the rocker switch into the opening until fully seated.
The rocker switch includes backlighting and requires a ground connection for illumination. Attach the black wire with the ring terminal to a suitable chassis ground point.
Step 15 — Route the DT connector through the firewall
From the driver-side floorboard, feed a wire fisher through the firewall. Tape the harness DT connector securely to the wire fisher, then move to the front of the vehicle and carefully pull the connector through. Route it through the center access point toward the grille opening.
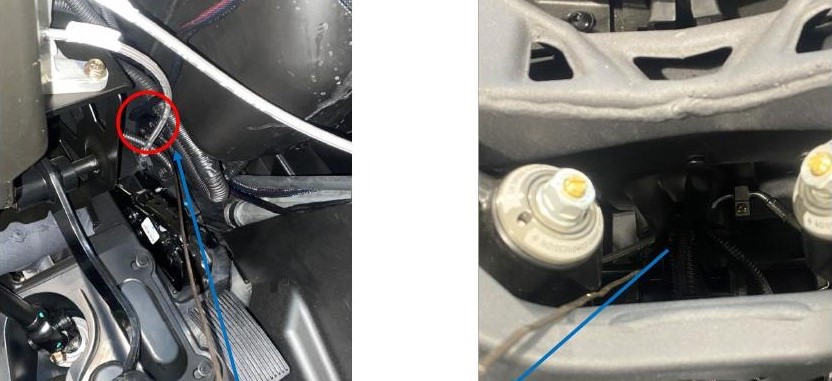
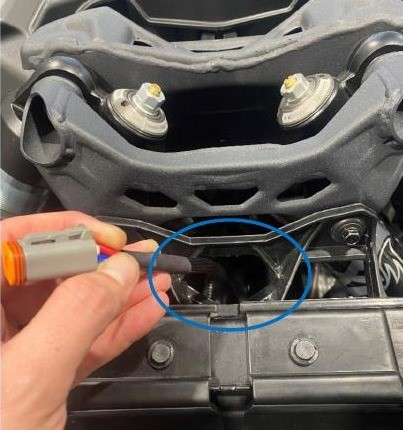
Step 16 — Connect the lights and install the selected grille
SS3 configuration: Connect the main harness DT connector to the two-way splitter previously connected to the SS3 LED pods. Feed excess harness length back through the firewall for final wire management. Position the assembled grille in the factory opening, making sure the wiring remains clear of the mounting points. Insert the four included bolts through the grille and vehicle mounting tabs, then install the washers and locking nuts. Tighten the hardware with a 10mm wrench and 4mm Allen key until snug. Do not overtighten.
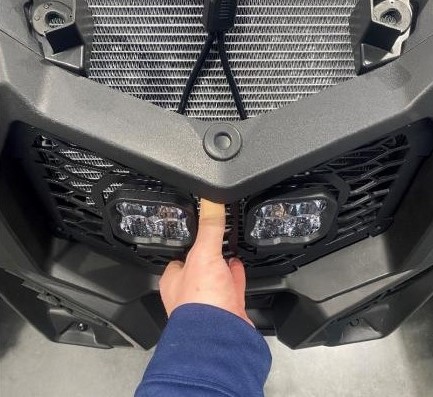
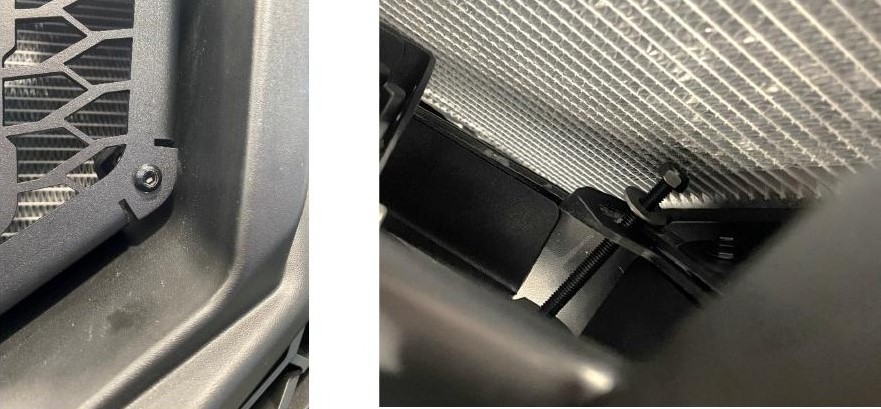
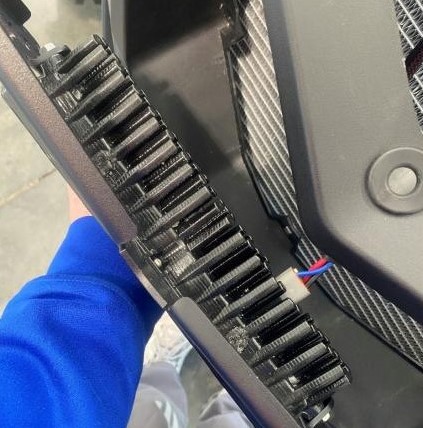
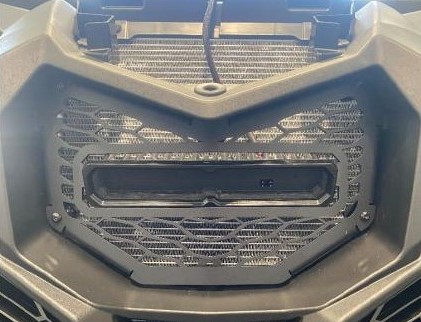
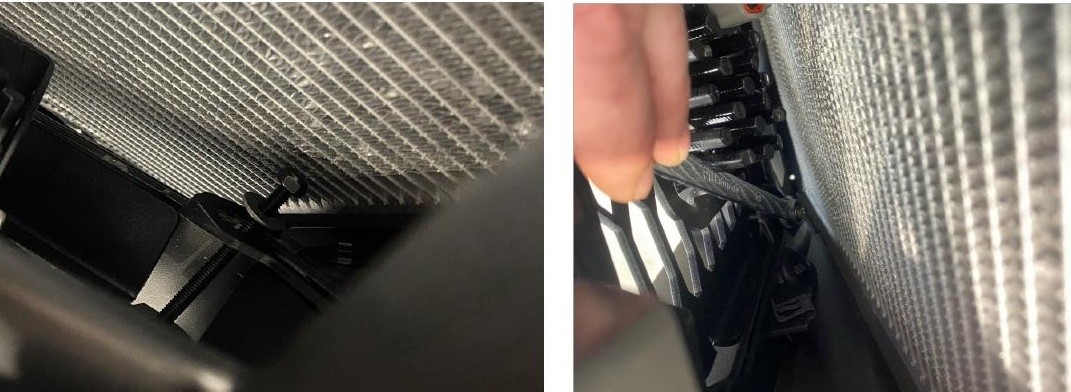
SS10 configuration: Pull the routed harness into the grille opening and connect the DT connector directly to the SS10 LED light bar. Position the assembled grille in the factory opening and install the four included bolts. Add the washers and locking nuts from the rear, then tighten the hardware with a 10mm wrench and 4mm Allen key until snug. Do not overtighten.
Step 17 — Test and aim the lights
Reconnect the positive battery cable and test the switch and lights. Aim the SS3 LED pods or SS10 LED light bar to the desired position. Tighten the SS3 side bolts with a 5mm Allen wrench, or tighten the SS10 mounting bolts with a 10mm wrench, to secure the final aim.
Step 18 — Secure the wiring and reassemble
Secure all excess wiring with zip ties, keeping it away from hot surfaces, sharp edges, the driveshaft, and other moving parts. Permanently install the selected switch after verifying its operation. Reinstall the console panels, passenger seat, seat belt, and hood by reversing the removal steps.
The installation is now complete. Enjoy your new SS3 LED Grille Kit for the 2017-2025 Can-Am Maverick X3 or SS10 LED Grille Kit for the 2017-2025 Can-Am Maverick X3!
Questions About the Installation?
If you have any questions about installing the SS3 LED Grille Kit for the 2017-2025 Can-Am Maverick X3 or SS10 LED Grille Kit for the 2017-2025 Can-Am Maverick X3, contact us via our support page.
Where Can I Buy the SS3 or SS10 LED Grille Kit for the 2017-2025 Can-Am Maverick X3?
If you're ready to upgrade your 2017-2025 Can-Am Maverick X3 with the SS3 LED Grille Kit or SS10 LED Grille Kit, visit DiodeDynamics.com or use our Dealer Locator to find a dealer near you.
Looking for more lighting options for your Can-Am Maverick X3? Check out our full selection of Can-Am Maverick lighting upgrades.
Want to know more about Diode Dynamics products? Visit DiodeDynamics.com and subscribe to our newsletter for new product releases and more!
This Installation Guide is for the following SKU: DD7878, DD7882, DD7879, DD7883, DD7880, DD7884, DD7881, DD7885, DD7877P, DD8299, DD8300, DD8305, DD8306, DD8301, DD8302, DD8307, DD8308, DD8303, DD8304, DD8309, DD8310, DD8298P
Share This Post