


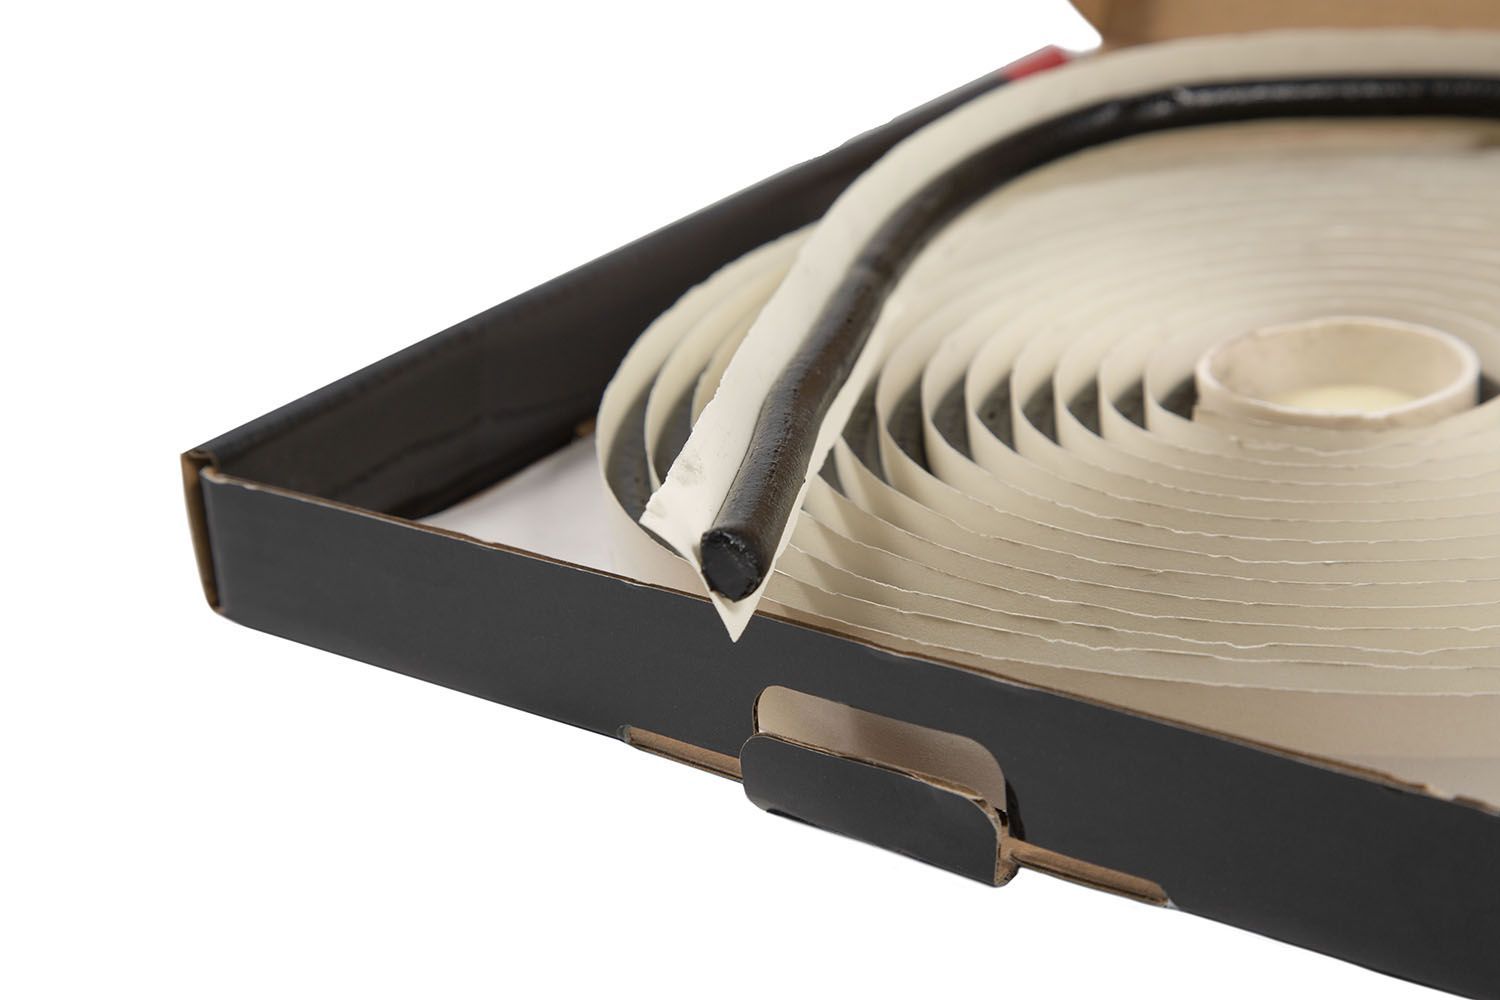
Diode Dynamics Butyl Headlamp Sealant is an automotive-grade sealing solution designed to properly reseal headlights after they have been opened for retrofits, repairs, or custom lighting upgrades. With a flexible, durable design, this butyl sealant helps prevent moisture intrusion and ensures a long-lasting seal.
This guide follows the recommended process outlined in the official Diode Dynamics installation instructions, walking through proper preparation, application, and resealing of your headlamp assemblies.
Table of Contents
- Installation Video
- Installation Tools
- Installation Instructions
- Questions About the Installation?
- Where Can I Buy Butyl Headlamp Sealant?
Installation Video
Installation Tools
- Diode Dynamics Butyl Headlamp Sealant
- Oven or heat gun
- Scissors
- Locking pliers or clamps
- Oven mitts or heat-resistant gloves
Time Required: Approximately 45–90 minutes.
Installation Instructions
Step 1 – Remove original sealant
Remove as much of the original sealant as possible from the headlamp channel. Clearing the channel allows the new butyl sealant to form a complete and reliable seal.
Step 2 – Warm the butyl sealant
Heat the butyl sealant roll in an oven set to 200°F or lower for approximately five minutes to soften it. Alternatively, you may warm the sealant using another controlled heat source.
Step 3 – Stretch the butyl
Take a section of the warmed butyl sealant and stretch it until it is slightly thinner than the headlamp channel. The sealant should stretch easily when warm. If it becomes too flexible, allow it to cool slightly before continuing.
Step 4 – Apply sealant to the channel
Begin applying the butyl sealant into the headlamp channel. Apply enough material to fill the bottom radius of the channel evenly.
Step 5 – Complete the channel
Continue applying sealant until the entire channel is filled. Cut away any excess with scissors. You should have enough sealant remaining to reseal a second headlamp.
Step 6 – Reinstall and heat the lens
Double-check the sealant placement, then place the headlamp lens back into the groove, pressing it together lightly. Using a baking sheet, warm the assembled headlamp in a conventional oven set to 250°F for 5–10 minutes.
Step 7 – Clamp and seal
Using oven mitts, remove the heated assembly and use locking pliers or clamps to fully seal the lens to the housing before the butyl cools. Secure the lens at as many points as possible, ensuring all factory fastening points align correctly.
Step 8 – Allow to cool
Allow the headlamp to cool at room temperature for at least 30 minutes. Once cooled, remove all clamps.
Step 9 – Additional retention for permaseal housings (if applicable)
If the original headlamp was sealed using RTV or permaseal, install small thread-cutting metal screws (not included) at select locations to ensure long-term retention of the lens to the housing.
Step 10 – Remove excess sealant
Once fully cooled, remove any excess butyl sealant by pulling it quickly away from the lamp.
Questions About the Installation?
If you have any questions about using the Diode Dynamics Butyl Headlamp Sealant, contact us via our support page.
Where Can I Buy Diode Dynamics Butyl Headlamp Sealant?
If you're ready to reseal your headlights using Diode Dynamics Butyl Headlamp Sealant, visit DiodeDynamics.com or use our Dealer Locator to find a dealer near you.
Want to know more about Diode Dynamics products? Visit DiodeDynamics.com and subscribe to our newsletter for new product releases and more!
This Installation Guide is for the following SKUs: DD4048, DD4048X
Share This Post