



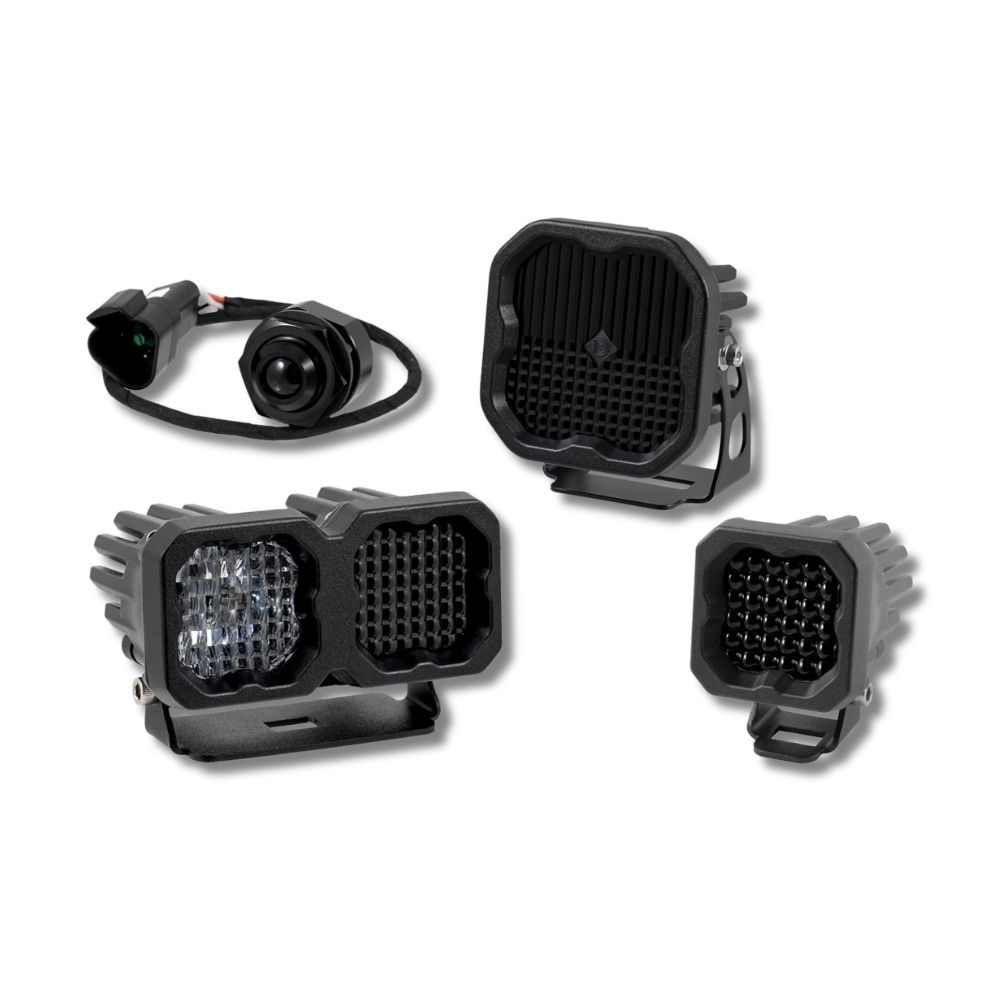











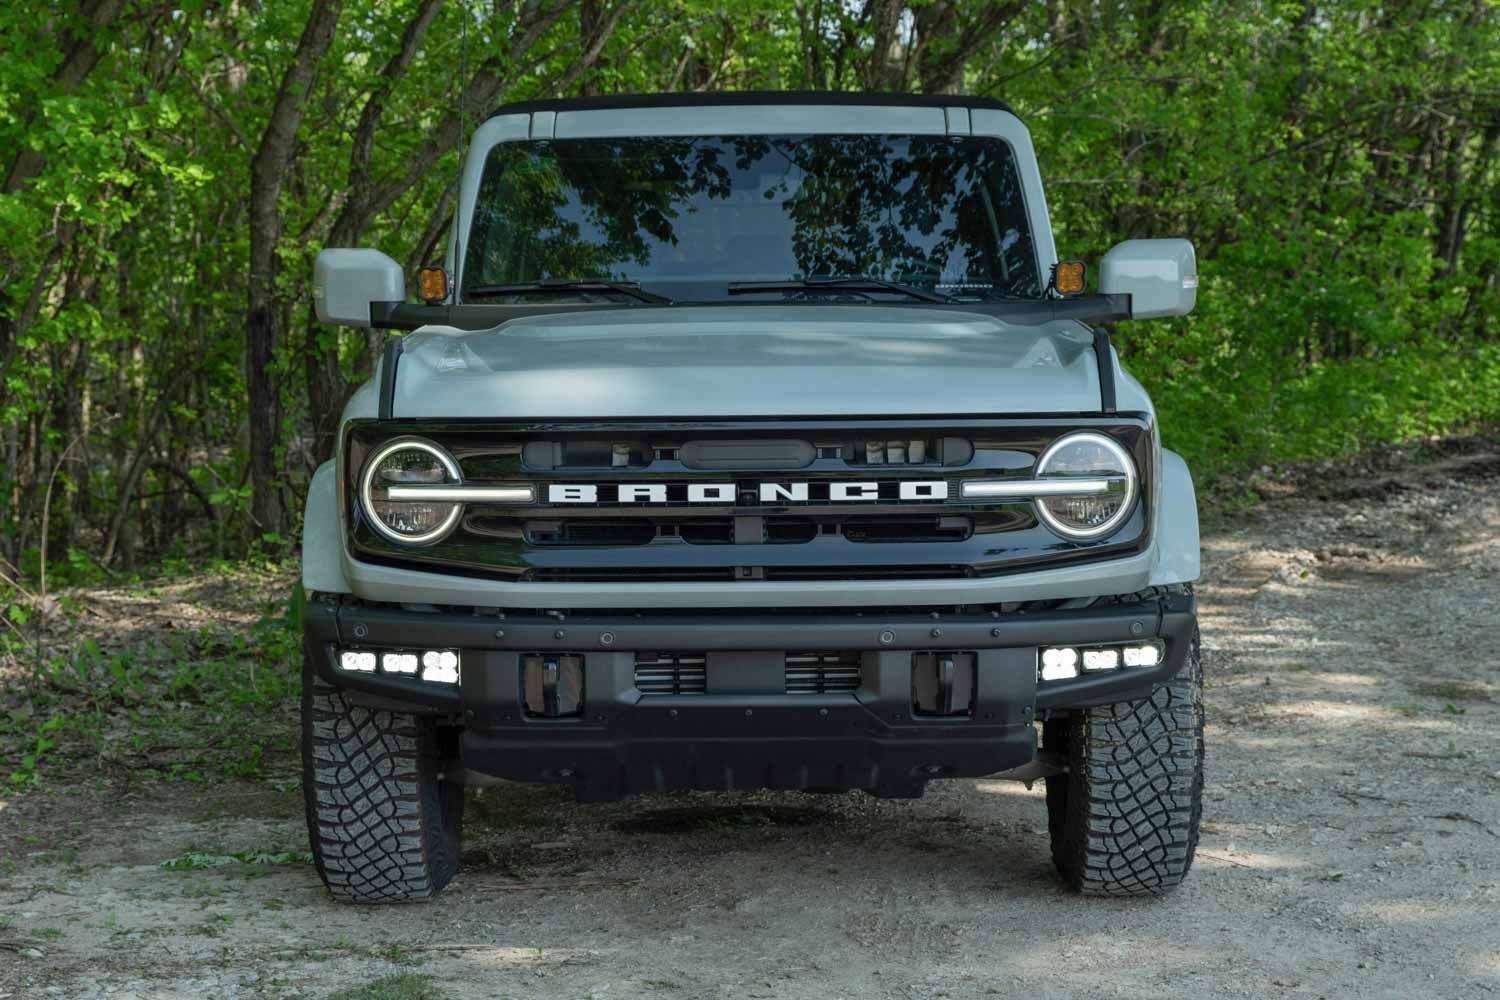
Thank you for your purchase of our Stage Series Fog Pocket Kit. CAD-designed to use existing mounting points, this kit is compatible with the 2021-2025 Ford Bronco equipped with the modular steel bumper.
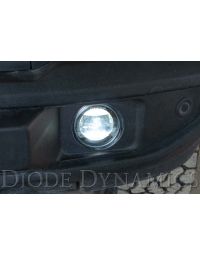
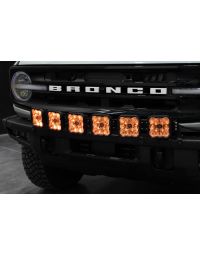
This kit provides three lighting functions: road-legal fog lights, ambient backlight illumination, and bright off-road lighting.
Table of Contents
- Installation Video
- Installation Tools
- Bracket Installation
- Wiring Instructions – Method One (Add New Switches)
- Wiring Instructions – Method Two (OEM Upfitter/Auxiliary Switches)
- Functional Notes
- Fog Light Aiming Instructions
- Questions About the Installation?
- Where Can I Buy This Kit?
Installation Video
Installation Tools
- T40 Torx bit and ratchet
- 10mm socket
- Wire strippers
Bracket Installation
Step 1 – Remove factory bolts
Starting on either side of the vehicle, remove the three factory bolts on the bottom side of the bumper using a T40 Torx bit and ratchet. These bolts will be reused.
Step 2 – Install fog pocket bracket
Install your new Stage Series fog pocket bracket onto the vehicle using the three original bolts and a T40 Torx bit and ratchet.
NOTE: Each bracket is labeled with an “L” (driver’s side) or “R” (passenger side).
Step 3 – Mount pods
Once the bracket is mounted to the bumper, mount your pods onto the bracket.
NOTE: The inboard mounting position is designed for an SS3 pod. The outer two positions are designed to mount SSC2 or SSC1 pods.
Step 4 – Repeat on opposite side
Repeat the steps on the other side of the vehicle to mount the second bracket.
Wiring Instructions – Method One (Add New Switches)
Step 1 – Route harnesses
Route wiring harnesses to general locations as needed. Place the Fog Relay and Off-Road Relay near the fuse box under the hood.
Run an output wire for each harness to the fog pocket on each side of the vehicle. Route switch wires into the vehicle cabin on the driver’s side.
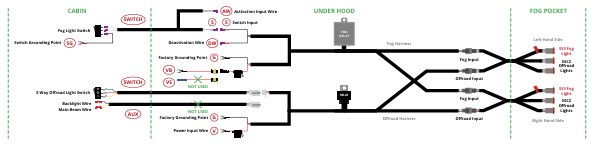
Step 2 – Connect battery power
For each relay, connect the positive and negative battery wires to the battery or to the main power terminals near the fuse box.
Step 3 – Connect fog activation input wire
Connect the Fog Activation Input Wire to your preferred activation signal. We recommend tapping the sidemarker or low beam signal so the fog lights turn on and off automatically with your parking lights or low beams.
Step 4 – Connect switch input wire
Connect the Switch Input wire to the Fog Relay.
Step 5 – Install switches inside cabin
Inside the cabin, connect the switch wires to each switch, aligning wire colors as shown. Provide ground to the fog light switch using the included grounding wire. Mount switches in an unused dash location.
Step 6 – Connect splitter and pods
Connect output wires to the splitter on each side of the vehicle. Connect the splitter to each pod.
IMPORTANT: Connect the Fog Light output (marked with a red flag) to the SS3 Fog Light pod.
Step 7 – Secure wiring and test
Secure all wiring and test for proper function.
Wiring Instructions – Method Two (OEM Upfitter/Auxiliary Switches)
Controlling Fog Lights with Upfitter Switch
Follow Method One but do NOT run switch wires into the cabin.
Unplug the Battery Input Wire from the Fog Relay and replace it with the Power Input Wire.
Connect the Power Input Wire to an OEM Auxiliary Switch wire. Ensure the selected wire can provide adequate current.
The Activation Input Wire should still be connected to your parking light or headlamp circuit.
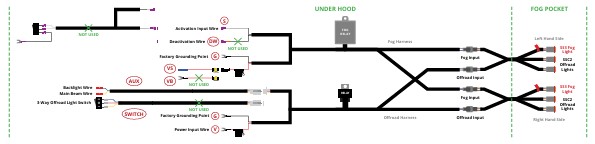
Controlling Off-Road and Ambient Backlights
Disconnect the 3-way switch adapter and replace it with the OEM auxiliary switch adapter.
Connect the yellow wire to control the main off-road lighting and the blue wire to control the ambient backlight.
Functional Notes
- The fog light activation wire must be connected to an appropriate signal. Do not connect to constant 12V or ignition power.
- When off-road lighting is activated, all three lights illuminate unless the splitter harness diode is modified.
- The deactivation wire can disable fog lights when 12V is applied.
Fog Light Aiming Instructions
Step 1 – Position vehicle
Park your vehicle 25 feet away from a wall or garage door on a level surface.
Step 2 – Loosen adjustment bolts
Loosen the 5/32” Allen bolts on each side of your SS3 pods just enough to allow adjustment.
Step 3 – Measure mounting height
Measure the distance between the ground and the center of your SS3 pods.
Step 4 – Mark cutoff line
Mark the mounting height on the wall and add another mark four inches below it. This is your cutoff line.
Step 5 – Aim pods
Aim your SS3 pods so the top of the beam pattern aligns with the cutoff line.
Step 6 – Tighten hardware
Tighten the 5/32” Allen bolts. Do not overtighten or use power tools.
Questions About the Installation?
If you have questions about installing the Stage Series Fog Pocket Kit , contact us via our support page.
Where Can I Buy This Kit?
If you're ready to upgrade with the Stage Series Fog Pocket Kit for the 2021-2025 Ford Bronco, visit DiodeDynamics.com or use our Dealer Locator to find a dealer near you.
This Installation Guide is for the following SKUs: DD7178, DD7179, DD7180, DD7181, DD7182, DD7183
Share This Post