



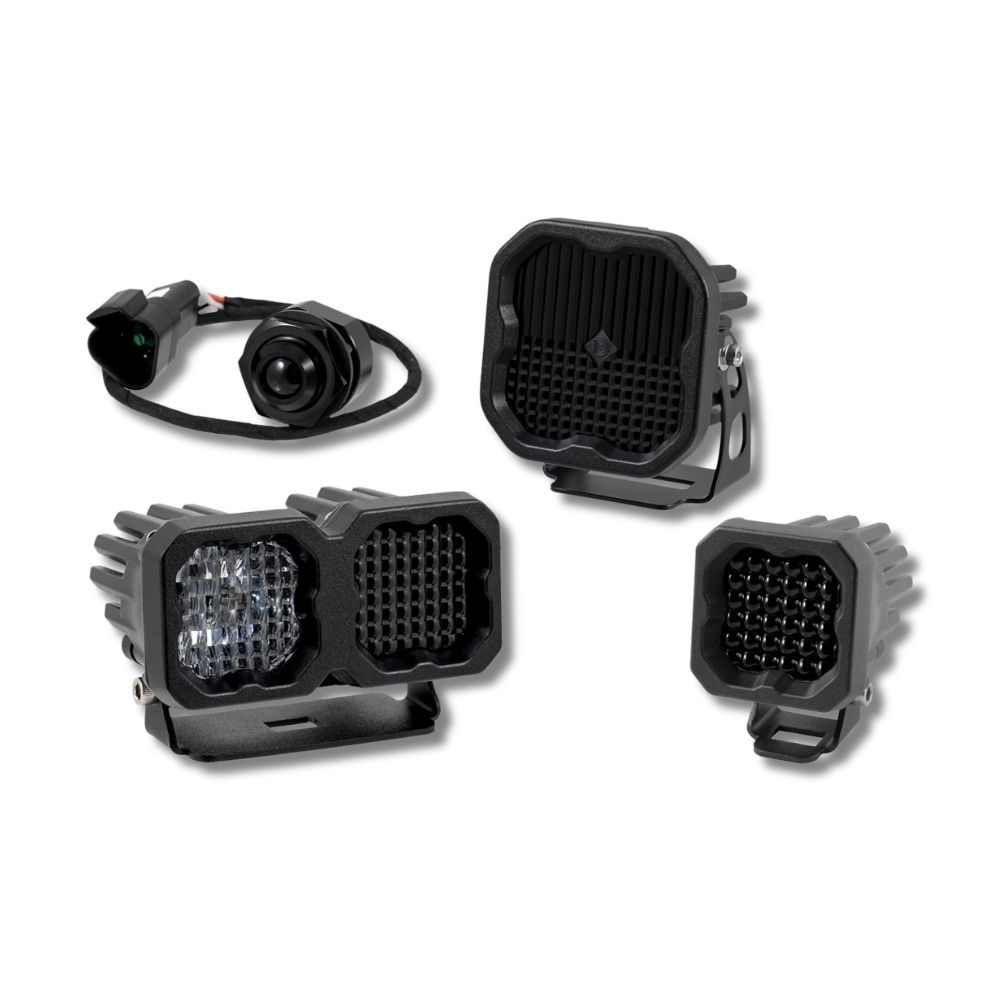











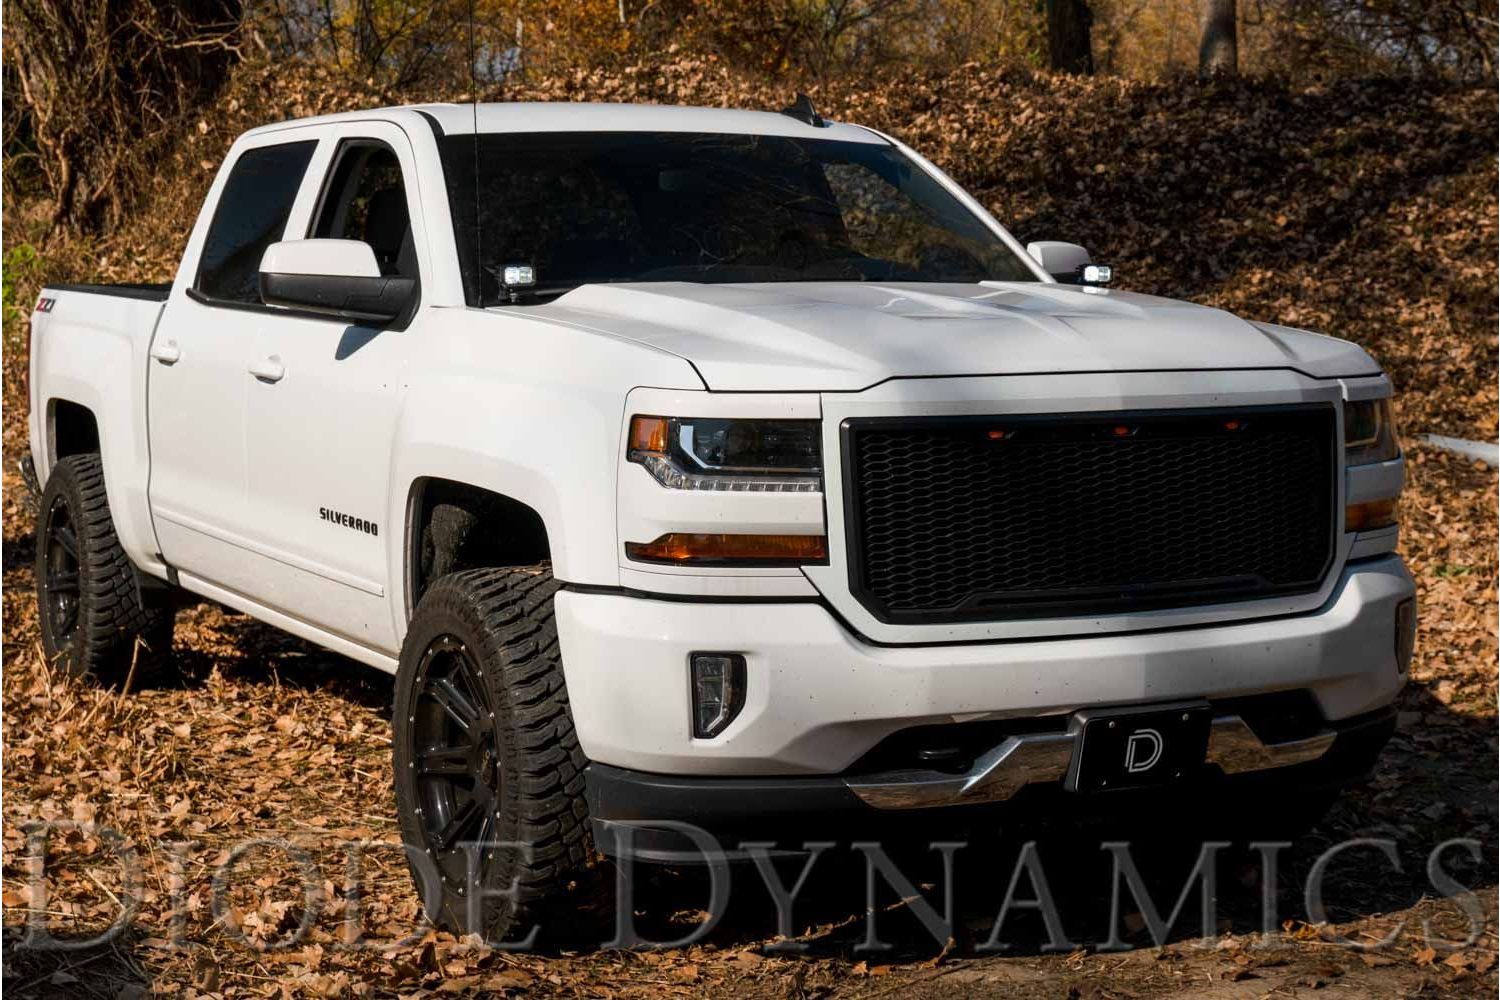
The Diode Dynamics Stage Series Backlit Ditch Light Kit for the 2014–2019 Chevrolet Silverado 1500 and GMC Sierra 1500 provides powerful auxiliary lighting using factory hood hinge mounting points. Designed for a clean, bolt-on installation, this kit delivers improved forward and peripheral visibility while maintaining a low-profile, OEM-style appearance.
This guide walks through the installation process for the Stage Series Backlit Ditch Light Kit. Installation steps are identical for both the Silverado 1500 and Sierra 1500 platforms.
Table of Contents
- Installation Tools
- Installation Instructions
- Important Fitment Notes
- Questions About the Installation?
- Where Can I Buy This Kit?
Installation Tools
- 13mm socket
- Ratchet and extension
- Trim removal tool or flat-head screwdriver
- Painter’s tape
Time Required: Approximately 1–2 hours.
Installation Instructions
Step 1 – Mark hood hinge alignment
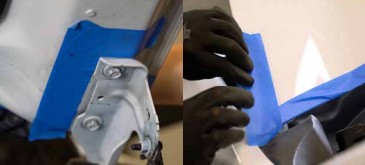
Open the hood and mark the location of the hood hinges using painter’s tape. Apply tape along the edges of the hood to prevent scratching during installation.
Step 2 – Loosen hood hinge bolts
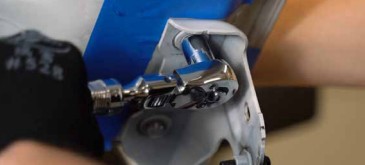
Working on one side of the vehicle at a time, use a 13mm socket to loosen the hood hinge bolts as needed to fit the bracket. Support the rear edge of the hood during installation.
Step 3 – Install the ditch light bracket
Place the ditch light bracket under the hood hinge and align the holes with the hinge mounting points. Adjust the bracket so there is a slight gap at the back of the hood to prevent contact with the plastic cowl.
Note: The bracket may lightly contact the rubber overlay on the cowl but should not interfere with the plastic underneath.
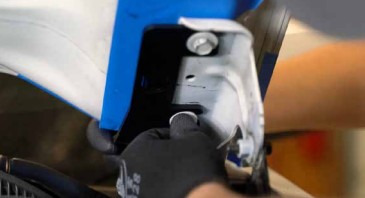
Step 4 – Secure hood hinge and bracket
Tighten the factory hood hinge bolts, ensuring the hinge aligns with the tape marks. Repeat Steps 1–4 on the opposite side of the vehicle.
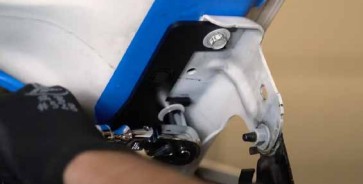
Step 5 – Verify fitment
Carefully close the hood to confirm there is no contact between the bracket and the plastic cowl. Verify the hood latches properly and that panel gaps are even. Activate the windshield wipers to confirm they do not contact the brackets.
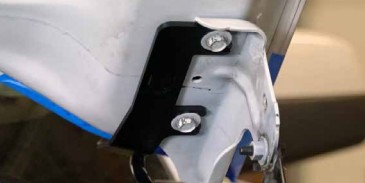
Step 6 – Route wiring and mount pods
Once the brackets are installed, refer to the Universal Bracket Info/Mounting Guide to mount your Stage Series LED pods to the brackets.
Use the integrated cutout in each bracket to route wiring, and secure all wiring away from the hood hinge and moving components using the included zip ties.
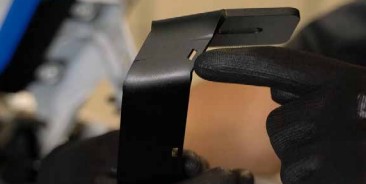
Important Fitment Notes
- Do not use automatic car washes with this kit installed.
- Confirm windshield wipers do not contact the ditch light brackets.
- Verify hood opens, closes, and latches properly before driving.
Questions About the Installation?
If you have any questions about installing the Diode Dynamics Stage Series Backlit Ditch Light Kit for your Silverado or Sierra, contact us via our support page.
Where Can I Buy the Stage Series Backlit Ditch Light Kit?
To purchase this kit, visit:
- Stage Series Backlit Ditch Light Kit for 2014–2019 Chevrolet Silverado 1500
- Stage Series Backlit Ditch Light Kit for 2014–2019 GMC Sierra 1500
You can also use our Dealer Locator to find a Diode Dynamics dealer near you.
Want to know more about Diode Dynamics products? Visit DiodeDynamics.com and subscribe to our newsletter for new product releases and more!
This Installation Guide is for the following SKUs:
DD6654, DD6655, DD6656, DD6657, DD6658, DD6659, DD6660, DD6661, DD6662
Share This Post