


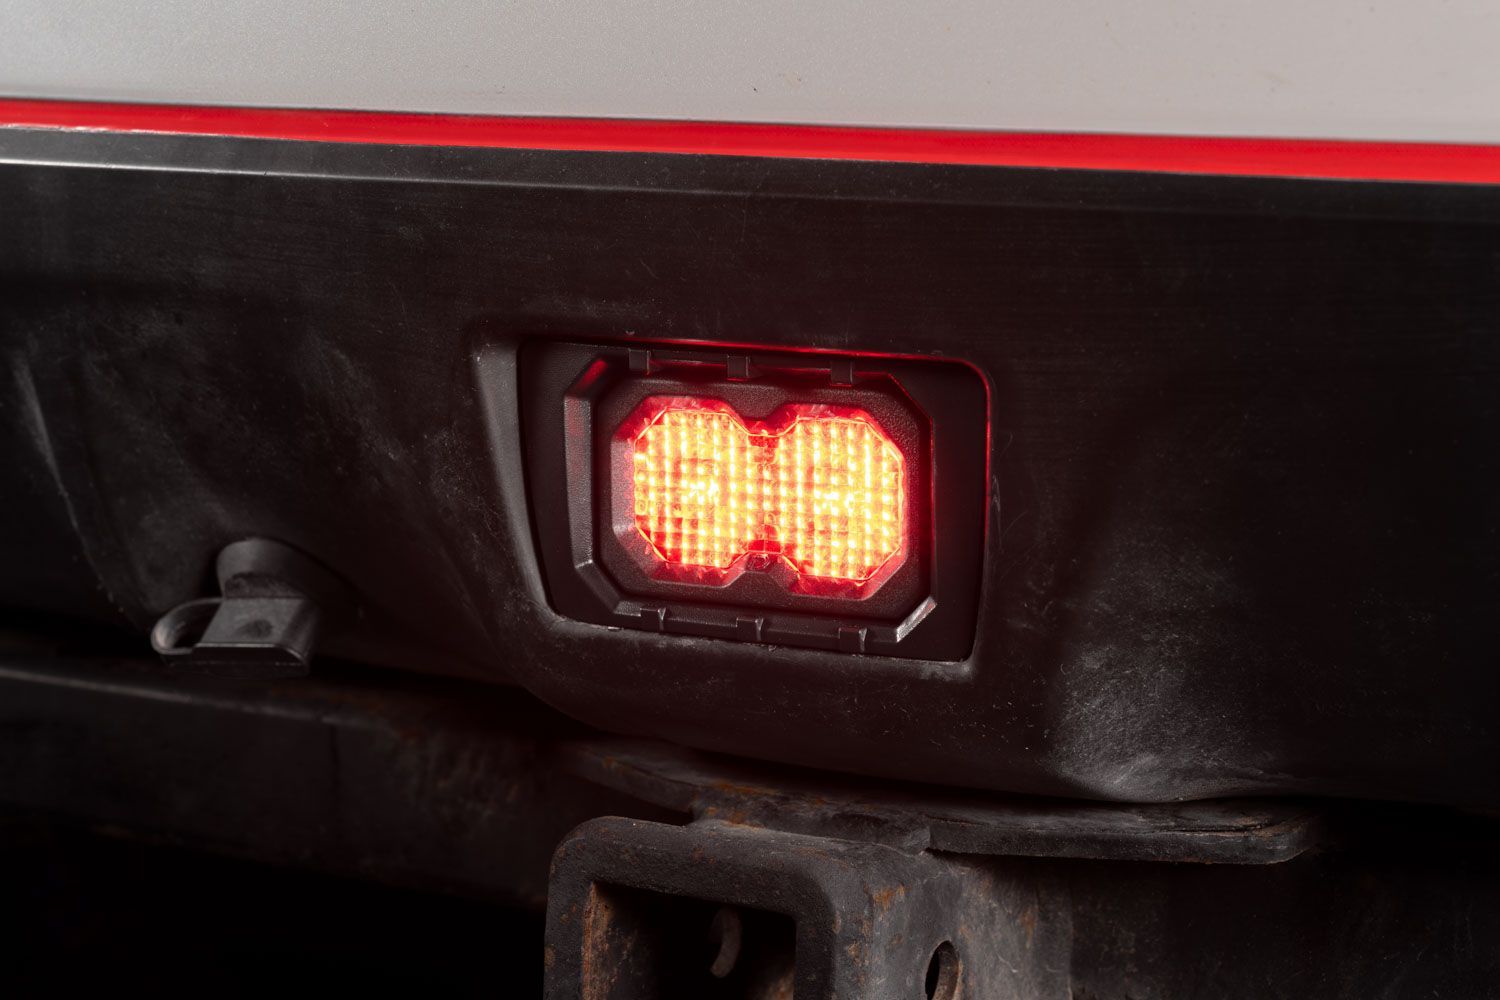
The Subaru C2R 4th Brake Light Kit for the 2008-2014 Subaru WRX and 2012-2016 Impreza Sedan adds a high-powered LED brake light for increased rear visibility and a clean factory-style appearance. This installation guide will provide you with detailed instructions on how to install the Subaru C2R 4th Brake Light Kit. Continue reading for step-by-step instructions below!
Table of Contents
- Installation Tools
- Installation Instructions
- Questions About the Installation?
- Where Can I Buy the Subaru C2R 4th Brake Light Kit?
Installation Tools
- 8mm socket
- T25 Torx driver
- Plastic trim removal tool
Installation Instructions
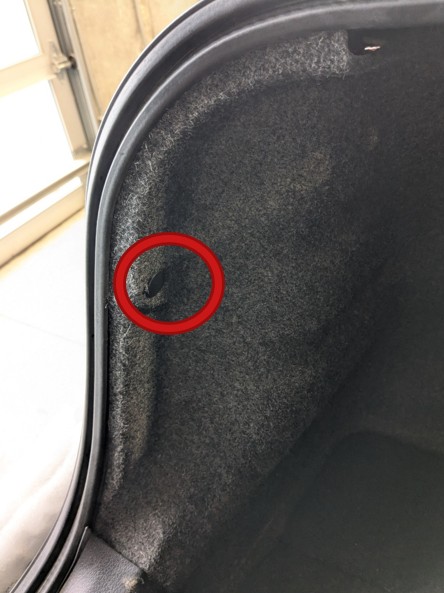
Step 1 — Remove trunk trim fastener
Open the trunk and remove the plastic push clip securing the trunk carpet, then peel the carpet back to access the taillight mounting area.
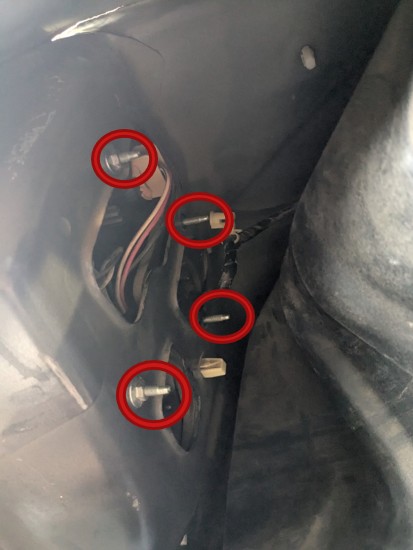
Step 2 — Remove taillight mounting nuts
Using an 8mm socket, remove the four nuts securing the taillight to the vehicle.
Step 3 — Disconnect and remove taillight
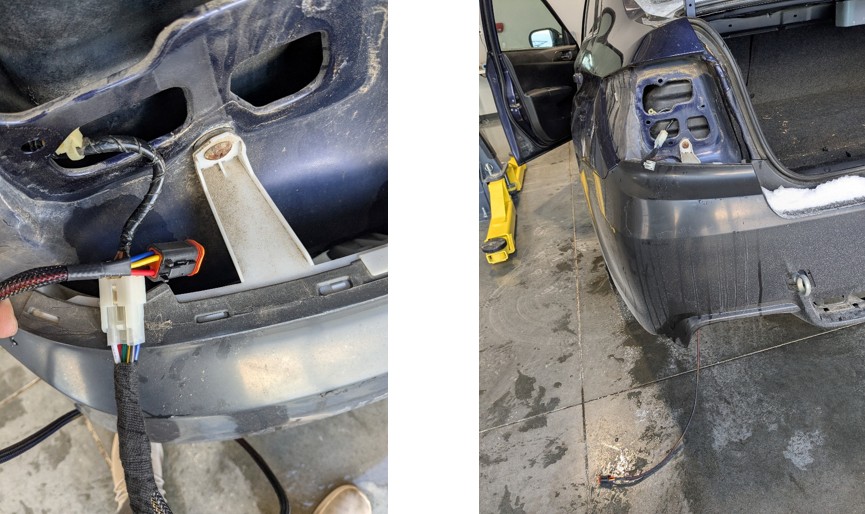
Carefully pull the taillight straight back from the vehicle and disconnect the factory taillight connector.
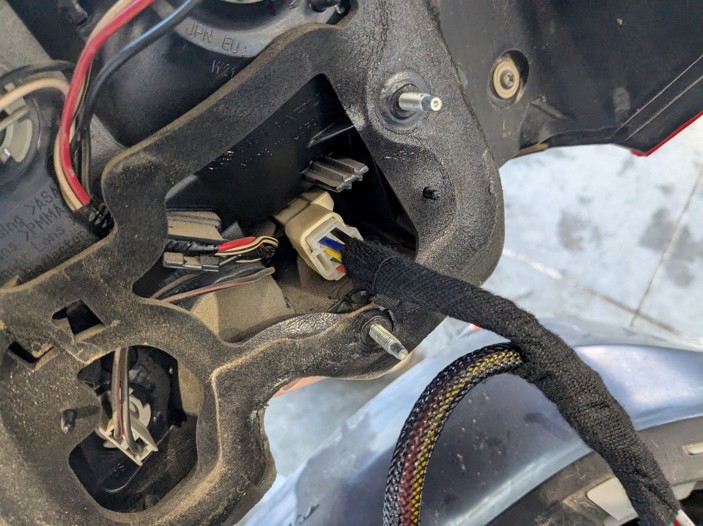
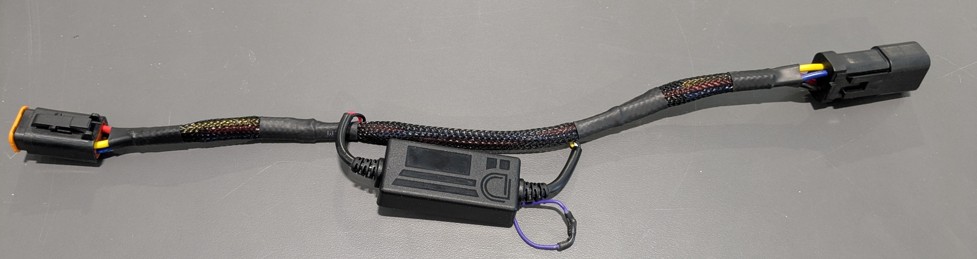
Step 4 — Install inline harness
Plug the supplied inline harness into the vehicle’s taillight connector.

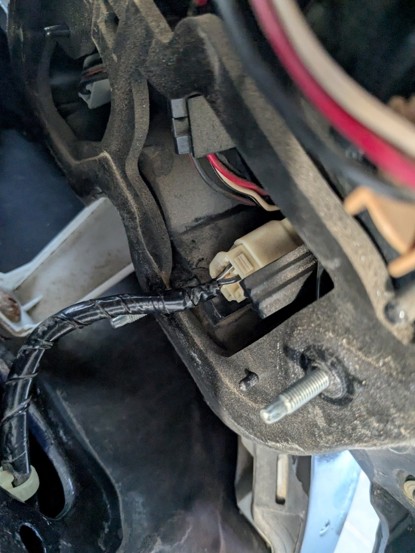
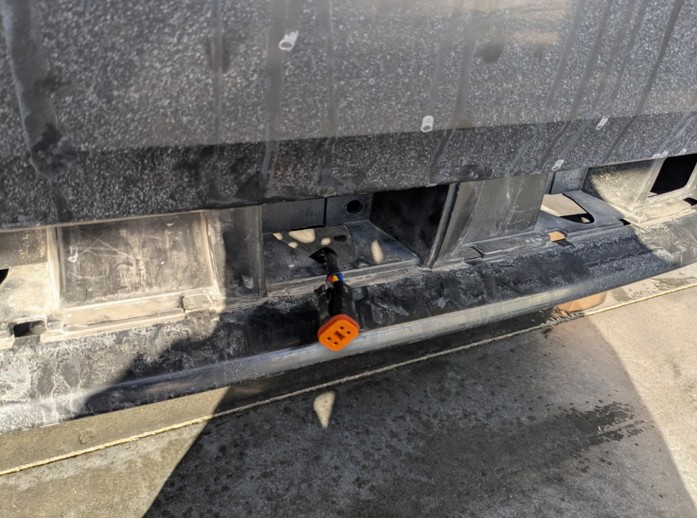
Step 5 — Route connector behind bumper
Route the inline harness connector downward behind the rear bumper, feeding it toward the lower bumper opening.
Step 6 — Reconnect taillight
Reconnect the inline harness to the taillight, then reinstall the taillight onto the vehicle and secure it using the four factory 8mm nuts.
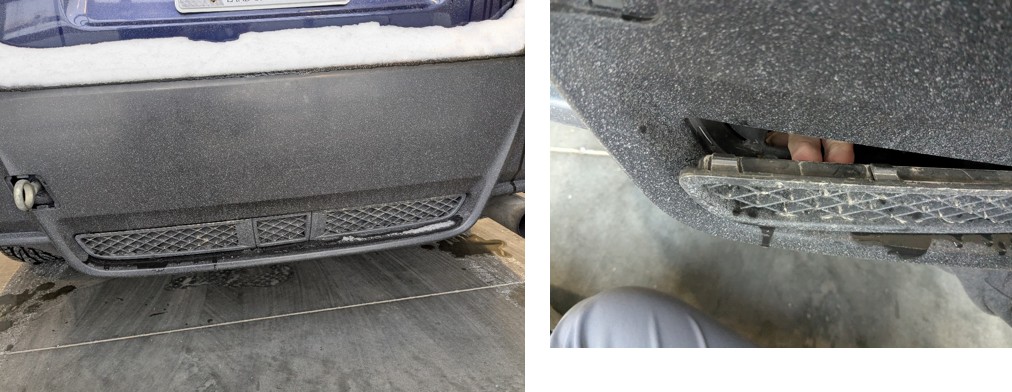
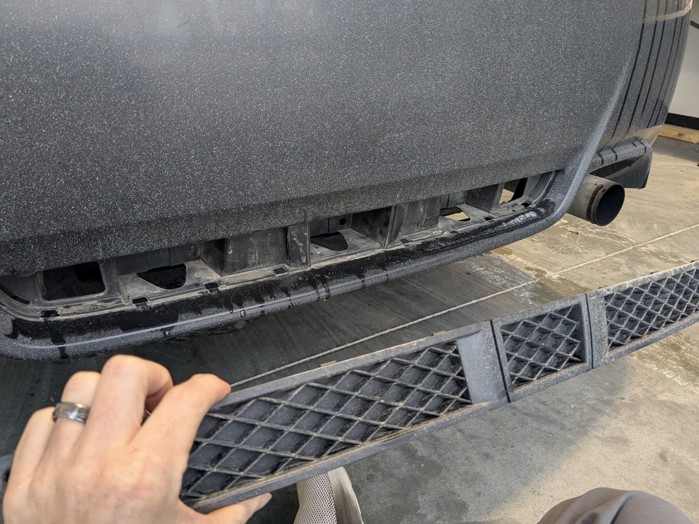
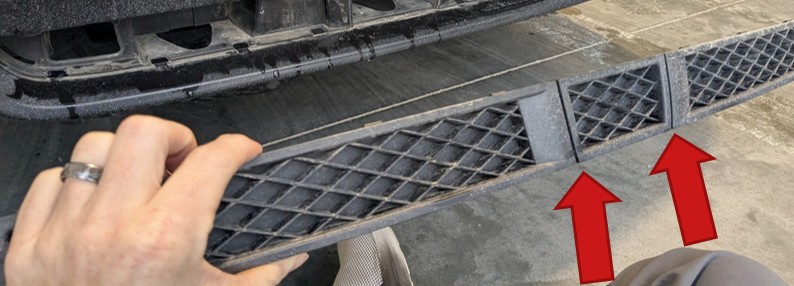
Step 7 — Remove lower bumper trim
Reach behind the rear bumper and push out the lower plastic trim, then remove it completely and set it aside.
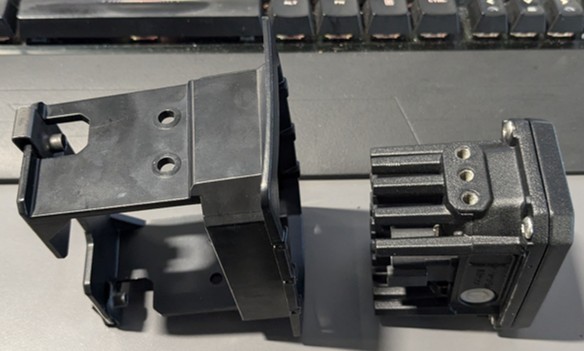
Step 8 — Prepare mounting bracket
Slide the provided clip nuts onto the mounting bracket, then insert the LED brake light into the bracket.


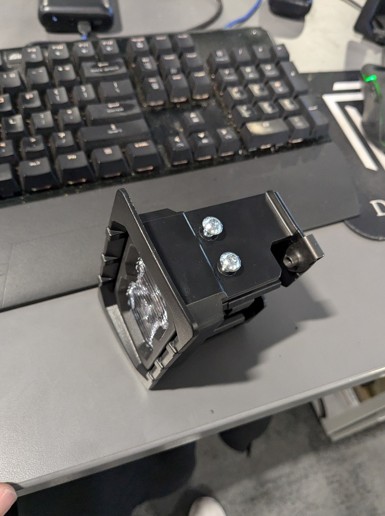
Step 9 — Secure light to bracket
Using the supplied Torx screws, secure the LED brake light to the mounting bracket.

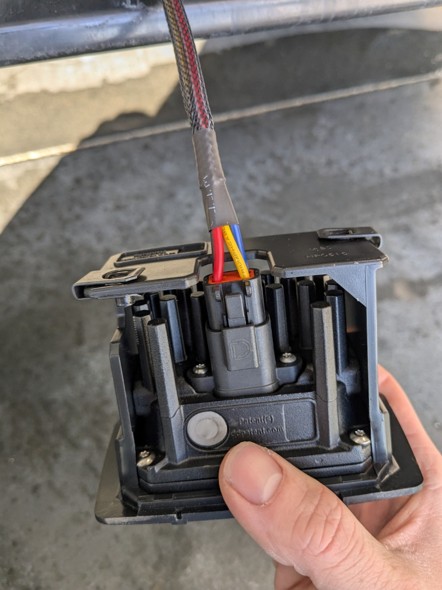
Step 10 — Install safety strobe module
Connect the safety strobe module to the routed harness connector. Leave the purple wire connected to enable brake light strobing.
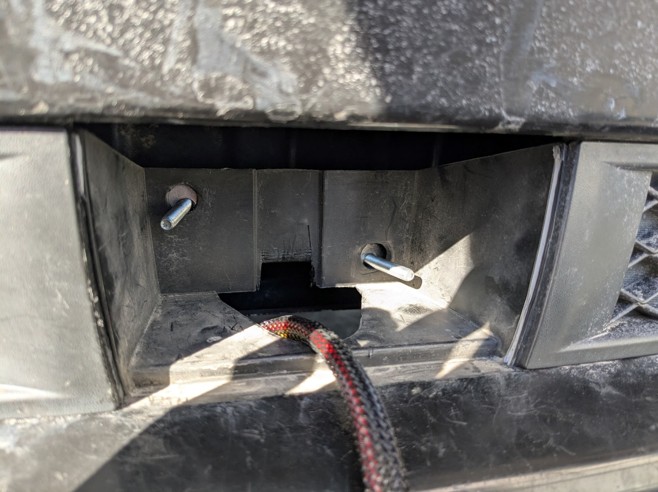
Step 11 — Route wiring through bumper opening
Feed the connector from the safety strobe module through the lower bumper cavity toward the mounting location.
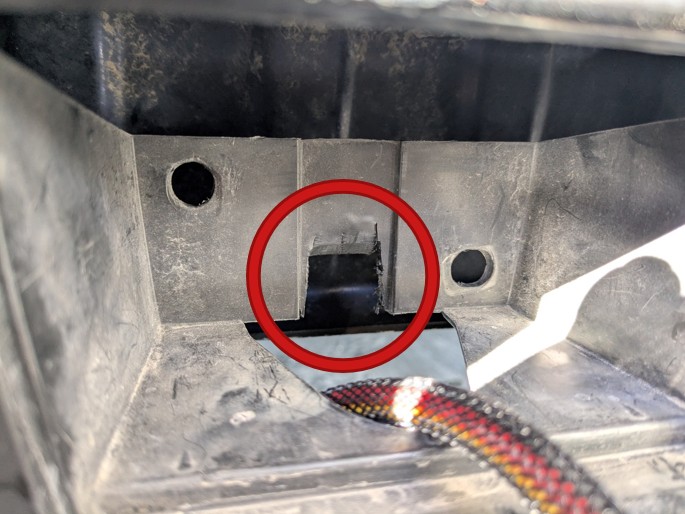
Step 12 — Modify bumper opening
Carefully trim a small square opening in the back of the bumper pocket so the light can sit flush once installed.
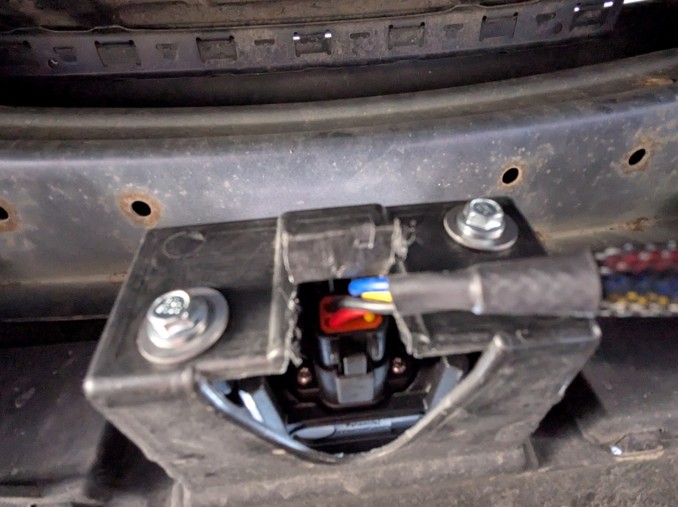
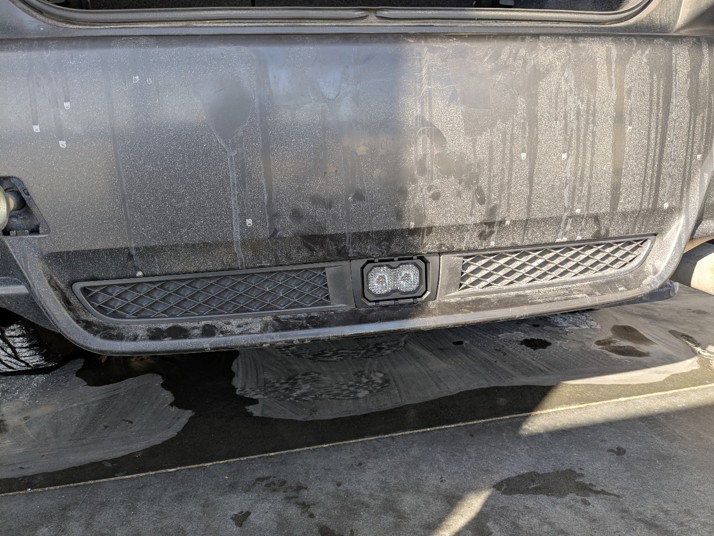
Step 13 — Connect light and install assembly
Connect the harness to the LED brake light, then position the assembly into the bumper opening. Install the mounting bolts with washers from behind the bumper and tighten securely using an 8mm socket.
Step 14 — Reinstall lower trim and secure wiring
Trim the center opening of the lower plastic trim as marked, reinstall it onto the vehicle, and zip tie any loose wiring.

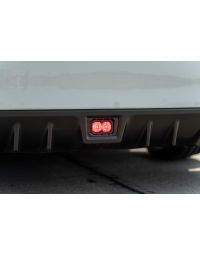
Step 15 — Test functionality
Test the brake light for proper operation before closing the trunk.
The installation is now complete. Enjoy your new Subaru C2R 4th Brake Light Kit!
Questions About the Installation?
If you have any questions about installing the 2008-2014 Subaru WRX or 2012-2016 Impreza Sedan 4th Brake Light Kit, contact us via our support page.
Where Can I Buy the Subaru C2R 4th Brake Light Kit?
If you're ready to upgrade your 2008-2014 Subaru WRX or 2012-2016 Impreza Sedan with the 4th Brake Light Kit, visit DiodeDynamics.com or use our Dealer Locator to find a dealer near you.
Want to know more about Diode Dynamics products? Visit DiodeDynamics.com and subscribe to our newsletter for new product releases and more!
This Installation Guide is for the following SKU: DD8069
Share This Post