



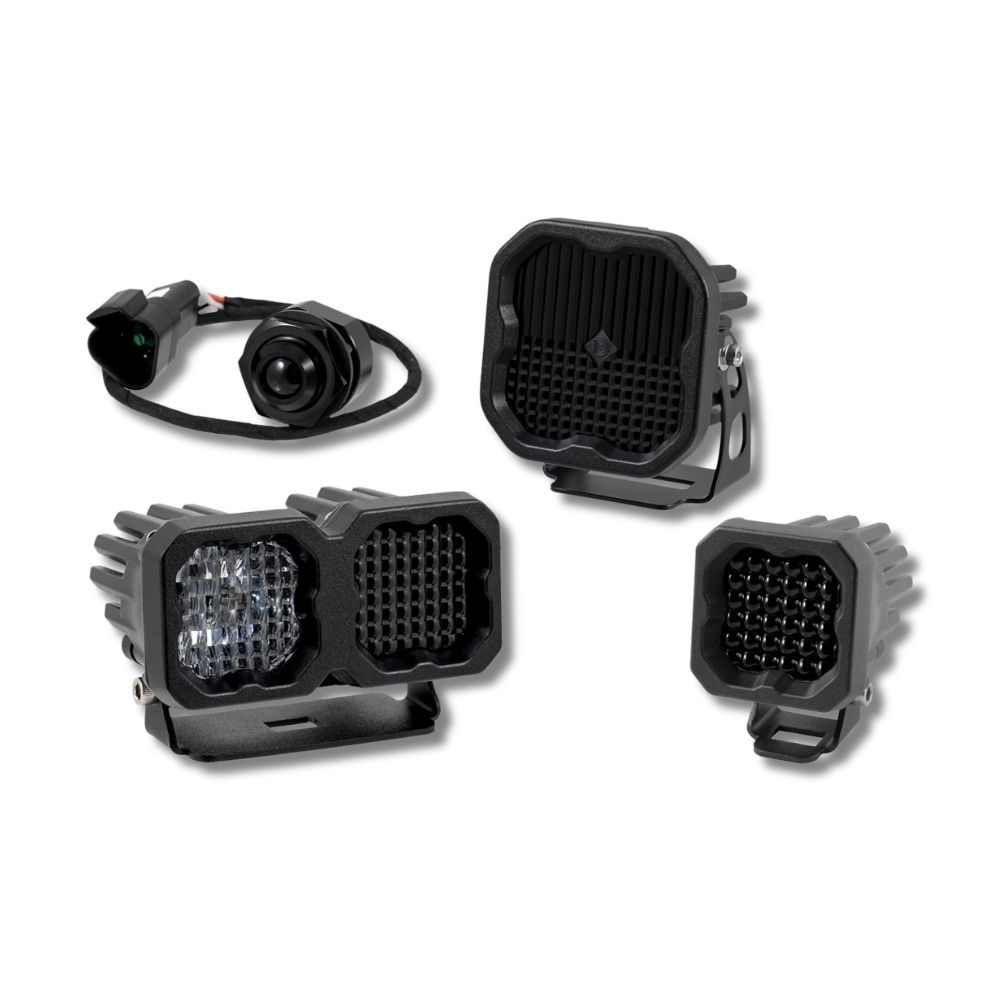












Thank you for your purchase of our Stage Series Reverse Light Kit for the 2010-2024 Toyota 4Runner. This kit allows you to mount two LED pods under the rear bumper. Basic installation instructions are included below.
This kit is designed to be activated with your factory reverse light and running light signals. The switch allows you to control the reverse light function:
- Position “1” – Activates any time your factory backup lights are turned on.
- Position “2” – Allows manual override to turn the pods on at any time.
- “Off” – Keeps the reverse lights off at all times.
If you do not plan on using the override function, you may leave the switch in the “1” position and mount it in the engine bay.
Table of Contents
- Installation Video
- Installation Tools
- Bracket Installation
- Taillight Removal
- Wiring Instructions
- Aiming Instructions
- Questions About the Installation?
- Where Can I Buy the Stage Series Reverse Light Kit for 2010–2024 Toyota 4Runner?
Installation Video
Installation Tools
- 10mm socket
- Deep 10mm socket
- 5/32” Allen key
- 3/8” wrench
- Plastic trim removal tool
- Wire strippers
Time Required: Approximately 1–2 hours.
Bracket Installation
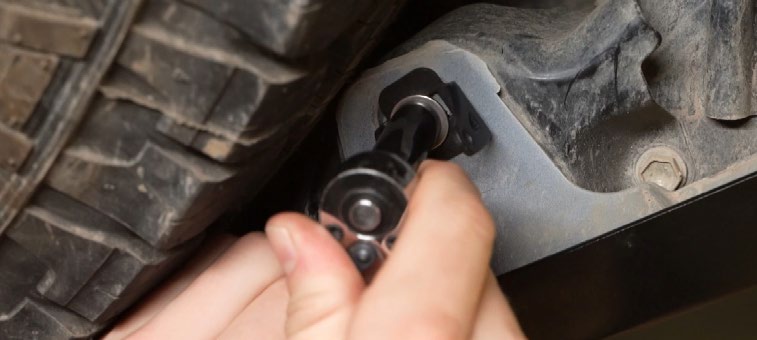
Step 1 – Remove factory bolt
Using a 10mm socket, remove the factory bolt located next to the spare tire.
NOTE: The factory bolt will not be reused.

Step 2 – Install universal bracket
Secure the universal bracket with the included M6 bolt and oversized washer. Then install the M6 hardware next to the spare tire, ensuring the curved portion of the universal bracket faces toward the rear of the vehicle.
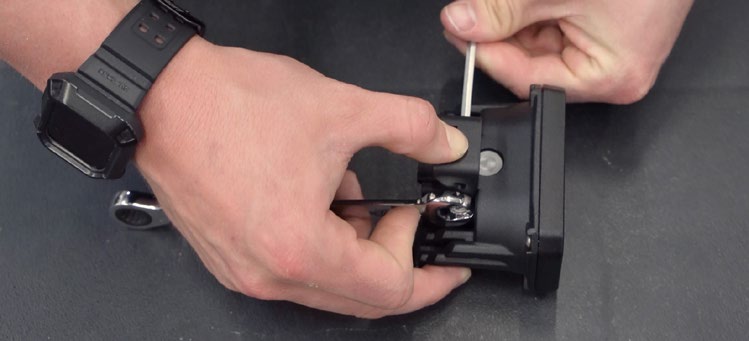
Step 3 – Install LED pod
Install your new SSC1 or SSC2 pod onto the universal bracket using the provided hardware. Using a 5/32” Allen key and a 3/8” wrench, tighten the screw so the pod retains its position but can pivot with force for aiming.
Repeat Steps 1–3 on the opposite side of the vehicle.
Taillight Removal
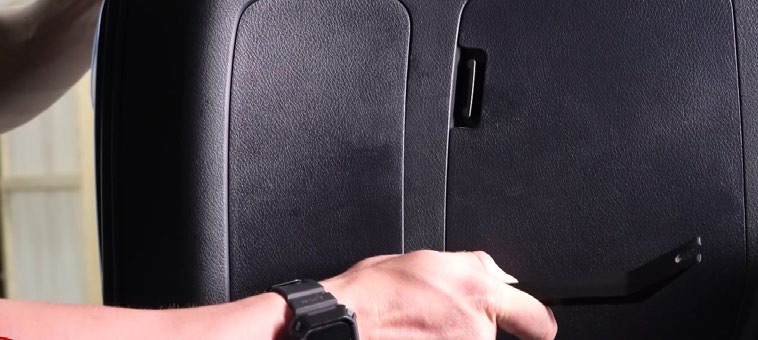
Step 4 – Remove interior cover
Open the trunk. On the driver’s side of the vehicle, remove the interior cover using a plastic trim removal tool to gain access to the back of the taillight.
Step 5 – Remove taillight nuts
Using a deep 10mm socket, remove the two nuts holding the taillight in place. Disconnect the factory taillight harness.
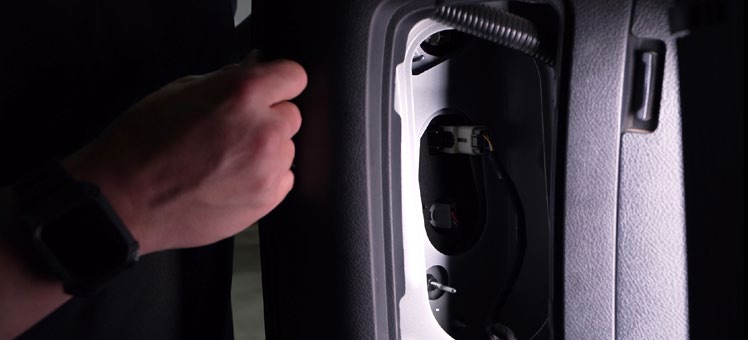
Step 6 – Remove taillight assembly
Remove the taillight assembly by grabbing it firmly and pulling it directly back.
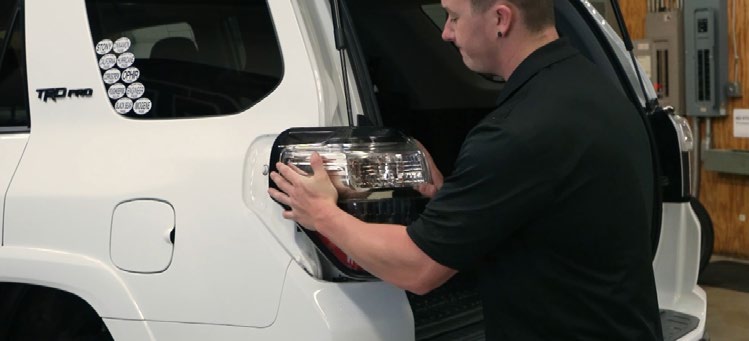
Wiring Instructions
Step 7 – Route amp connector wire
Feed the female 2-pin amp connector wire behind the bumper down to the ground.
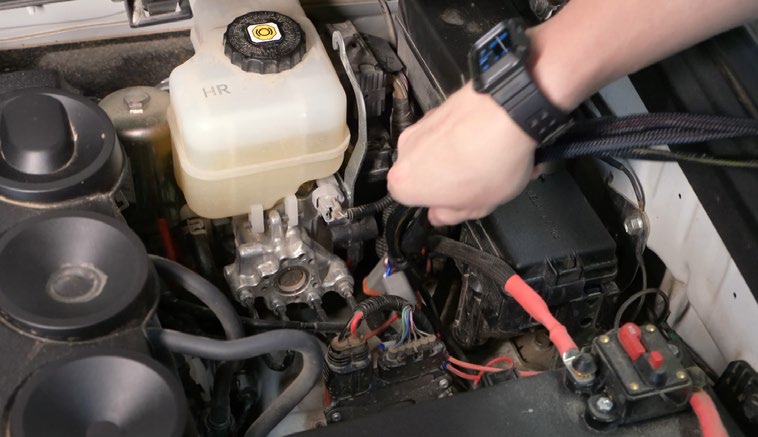
Step 8 – Install vehicle-specific adapter harness
Plug the male end of the provided vehicle-specific adapter harness into the OEM harness. Tuck the other end inside the vehicle before reinstalling the taillight.
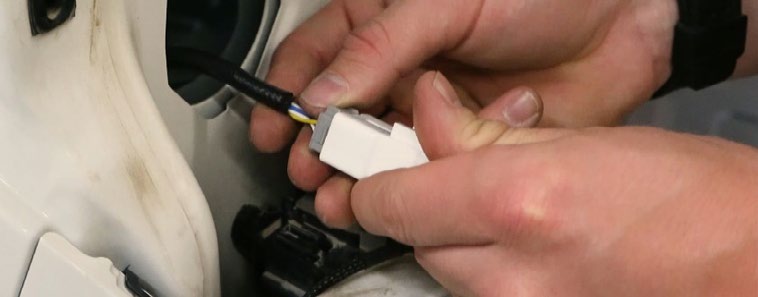
Step 9 – Reinstall taillight
Move the taillight back into position and reinstall the two factory nuts. Then plug the other end of the provided vehicle-specific harness into the back of the taillight.
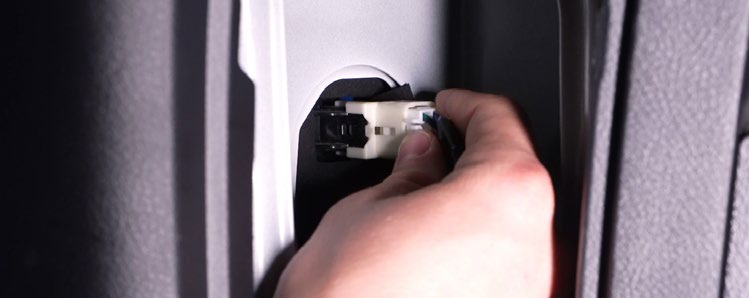
Step 10 – Connect to battery
Connect the split ring terminals on the included wiring harness to the battery. The black (ground) wire connects to the negative battery terminal or a factory grounding point. The red (power) wire connects to the positive battery terminal.
Step 11 – Mount relay
Determine a suitable location to mount the relay. We recommend mounting it near the battery.
Step 12 – Install switch
Determine where you would like to mount the switch. If using the override function, mount the switch inside the cabin by routing through the vehicle’s firewall. We recommend unplugging the toggle switch from the harness to route wires more easily. Drill a 3/4” (19mm) hole for the switch. Reconnect the wires and mount securely.
Step 13 – Route harness underneath vehicle
Route the connector end of the harness underneath the vehicle. We recommend following the wheel well underneath, ensuring to avoid any hot or moving parts.
NOTE: Disconnect the universal section from the amp connector on the provided universal wiring harness. This section will not be used.
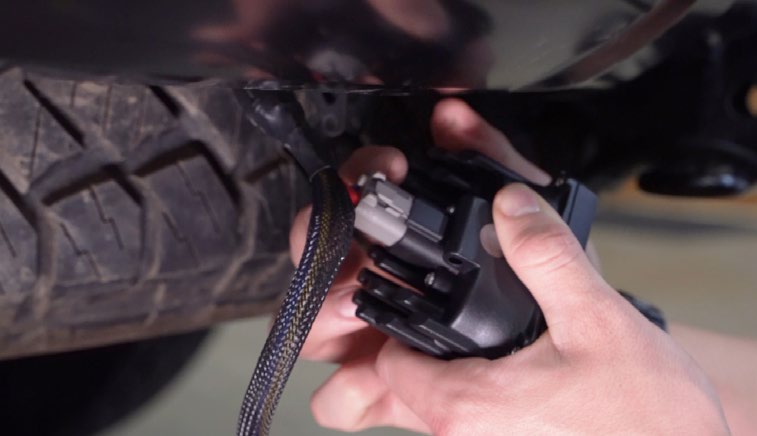
Step 14 – Connect pods
Plug the DT connector into the back of the pods and the amp connector into the provided universal harness coming from the taillight.
Aiming Instructions
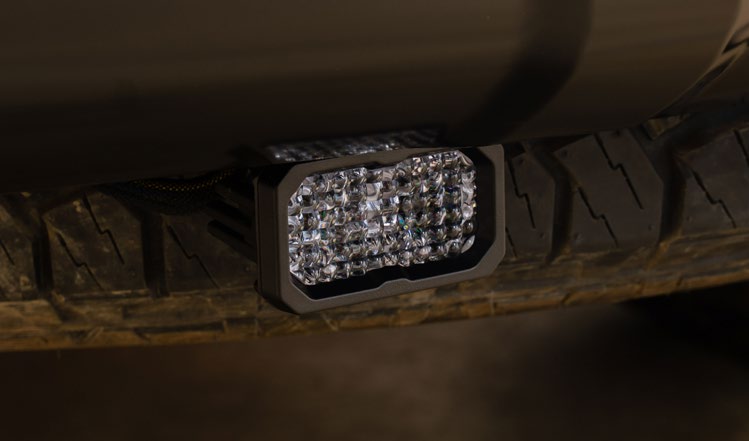
Step 15 – Aim and secure pods
Aim the pods as desired. Tighten hardware using a 5/32” Allen key and a 3/8” wrench. Aiming can be achieved with the pods installed on the vehicle; removal is not required.
Questions About the Installation?
If you have any questions about installing the Stage Series Reverse Light Kit for 2010–2024 Toyota 4Runner , contact us via our support page.
Where Can I Buy the Stage Series Reverse Light Kit for 2010–2024 Toyota 4Runner?
Visit DiodeDynamics.com or use our Dealer Locator.
This Installation Guide is for the following SKUs:
DD7163, DD7164, DD7165, DD7166, DD7167

Share This Post