














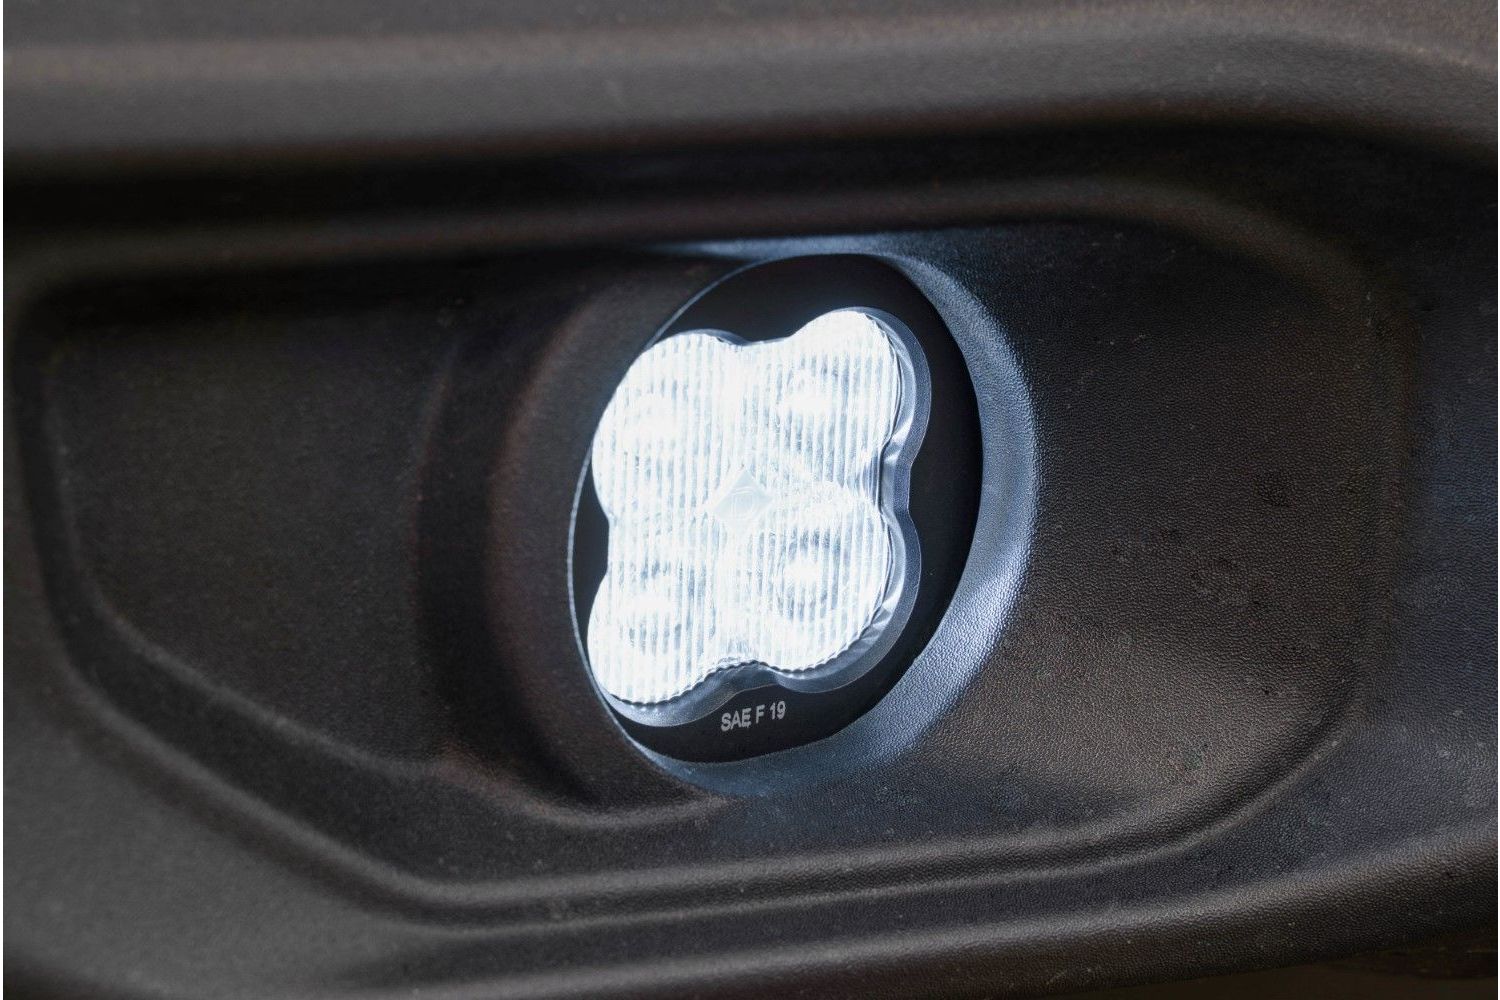
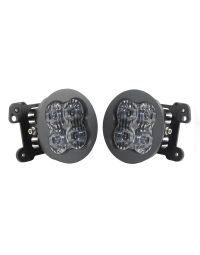
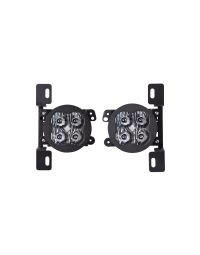
The SS3 Type M/MR LED Fog Light Kit provides a substantial upgrade to your factory fog lights. The SS3 LED Pod Lights included in the kit feature higher output intensity than any other 3” light on the market! SS3 LED Pods Lights have been designed for maximum functionality, with custom-engineered TIR optics shining in highly useful beam patterns, all in a durable package.
With the included angled bezel, the SS3 Type M/MR LED Fog Light Kit has a clean, factory-style appearance, only much brighter! The kit is available in a 6000K White that matches most factory LEDs, or a 3000K Yellow to provide high contrast in poor weather conditions. The SS3 LED Pods in the kit also have an available amber backlight that adds a stylish accent light to your vehicle.
Thanks to custom-molded brackets, this LED fog light kit can be installed in minutes on a variety of mopar vehicles. The following installation guide will provide you with basic installation instructions on how to install the SS3 Type M/MR LED Fog Light Kit on your vehicle. Check out our installation video, or continue reading for step-by-step instructions below!
Table of Contents
Installation Video
Installation Tools
- 5/32 Allen Key
- Tape Measure
- Tape
Mounting Instructions
Step 1 - Mount Pods in Brackets
Install the supplied nuts into the pod housing with the nylon facing inward. Attach the bracket to the pod using the supplied screws and washers. Make sure the bracket is in the correct orientation. Ensure that the screws are tightened such that the pod retains its position, but can pivot with force for aiming.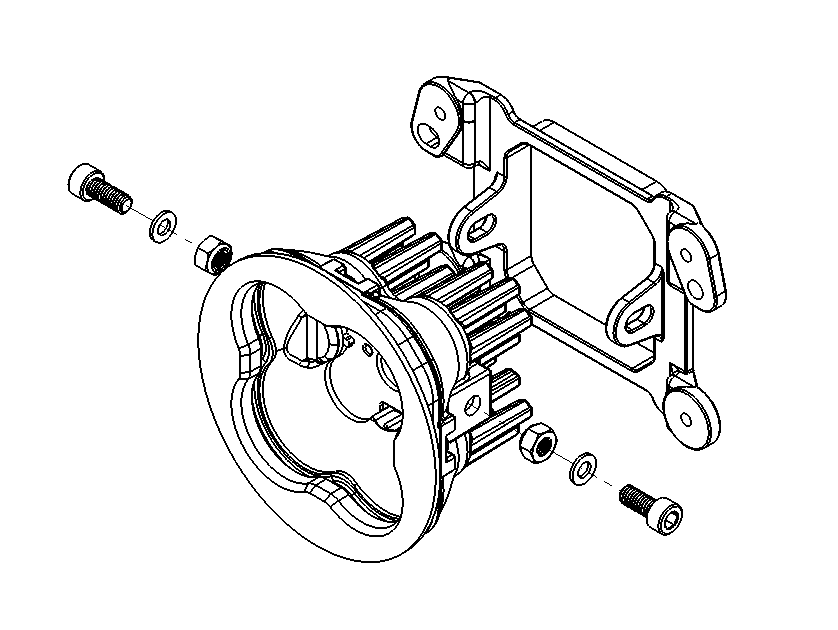
Note: If you are installing on a metal bumper you will also need to add on the type MR bracket.
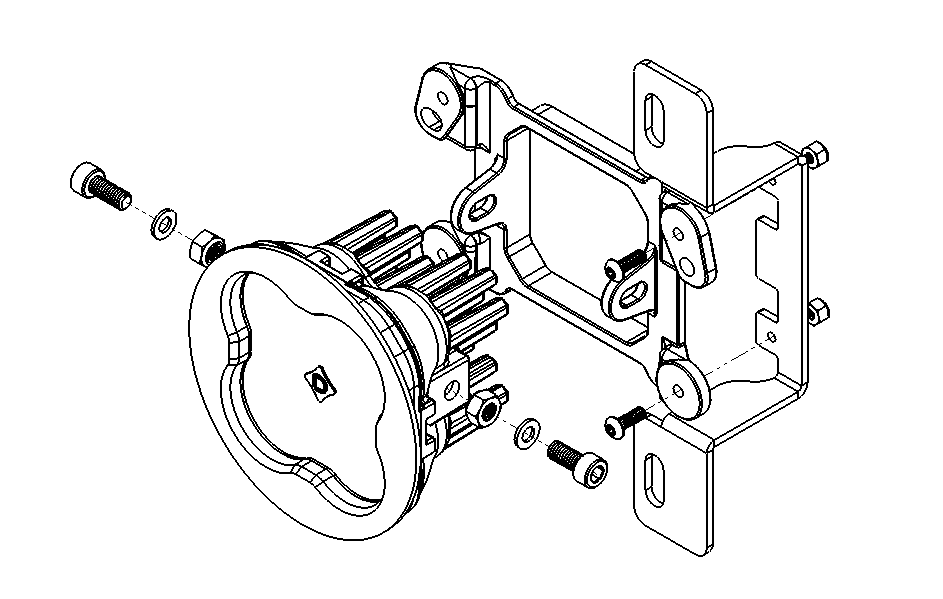
Using the included hardware, attach the steel-type MR bracket to the back of the plastic-type M bracket. Attach the second steel bracket to the opposite side of your other lamp. When finished you should have one lamp with a steel bracket on the right side and the other lamp with a bracket on the left.
Step 2 - Remove Factory Fog Lights
Access your factory fog lights then disconnect the fog light connector from the vehicle wiring harness.
Remove the factory fog light housing. The factory hardware will be reused.
Step 3 - Install New Fog Light
Install your new SS3 pod using the factory hardware. The tabs and holes on the bracket should align with the mounting points of the factory fog light housing. Re-use the factory hardware, tightening securely.
Use the included wire adapters to connect the pod to the vehicle wiring harness, then test for functionality.
Tip: If the light does not turn on, try flipping the connector 180°.
If you purchased backlit SS3 pods, connect the included 2-pin to 4-pin adapter wire in-line between the pod and the DT 2-pin wire adapter. Then connect the backlight power wire to a fused 12V source to trigger the backlight feature (i.e. parking light or side marker); T-Taps are included for this purpose. Repeat this process for the other side of the vehicle, and check local laws and regulations for on-road use of backlight features.
Note: Power source must be fused. Do not connect directly to the vehicle battery.
Aiming Instructions
Step 1 - Position Vehicle
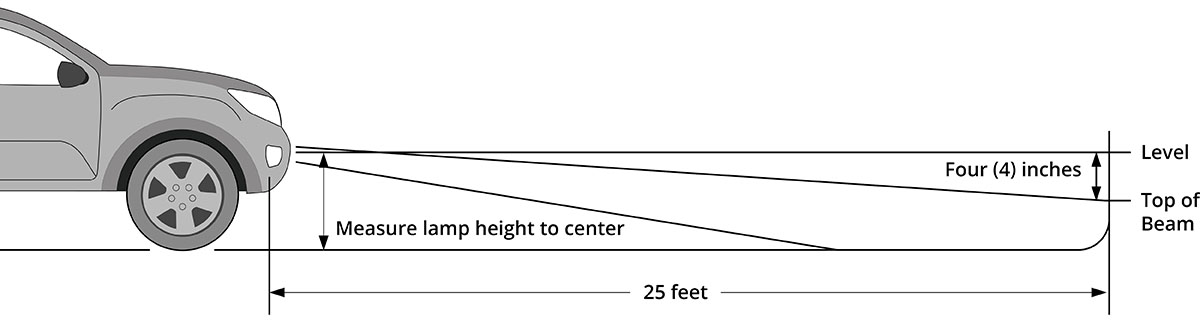
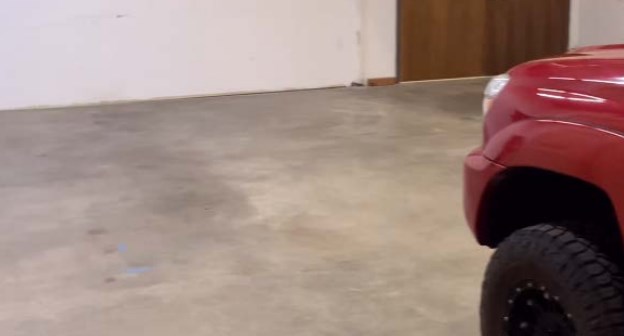
Park your vehicle 25 feet away from a wall or garage door on a level surface.
Step 2 - Loosen Allen Bolts
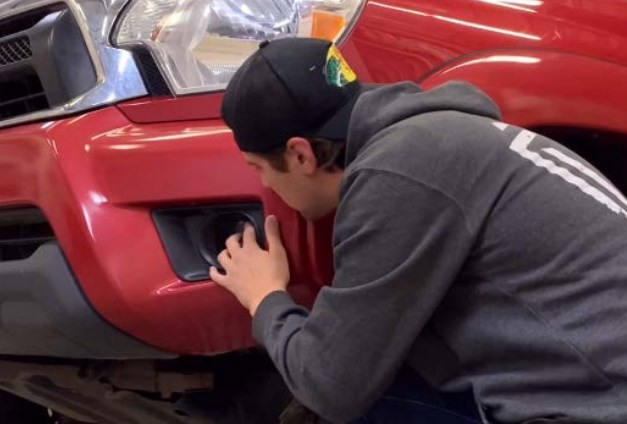
Loosen the 5/32” Allen bolts on each side of your SS3 LED pod just enough to allow you to adjust it.
Step 3 - Measure Mounting Height
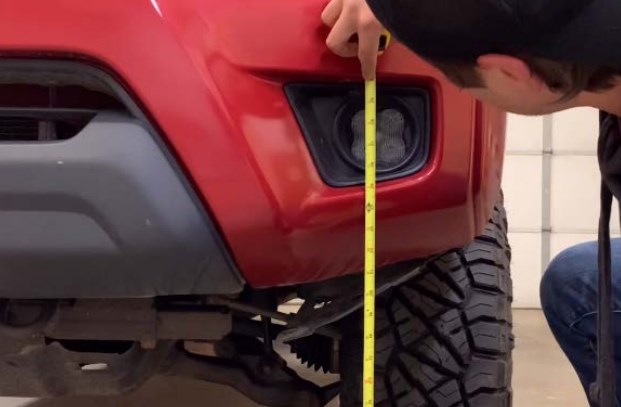
On your vehicle, measure the distance between the ground and the center of your SS3 LED Pod. This is your mounting height.
Step 4 - Mark Mounting Height on Wall
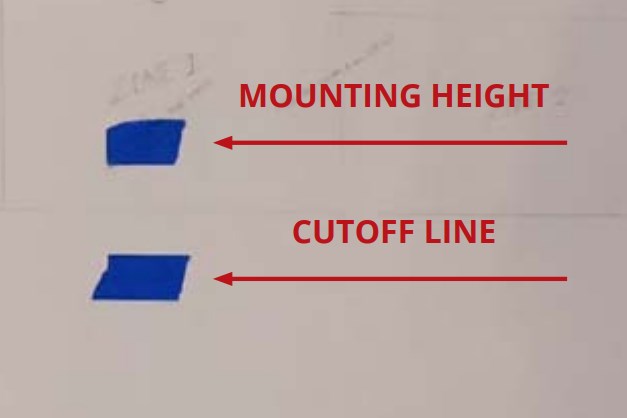
Mark the mounting height on the wall or garage door using tape.
Step 5 - Mark Fog Cutoff Line
Add another piece of tape four inches below the mounting height. This is your fog light cutoff line.
Step 6 - Aim SS3 LED Pods
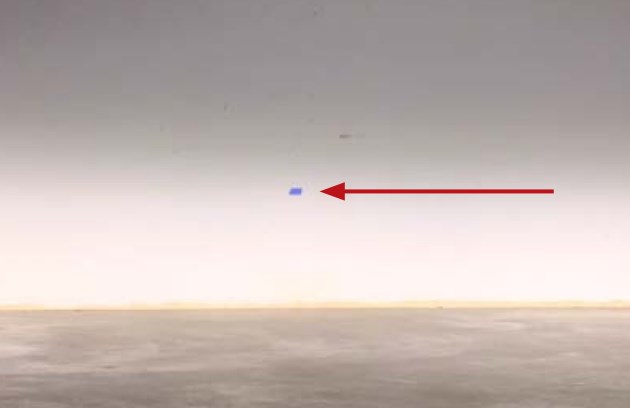
Aim your SS3 LED Pods on each side, so that the top of the beam pattern is on the cutoff line mark.
Step 7 - Tighten Allen Bolts
Tighten the 5/32” Allen bolts back down. Do not overtighten or use power tools to torque them down.
Step 8 - Secure Fender Liner (Optional)
If you removed the fender liner, secure it to the bumper using the original hardware to complete the installation. Enjoy your new Stage Series LED Fog Lights!
SmartSelect Programming
If your SS3 Fog Light Kit includes dual-color LED Pods, SmartSelect technology allows you to switch the main beam between white and yellow using your factory fog light controls. Single-color kits do not include SmartSelect programming and can skip this section.
Dual-color SS3 LED Pods are set to the white main beam from the factory. To change the main beam color, turn the fog lamps off and back on two times within three seconds. The next time the fog lamps are turned on, the main beam will change from white to yellow.
Repeat this process to continue switching between the white and yellow main beam colors. After two complete color cycles, the lamps will reset to the factory-default white main beam.
Questions About the Installation?
If you have any questions or issues installing the Type M/MR SS3 LED Fog Light Kit, please contact us for further assistance.
Where Can I Buy an SS3 Type M/MR LED Fog Light Kit?
If you’re ready to upgrade your vehicle with an SS3 Type M/MR LED Fog Light Kit, you can purchase one by clicking here or by using our dealer locator to find a dealer near you.
Want to know more about Diode Dynamics products? Visit DiodeDynamics.com and subscribe to our newsletter for new product releases and more!
This Installation Guide is for the following SKUs: DD6193, DD6195, DD6197, , DD6189, DD6195, DD6199, DD6246, DD6248, DD6250, DD6252, DD6577, DD6578, DD6580, DD6581, DD6688, DD6689, DD6696, DD6697, DD6706, DD6707, DD7044, DD7045, DD7047, DD7048, DD7049, DD7050, DD7052, DD7053, DD7055, DD7056, DD7057, DD7058, DD7060, DD7061, DD7063, DD7064, DD7065, DD7066
Share This Post