


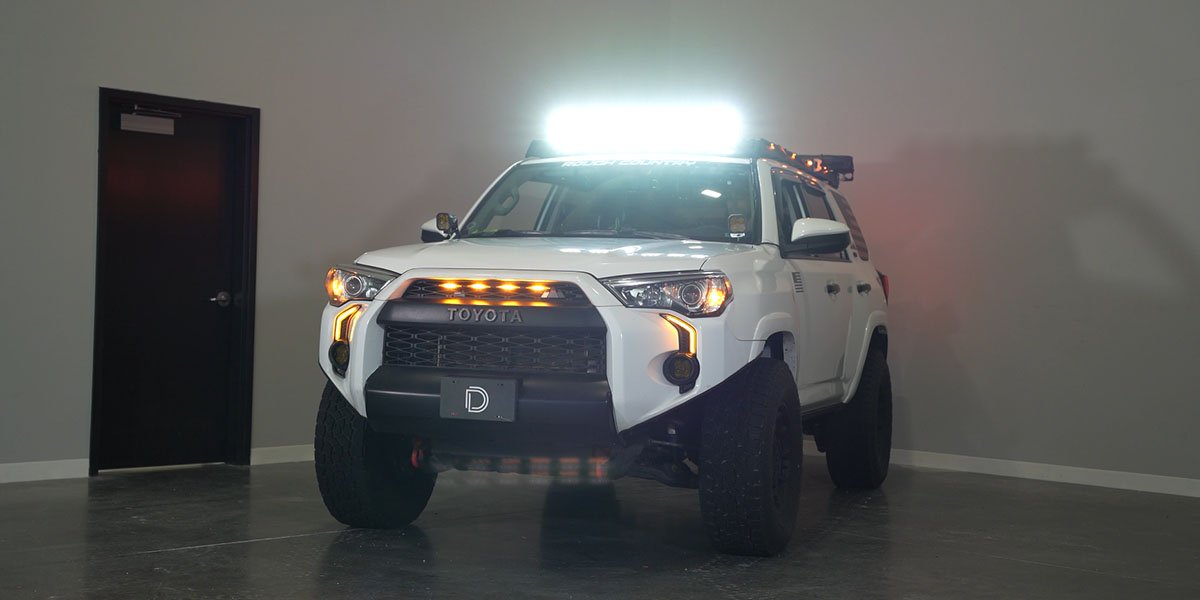
The SS5 CrossLink Lightbar Kit For Prinsu/Sherpa Roof Racks adds a high-power LED pod light bar to your Prinsu or Sherpa roof rack wind deflector. The following installation guide will provide you with step-by-step instructions on how to install the SS5 CrossLink Lightbar Kit For Prinsu/Sherpa Roof Racks.
Table of Contents
Installation Video
Installation Tools
- T30 Torx (Prinsu)
- 10mm Socket
- 13mm Socket
- 13mm Wrench
- 5/32 Allen Key / T-Handle
- Tape Measure
Mounting Instructions
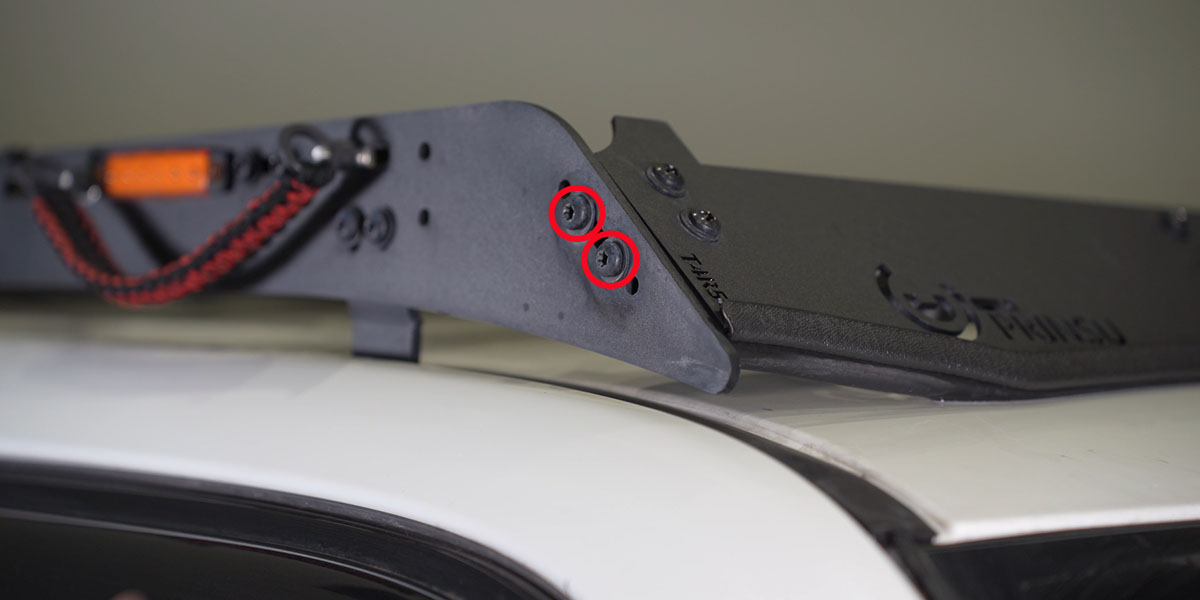
Step 1 - Dissasemble Wind Deflector
Remove two (2) T30 Torx bolts (circled in red) on either side of the wind deflector - four (4) bolts in total.
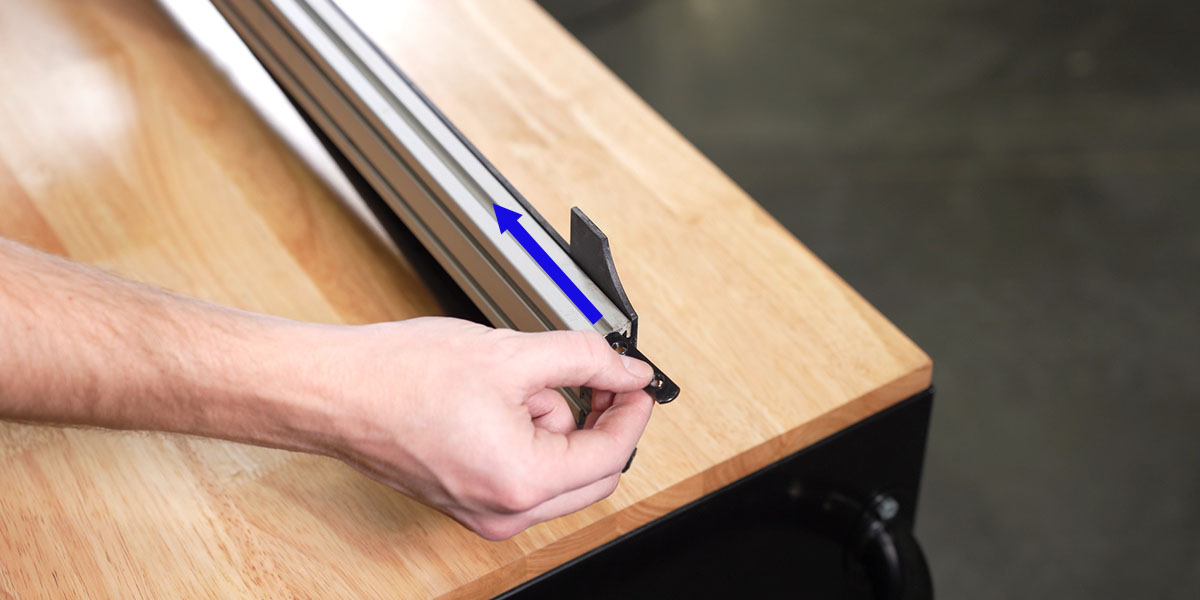
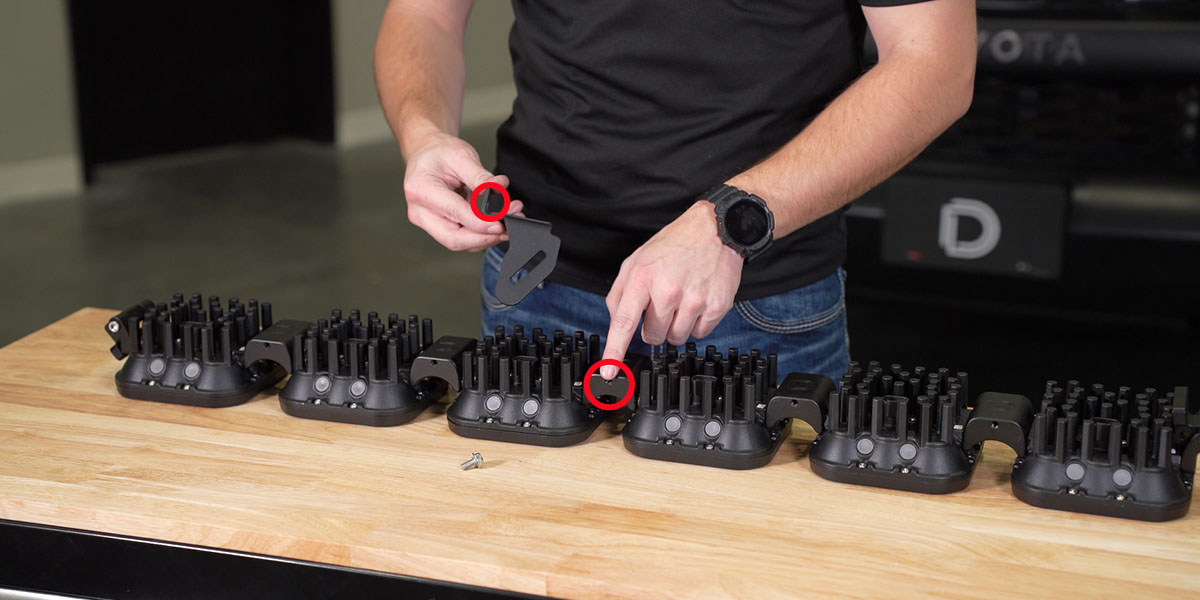
Step 2 - Install Double T-Nuts
Slide two (2) double t-nuts onto the top-facing channel of the wind deflector.
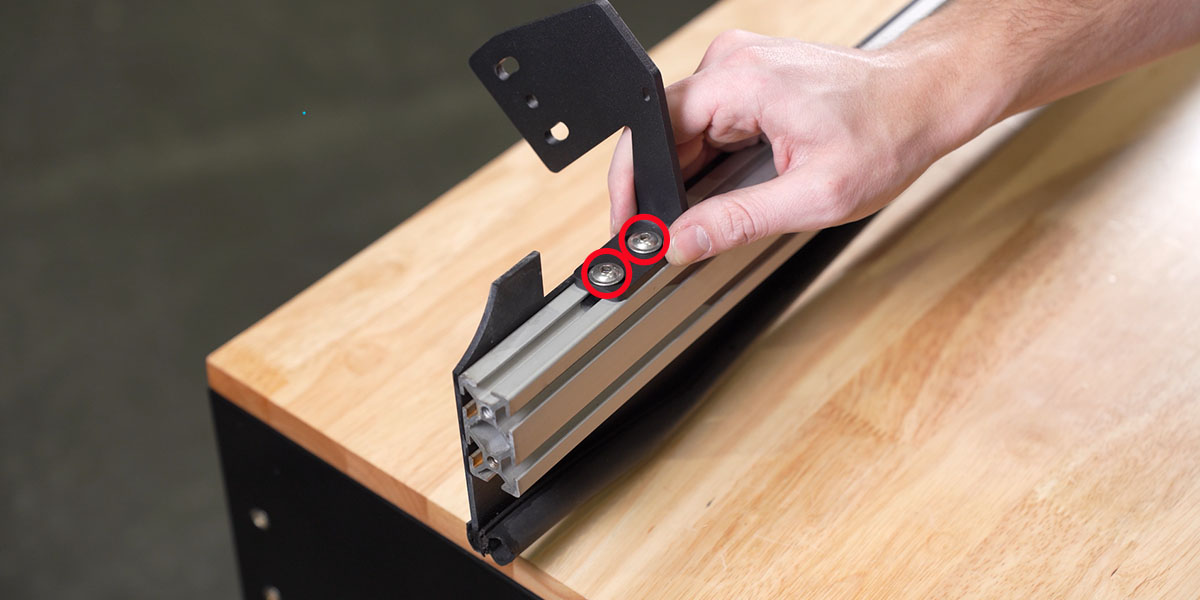
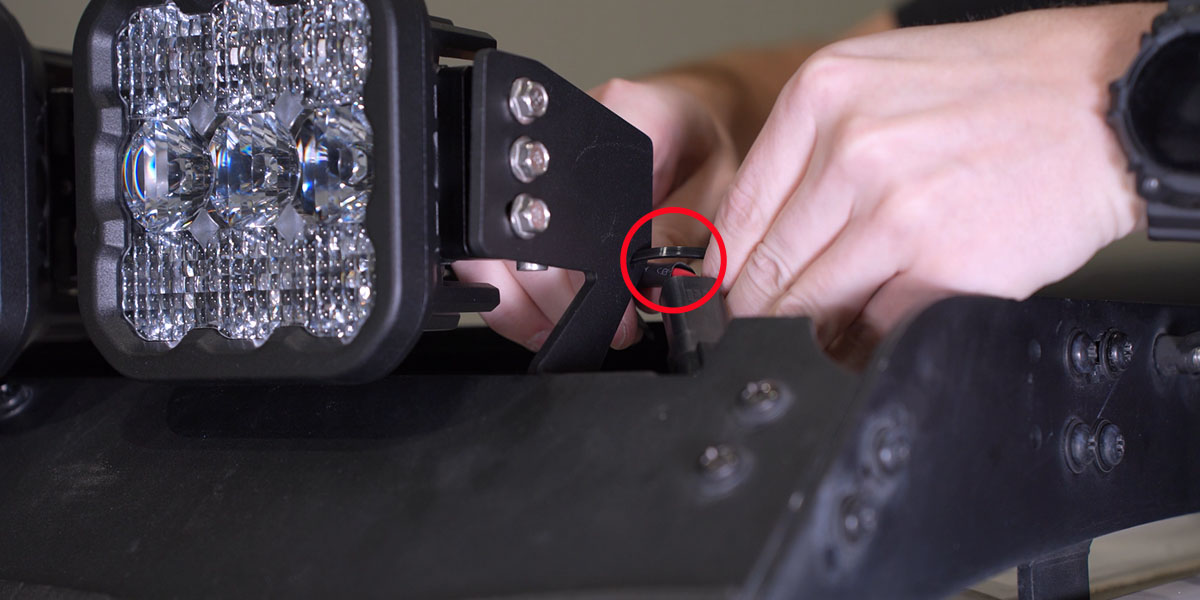
Step 3 - Mount Lightbar Brackets
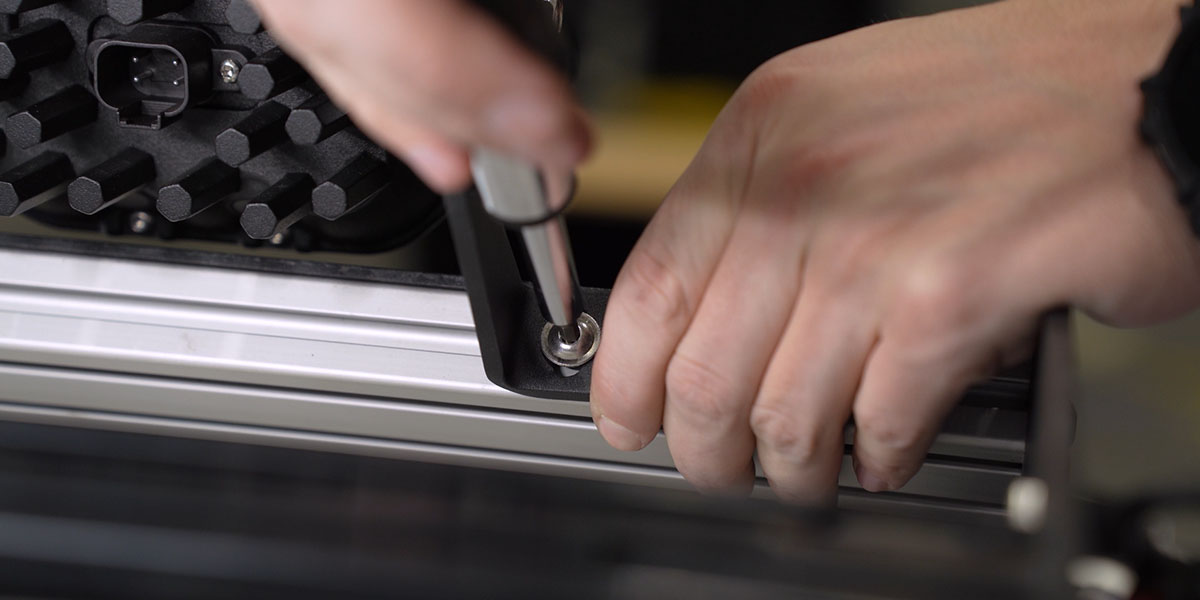
Loosely install crosslink lightbar brackets onto the double t-nuts by threading two (2) flanged screws (circled in red) into place, hand tight.
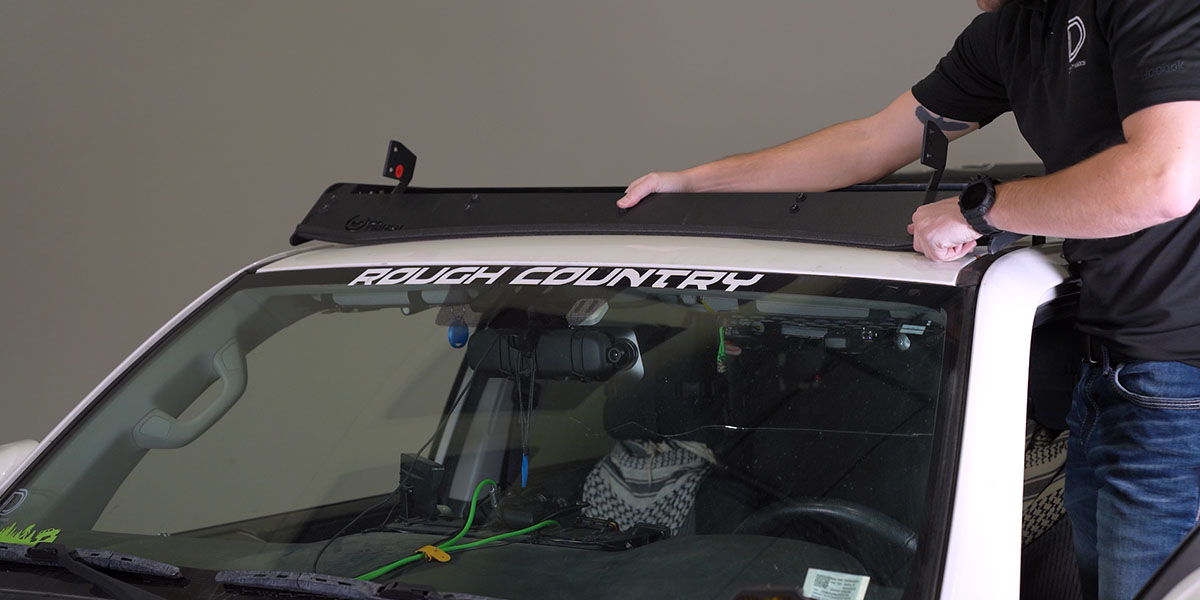
Step 4 - Reinstall Wind Deflector
Install the wind deflector back onto the rack using the four (4) T30 bolts removed in Step 1.
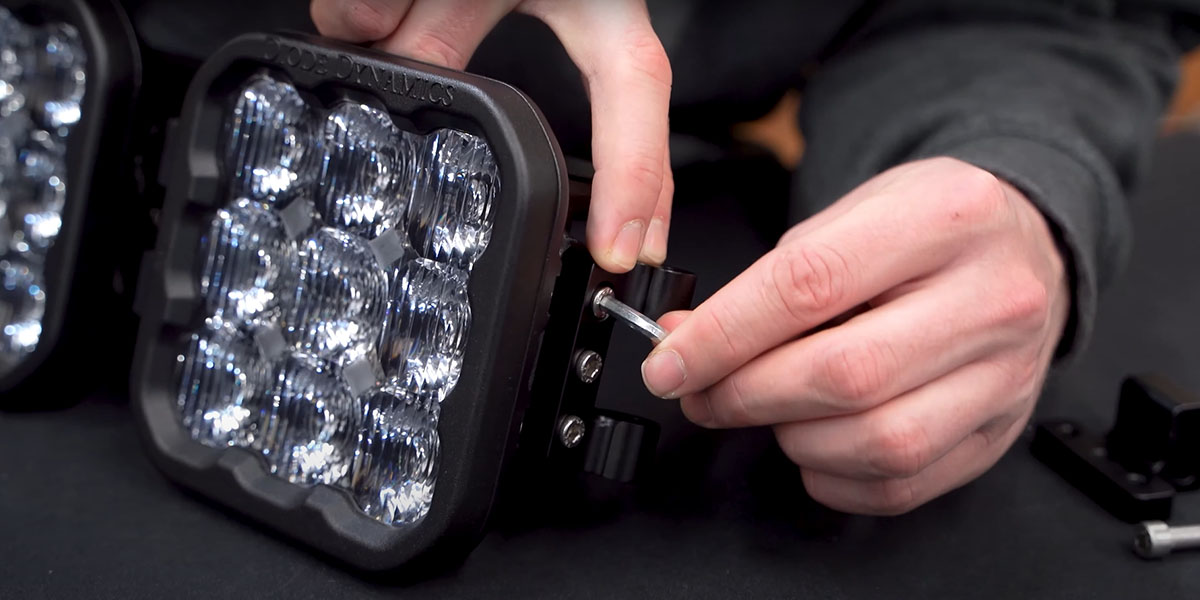
Step 5 - Assemble CrossLink Lightbar
Assemble the CrossLink lightbar. If you need assistance with assembly, refer to this guide: How to Assemble SS5 CrossLink Lightbar
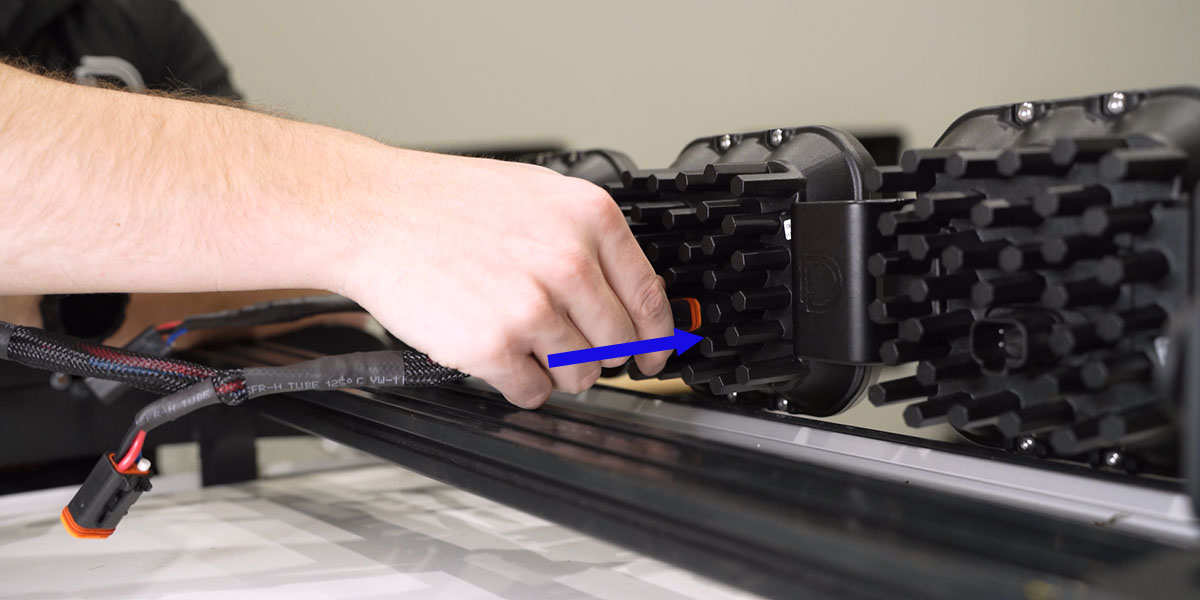
Step 6 - Install Support Link Mount
Install support link mount to the center crosslink support for six (6) pod configurations. Secure two (2) support link mounts onto the second and fifth crosslink supports for seven (7) pod configurations.
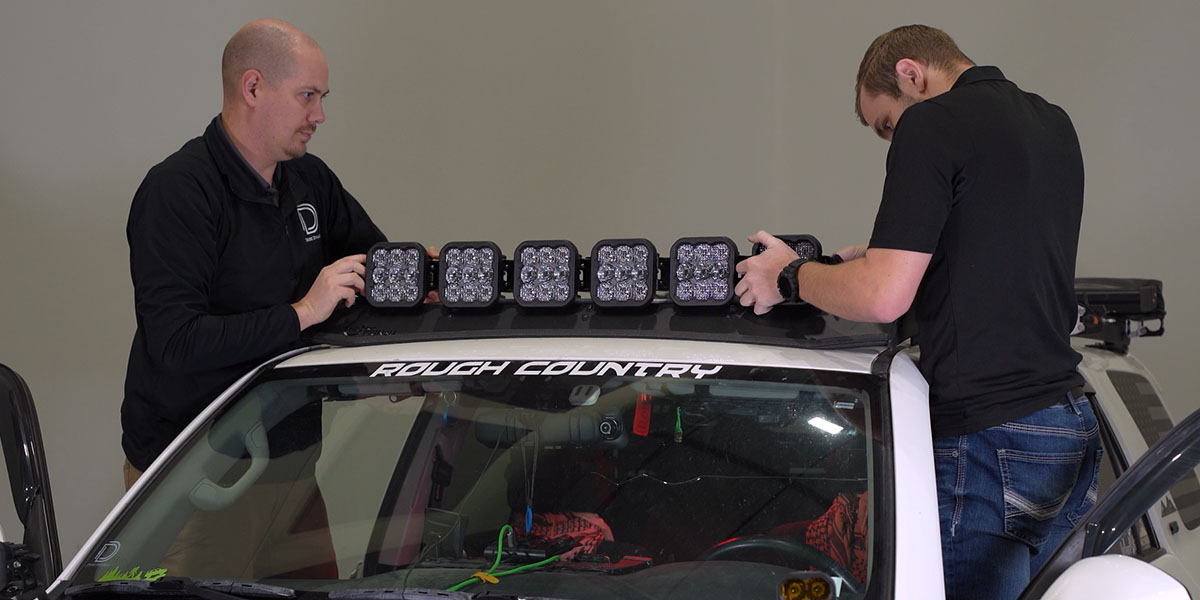
Step 7 - Mount CrossLink Lightbar
With a friend's help, loosely install the SS5 CrossLink lightbar to the brackets (as shown).
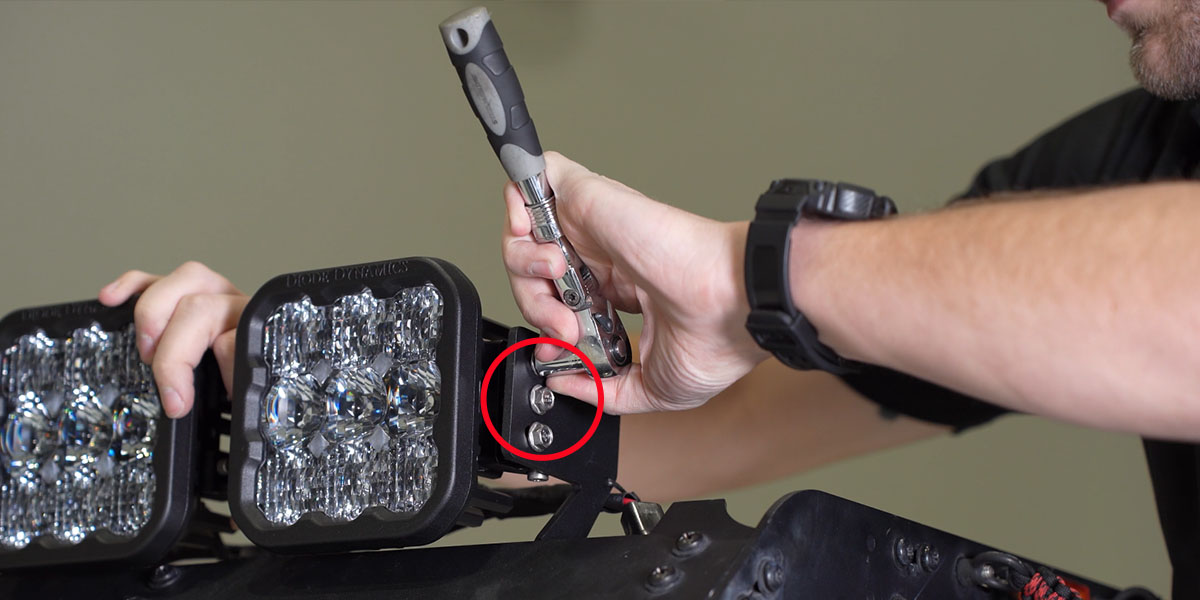
Step 8 - Secure Lightbar in Place
Once centered, secure the lightbar in place, starting with the 5/32 allen key flange bolts (circled in red).
NOTE: Apply upward pressure on the CrossLink Bracket, so that the bracket sits against the wind deflector panel, then secure.
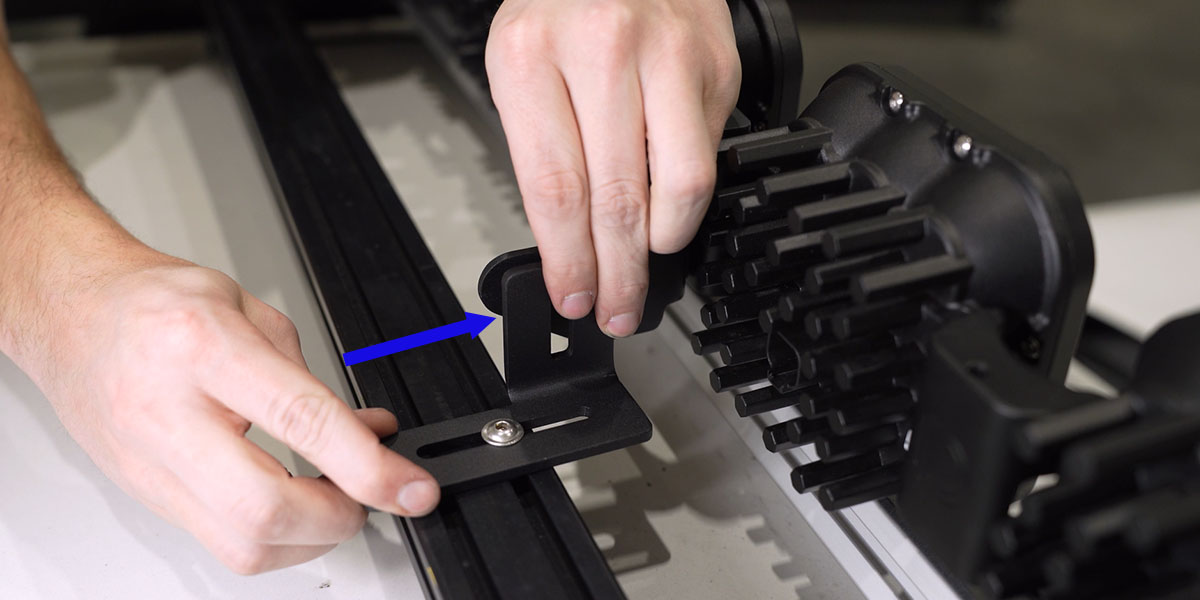
Step 9 - Support Bracket Assembly
Slide the single t-nut into the top forward channel of the first support crossbar of the roof rack. Attach the support bracket to the single t-nut (as shown).
Step 10 - Secure Lightbar Completely
With the lightbar aimed how you like, secure everything down tight.
Wiring Instructions
Step 11 - Plug in CrossLink Harness
Plug in the included CrossLink DT harness to each of the SS5 LED pods.
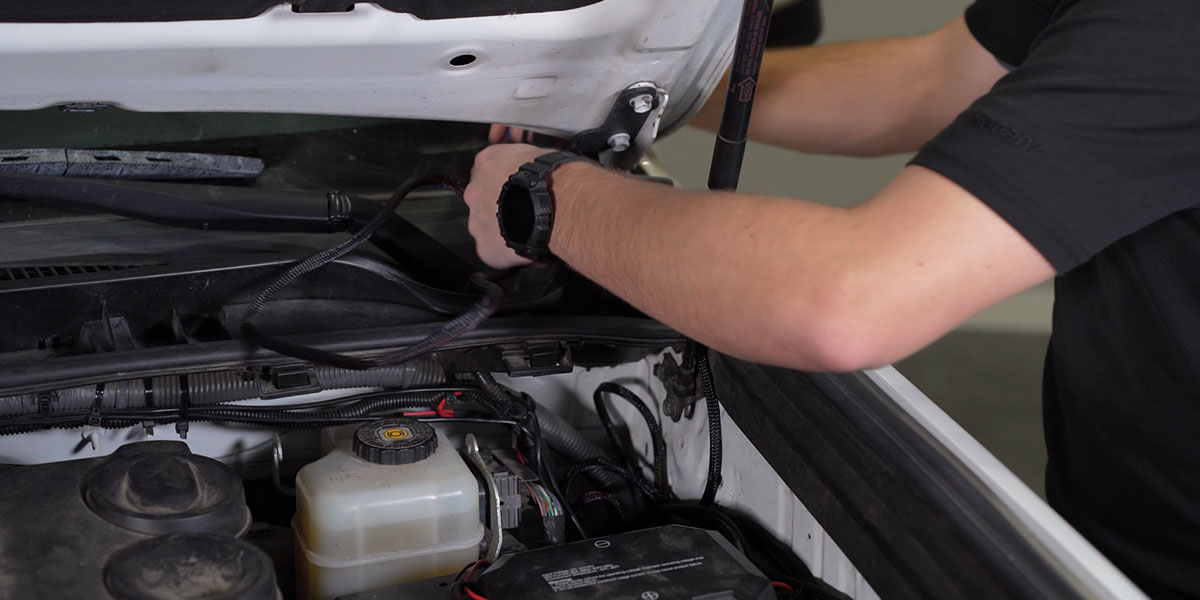
Step 12 - Attach Power Leads
Secure the positive and negative leads to the respective battery terminals (circled in red).

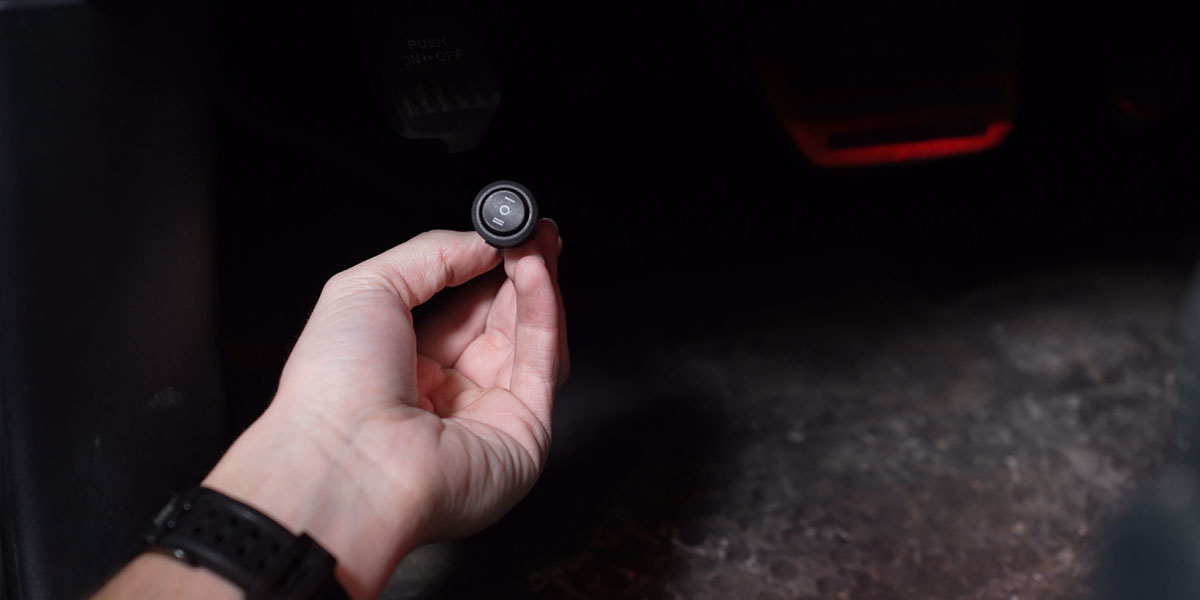
Step 13 - Route Toggle Switch
Route the toggle switch into the cab, through the firewall, and install it to the location of your choice.
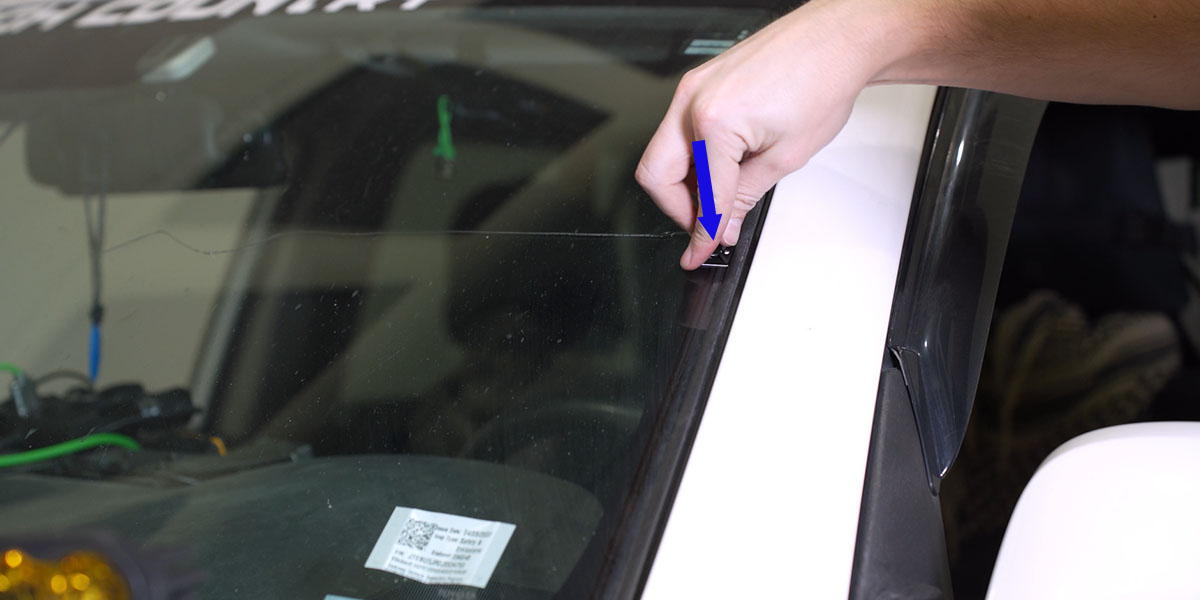
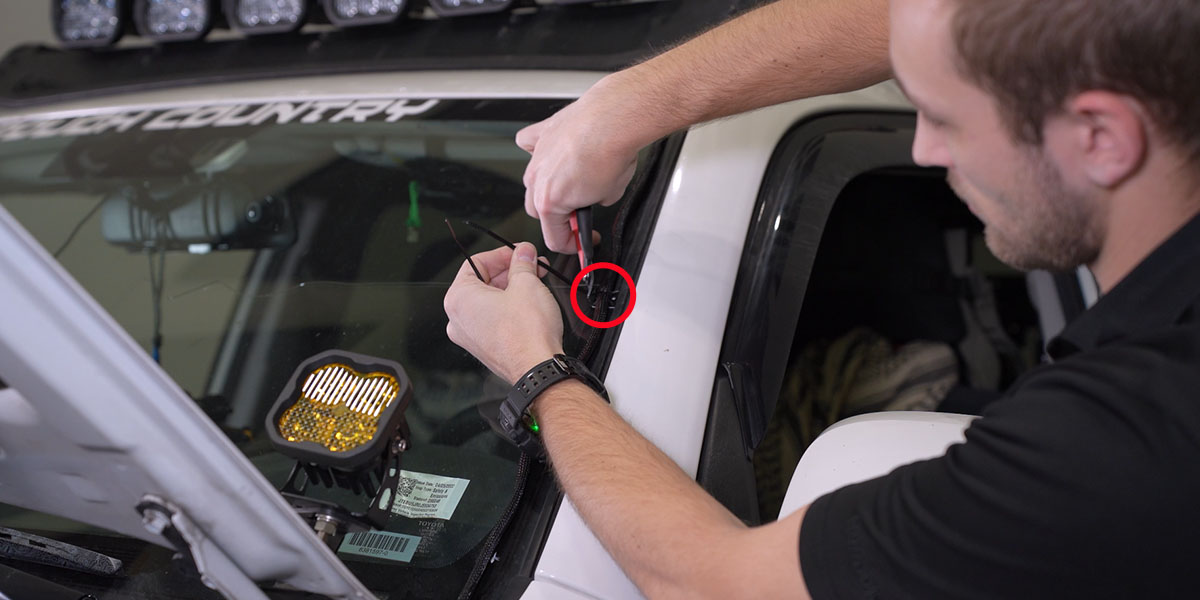
Step 14 - Attach Wire Routing Tabs
Along the edge of the windshield, stick the included three (3) wire routing tabs on the top, middle, and bottom of the windshield (as shown).
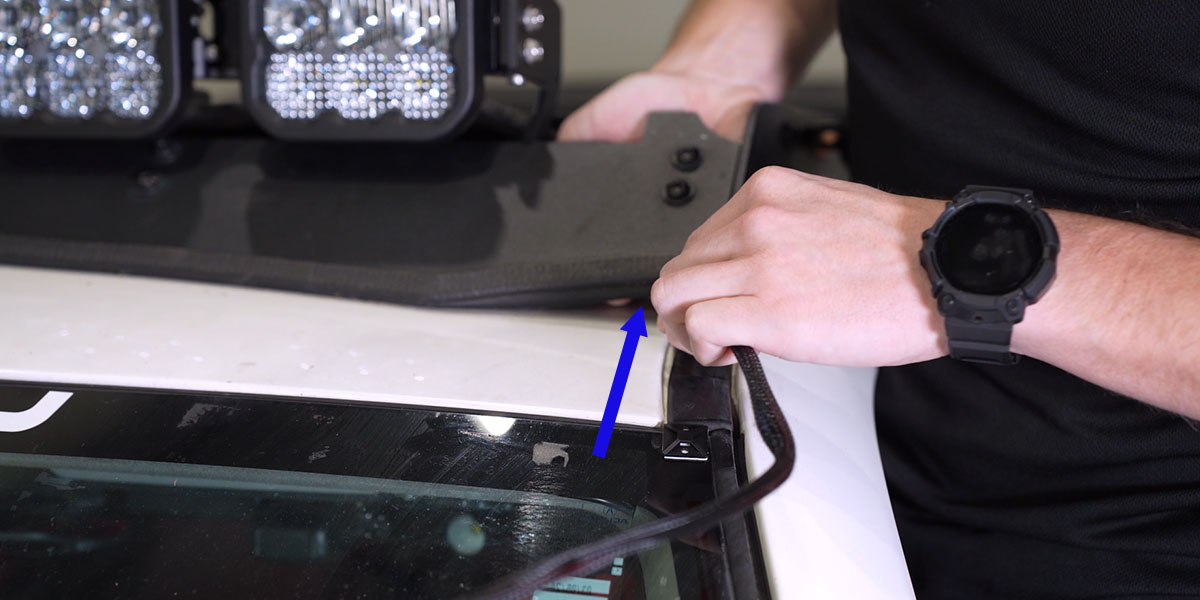
Step 15 - Route DT Up Windshield
Route the DT lead up the windshield, and under the wind deflector (as shown). Plug DT harness into the CrossLink harness.
Step 16 - Test For Function
With everything plugged in, test for functionality. If everything is working properly, complete the installation with the included zip ties.
The installation is now complete. Enjoy your SS5 CrossLink Lightbar Kit For Prinsu/Sherpa Roof Racks!
Questions About the Installation?
If you have any questions or issues installing the SS5 CrossLink Lightbar Kit For Prinsu/Sherpa Roof Racks, please contact us for further information.
Where Can I Buy an SS5 CrossLink Lightbar Kit For Prinsu/Sherpa Roof Racks for My Vehicle?
If you're ready to upgrade your ride with a SS5 CrossLink Lightbar Kit For Prinsu/Sherpa Roof Racks, you can purchase one by clicking here, or using our dealer locator to find a dealer near you.
Want to know more about Diode Dynamics products? Visit DiodeDynamics.com and subscribe to our newsletter for new product releases and more!
This Installation Guide is for the following SKUs: DD7894P, DD7816, DD7817, DD7818, DD7819, DD7820, DD7821, DD7822, DD7823, DD7824, DD7825, DD7826, DD7827, DD7828, DD7829, DD7830, DD7831
Share This Post