


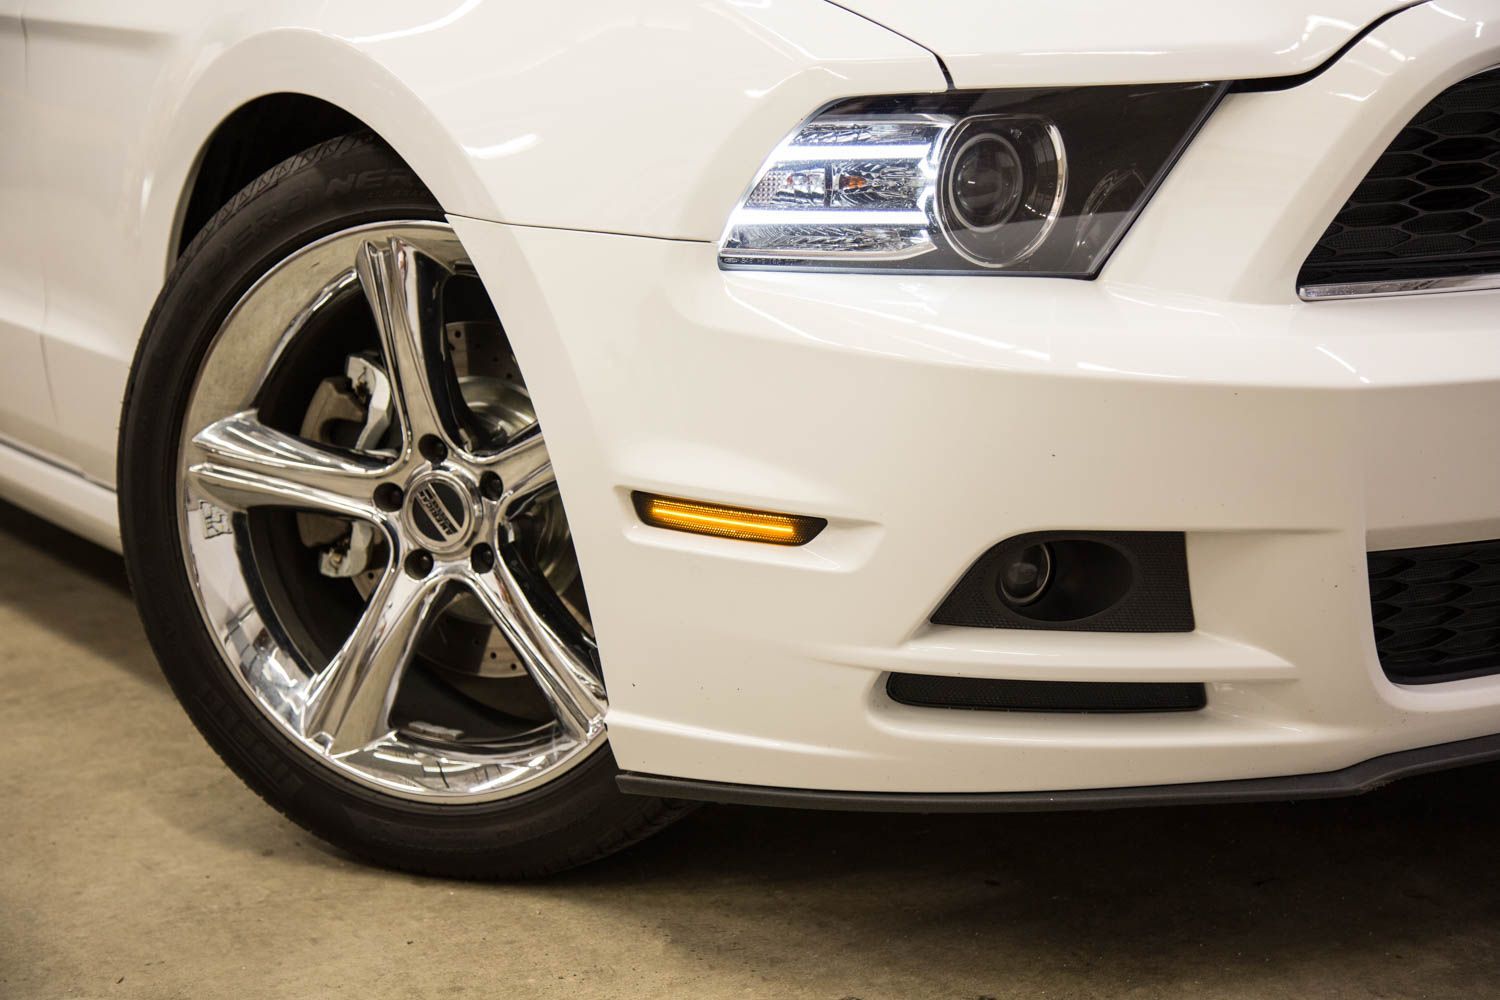
Diode Dynamics LED Sidemarkers for the 2010–2014 Ford Mustang are a direct, plug-and-play replacement for the factory sidemarker lights. Designed to provide a brighter, more modern appearance, these LED sidemarkers install cleanly with no permanent vehicle modifications.
This guide walks through the installation process for both the front and rear LED sidemarkers on the 2010–2014 Ford Mustang.
Table of Contents
- Installation Video
- Installation Tools
- Installation Instructions
- Questions About the Installation?
- Where Can I Buy LED Sidemarkers?
Installation Video
Installation Tools
- 7mm socket wrench
- 10mm socket wrench
- Phillips screwdriver
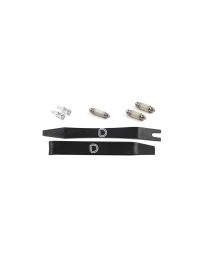
- Non-marring trim tool (optional)
Time Required: Approximately 45–60 minutes.
Installation Instructions
Rear Sidemarker Installation
Step 1 – Access the rear sidemarker
If you have a non-marring trim tool, you may be able to remove the rear sidemarker by inserting the tool at the back of the sidemarker and pushing forward toward the front of the vehicle. If successful, proceed to Step 5.
If a trim tool is not available, remove the three screws in the wheel well using a Phillips screwdriver or socket with bit.


Step 2 – Remove the sidemarker
Using a 10mm socket wrench, remove the two nuts on the back of the sidemarker. Push the sidemarker out from the bumper.

Step 3 – Remove the factory bulb
Twist the factory bulb socket counterclockwise to remove it from the sidemarker, then remove the bulb.

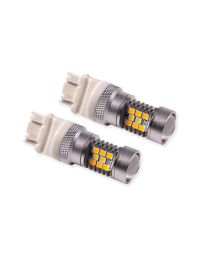
Step 4 – Install the new LED sidemarker
Plug the connector from the new Diode Dynamics LED sidemarker into the socket. Check polarity by activating the unlock button—if the sidemarker does not illuminate, flip the connector 180 degrees.
Step 5 – Reinstall the rear sidemarker
Twist the plug back into the new sidemarker to seal it. Place the sidemarker back into the bumper and tighten the nuts on the rear. Do not overtighten. Reinstall the wheel well liner and screws. Repeat for the opposite side.

Front Sidemarker Installation
Step 6 – Access the front sidemarker
Using a 7mm socket wrench, remove the three screws in the wheel well. Pull the wheel well liner back just enough to access the sidemarker.

Step 7 – Remove the front sidemarker
Pull back on the bumper to access the sidemarker. Press the clip toward the front of the vehicle and push the sidemarker out of the bumper.
Step 8 – Install the new LED sidemarker
Twist the factory plug counterclockwise to remove it from the sidemarker and remove the bulb. Plug the connector from the new LED sidemarker into the socket. Verify polarity and flip the connector 180 degrees if needed.

Step 9 – Reinstall the front sidemarker
Twist the plug back into the new sidemarker to seal it. Place the sidemarker back into the bumper, clip it into place, and reinstall the wheel well liner and screws. Repeat for the other side.

Questions About the Installation?
If you have any questions about installing the Diode Dynamics LED Sidemarkers for 2010–2014 Ford Mustang, contact us via our support page.
Where Can I Buy LED Sidemarkers for 2010–2014 Ford Mustang?
If you're ready to upgrade your 2010–2014 Ford Mustang with Diode Dynamics LED Sidemarkers, visit DiodeDynamics.com or use our Dealer Locator to find a dealer near you.
Want to know more about Diode Dynamics products? Visit DiodeDynamics.com and subscribe to our newsletter for new product releases and more!
This Installation Guide is for the following SKUs: DD5058, DD5060, DD5059


Share This Post