


The 2021-2025 Ford F-150 D-Switch Hub Mounting Kit adds a clean, centralized control solution for your vehicle’s auxiliary lighting and accessories. This installation guide will provide you with detailed instructions on how to install the D-Switch Hub Mount in your Ford F-150. Continue reading for step-by-step instructions below!
Table of Contents
- Installation Tools
- Installation Instructions
- Questions About the Installation?
- Where Can I Buy the 2021-2025 Ford F-150 D-Switch Hub Mounting Kit?
Installation Tools
- 10mm socket
- 10mm wrench
- 4mm Allen wrench
- Trim tool
Installation Instructions
Step 1 — Remove the Harness Retaining Clip
Using a trim tool, remove the harness retaining clip located to the right of the battery. This will create space to mount the support bracket.

Step 2 — Remove the Coolant Reservoir Bolt
Use a 10mm socket to remove the bolt securing the coolant reservoir. Set the bolt aside, as it will be reused.

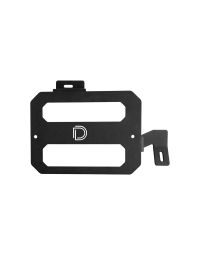
Step 3 — Install the Mounting Bracket
Place the L-shaped flange of the mounting bracket between the coolant reservoir and the OE clip nut. Reinstall the OE screw removed in the previous step to secure the bracket in place.

Step 4 — Secure the Support Leg
Use a 4mm Allen wrench and 10mm wrench to secure the support leg of the mounting bracket to the battery tray, where the wire harness retainer clip was removed in Step 1.

Step 5 — Secure the Harness
Use a zip tie to secure the loose harness to the installed mounting bracket. This will keep wiring organized and away from moving components.

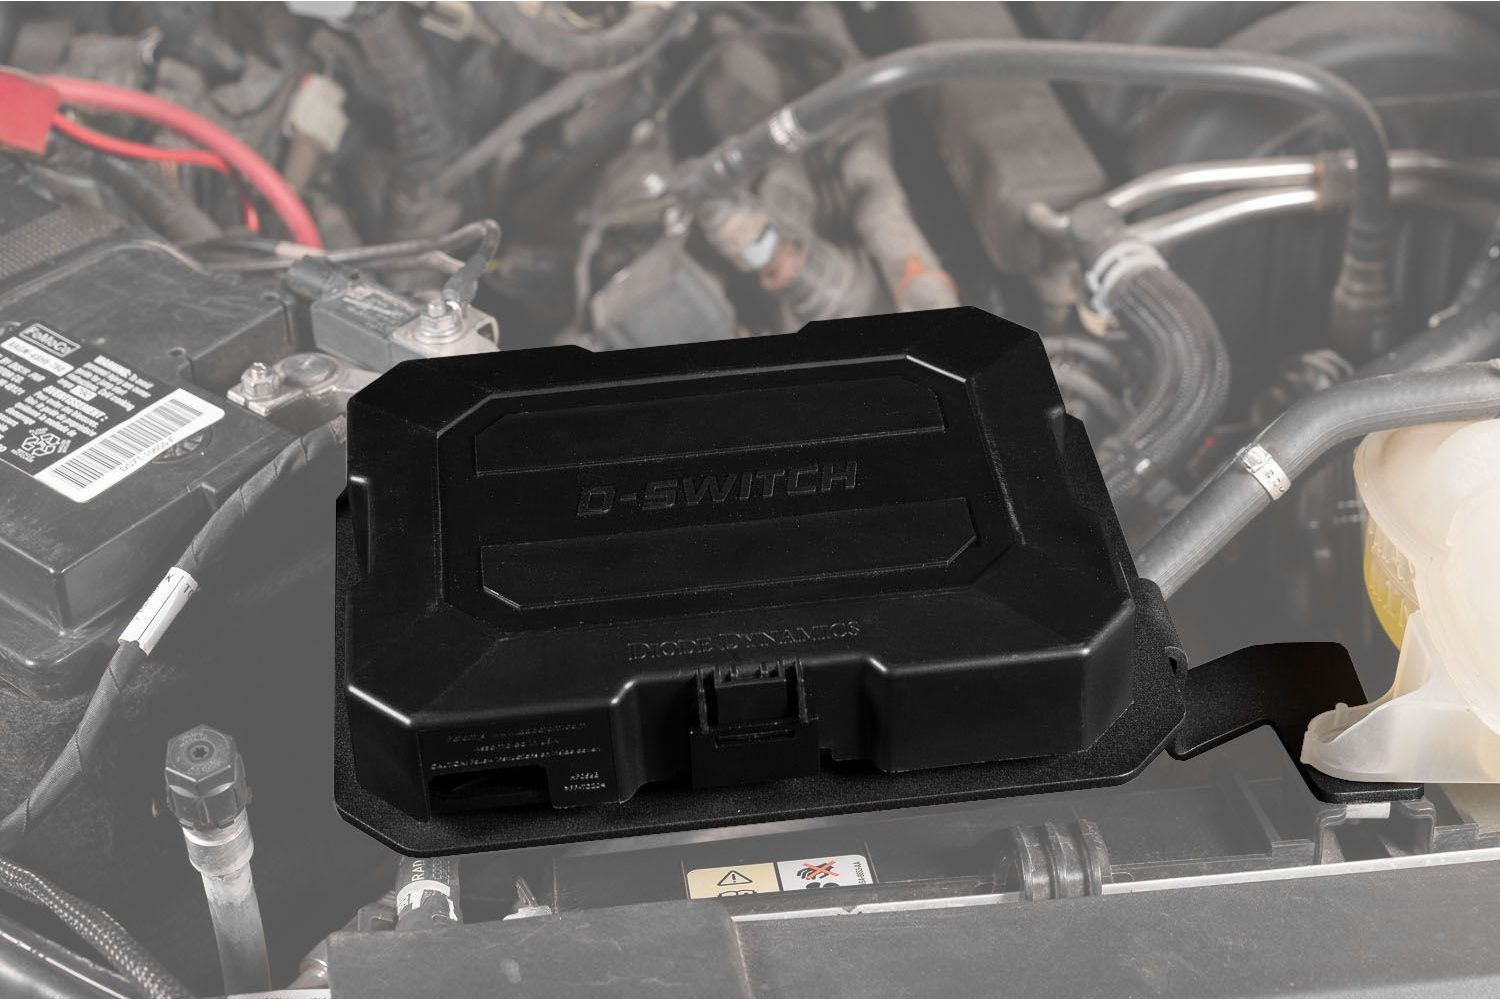
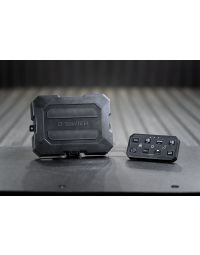
Step 6 — Mount the D-Switch Hub
Use the included screw and nut to fasten the D-Switch Hub to the mounting bracket. Ensure the hub is oriented so that the harness connectors face toward the firewall.

The installation is now complete. Enjoy your new 2021-2025 Ford F-150 D-Switch Hub Mounting Kit!
Questions About the Installation?
If you have any questions about installing the 2021-2025 Ford F-150 D-Switch Hub Mounting Kit, contact us via our support page.
Where Can I Buy the 2021-2025 Ford F-150 D-Switch Hub Mounting Kit?
If you're ready to upgrade your 2021–2025 Ford F-150 with the D-Switch 8-Channel Switch Panel Kit, visit DiodeDynamics.com or use our Dealer Locator to find a dealer near you.
Want to know more about Diode Dynamics products? Visit DiodeDynamics.com and subscribe to our newsletter for new product releases and more!
This Installation Guide is for the following SKUs: DD8783, DD8572


Share This Post