


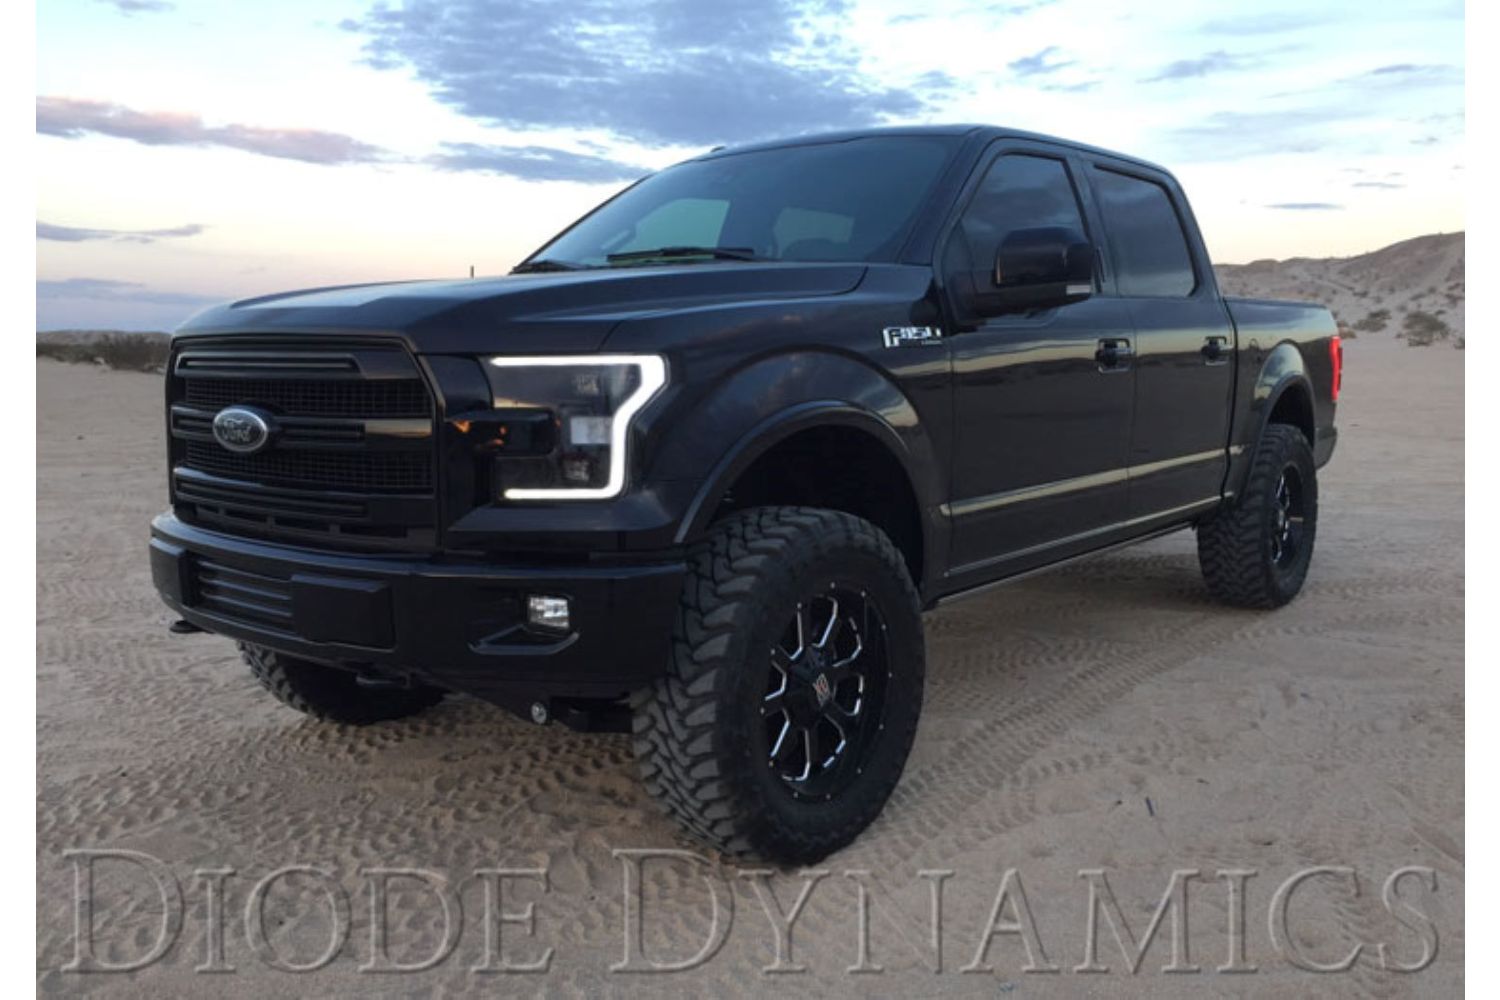
Our Switchback LED Boards for the 2015-2017 Ford F-150 are a direct replacement for the factory LED boards in your headlights. Designed directly from OEM data, these LED boards convert the premium factory amber DRL into a white parking light, and amber turn signal. With double the number of LEDs, these LED boards provide a huge increase in brightness for your parking lights and DRLs, and are even visible in direct sunlight!
Not only do these LED boards deliver a brighter running light, they also feature a Switchback turn signal for a premium, modern appearance on your Ford F-150. Anytime you hit your turn signal, they light up in a brilliant amber to indicate signaling. Once you've completed your turn, they "Switchback" to the bright white DRL.
Even with the increased brightness and additional turn signal function, our LED boards draw just enough power to provide upgraded illumination without any errors. All Diode Dynamics LED boards are thoroughly tested to meet SAE/DOT standards, ensuring maximum performance in your F-150 for years to come.
The following installation guide will provide you with detailed instructions on how to install the 2015-2017 Ford F-150 Switchback LED Boards. Continue reading for step-by-step instructions below!
Table of Contents
Installation Instructions
Step 1 - Remove White Reflector.
After opening the headlights, remove the white reflector with the light pipe, by removing the screws holding it in place.
Step 2 - Remove Factory LED Board.
Remove the factory LED board with the aluminum heatsink by unscrewing the retaining screw and then pulling it away from the plastic tab on the light pipe. Cutting the tab will not affect the performance in any way, and is recommended for easier installation.
Step 3 - Remove Aluminum Heatsink.
Remove the factory LED panel from the heatsink by unscrewing the two screws on the white plastic piece. Set the plastic piece aside. The LED panel will be stuck to the aluminum due to adhesive. Pry up with force on the end of the factory LED panel, and it will come apart from the metal heatsink.
Step 4 - Remove Factory LED Panels.
Remove the factory LED panels by unclipping them directly from the driver board near the turn signal.
Step 5 - Position New LED Boards.
Place the new LED boards into position. If possible, use the original tape to hold them in place, then refasten the screws with the white plastic piece.
Step 6 - Reattach Module.
Reattach the module to the end of the light pipe. Again, this is easier if the plastic retaining tab is clipped. Then screw the module into place.
Wiring Instructions
Step 7 - Connect Switchback Driver.
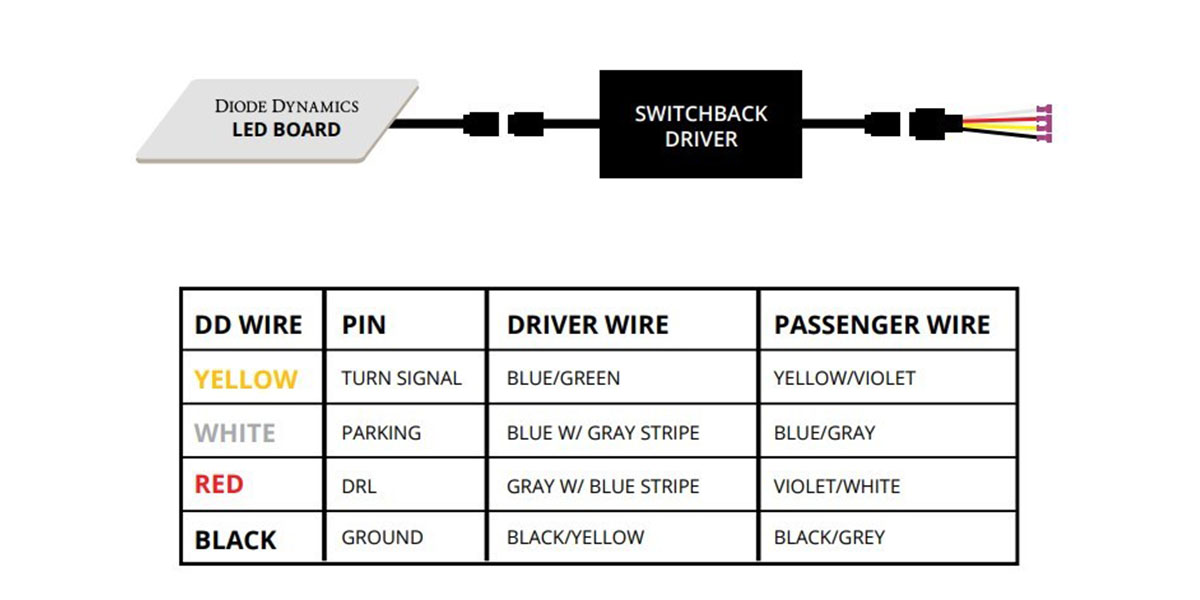
First, connect the board connector to the Switchback driver output. Then connect the Switchback driver input to the pigtail. Finally, tap the bare wires to the wiring harness. See the Wiring Method Diagram above. The black wire must be grounded before any function will work.
IMPORTANT: DO NOT plug the LED board directly into the pigtail without the driver. The LEDs must be plugged into the driver first to control the power.
Step 8 - Mount Driver.
Mount the driver and tuck all wires. The driver should be mounted outside of the headlight for serviceability, in a location away from the engine block to avoid excessive heat buildup.
Step 9 - Test Function.
Test thoroughly, reseal the headlight, and reinstall onto the vehicle.
Questions About the Installation?
If you have any questions or issues installing the 2015-2017 Ford F-150 Switchback LED Boards, please contact us for further assistance.
Where Can I Buy a Switchback LED Board for the 2017-2017 Ford F-150?
If you’re ready to upgrade your 2015-2017 Ford F-150 with Switchback LED Boards, you can purchase them by clicking here or using our dealer locator to find a dealer near you.
Want to know more about Diode Dynamics products? Visit DiodeDynamics.com and subscribe to our newsletter for new product releases and more!
This Installation Guide is for the following SKU: DD2005.

Share This Post