


The HitchMount LED Pod Reverse Kit for the 2005-2015 Toyota Tacoma allows you to install one SSC1 or C1R LED Pod in your 2-inch trailer hitch receiver, adding a high-power reverse light, additional running light, and an optional 4th brake light with the C1R option.
The following installation guide will provide you with detailed instructions on how to install the C1R HitchMount LED Pod Reverse Kit on the 2005-2015 Toyota Tacoma.
NOTE: All HitchMount LED Pod kits now include a custom-molded adapter sleeve for use with 2.5-inch receivers. This component is not required for vehicles equipped with a standard 2-inch hitch receiver, and can be set aside during installation.
Table of Contents
Mounting Instructions
Step 1 - Locate Trailer Harness.
From underneath the Tacoma, locate the sealed trailer harness connector (indicated by the red arrow in the image below) directly behind the rear bumper.
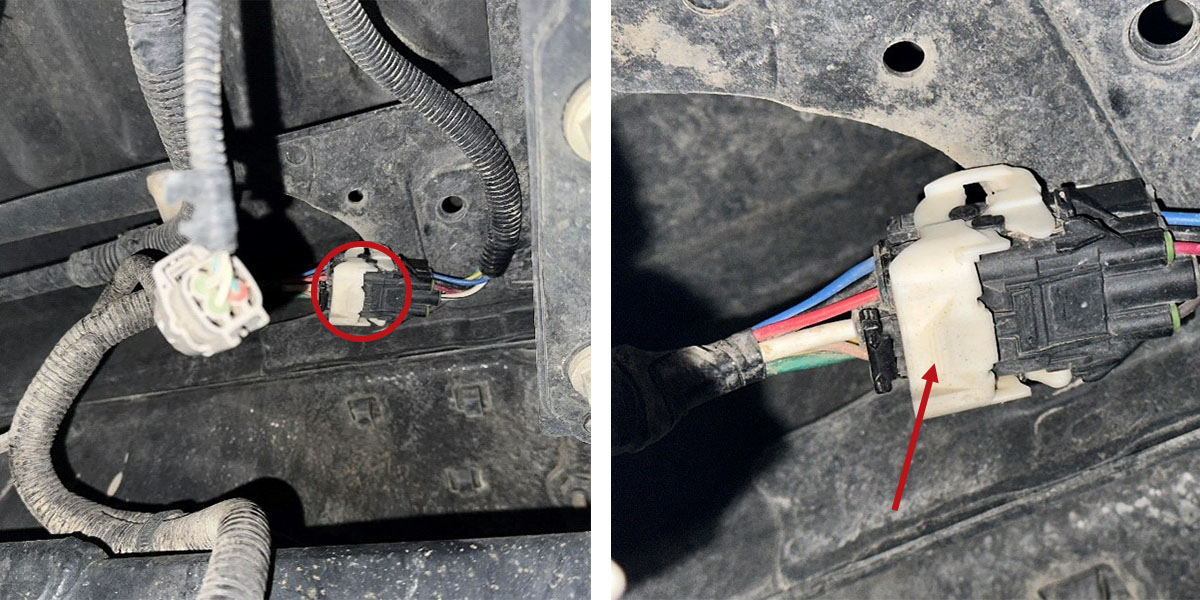
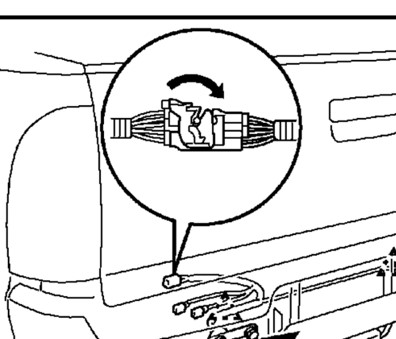
Step 2 - Disconnect Factory Trailer Harness Connector.
Disconnect the factory trailer harness connector by rotating the white latch mechanism as shown in the diagram below. Then pull the connectors apart from each other.
Step 3 - Plug HitchMount Harness In Line.
Plug the provided HitchMount harness in line between the factory harness and the trailer harness connector that was disconnected in Step 2.
Be sure to rotate the white latch mechanism back into the lock position to ensure proper connection.
Step 4 - Route the DT Connector.
Route the DT connector through the back of the trailer hitch receiver.
Step 7 - Connect HitchMount Pod to Harness.
Remove the dust cap from the DT connector and plug the DT connector into your LED pod.
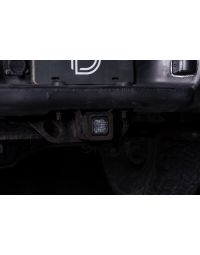
Step 8 - Install HitchMount LED Pod.
Using the patent-pending HitchMount clip, simply push the LED Pod into the trailer hitch receiver until it snaps into place.
Step 9 - Test Function.
Test the functionality of the HitchMount LED Pod Reverse Kit and then secure the wiring harness with the included zip ties to complete the installation.
Step 10 - Removing HitchMount.
To remove the HitchMount, depress the clips on either side and apply forward pressure to slide the lamp out of the receiver. Unplug the wire harness. If you plan to leave the harness disconnected for an extended period, unplug the HitchMount harness from the main factory harness and trailer harness connector as well for safe storage.
Otherwise, simply reinstall the dust cap and tuck the DT connector out of the way until it is again needed.
OPTIONAL: Using HitchMount with a Hitch Pin
The HitchMount has been designed to stay securely in place during use. If you would like to add a locking hitch pin for added security (not included), you may easily accomplish this with slight modification. This modification does not void any manufacturer warranty.
Step 1 - Cut Out Retention Tabs.
To do so, push the retention tab outward and use a cutting tool to cut out the circular section on the tab. Repeat on the other side.
Step 2 - Connect HitchMount Pod to Harness.
Plug the DT Connector into the pod, and slide the HitchMount into the trailer hitch receiver.
Step 3 - Insert The Hitch Pin.
Slide the hitch pin into place with one hand, as you align the HitchMount with your other hand. It should be a tight fit, which will prevent rattling and movement once installed. Lock the pin if desired.
Questions About the Installation?
If you have any questions or issues installing the HitchMount LED Pod for the 2005-2015 Toyota Tacoma, please contact us for further information.
Where Can I Buy The 2005-2015 Toyota Tacoma C1R HitchMount LED Pod Reverse Kit?
If you're ready to upgrade your 2005-2015 Toyota Tacoma with the C1R HitchMount LED Pod Reverse Kit, you can purchase one by clicking here or using our dealer locator to find a dealer near you.
Want to know more about Diode Dynamics products? Visit DiodeDynamics.com and subscribe to our newsletter for new product releases and more!
Note: This guide is only for the C1R Kit.
This Installation Guide is for the following SKUs: DD7647
Share This Post