


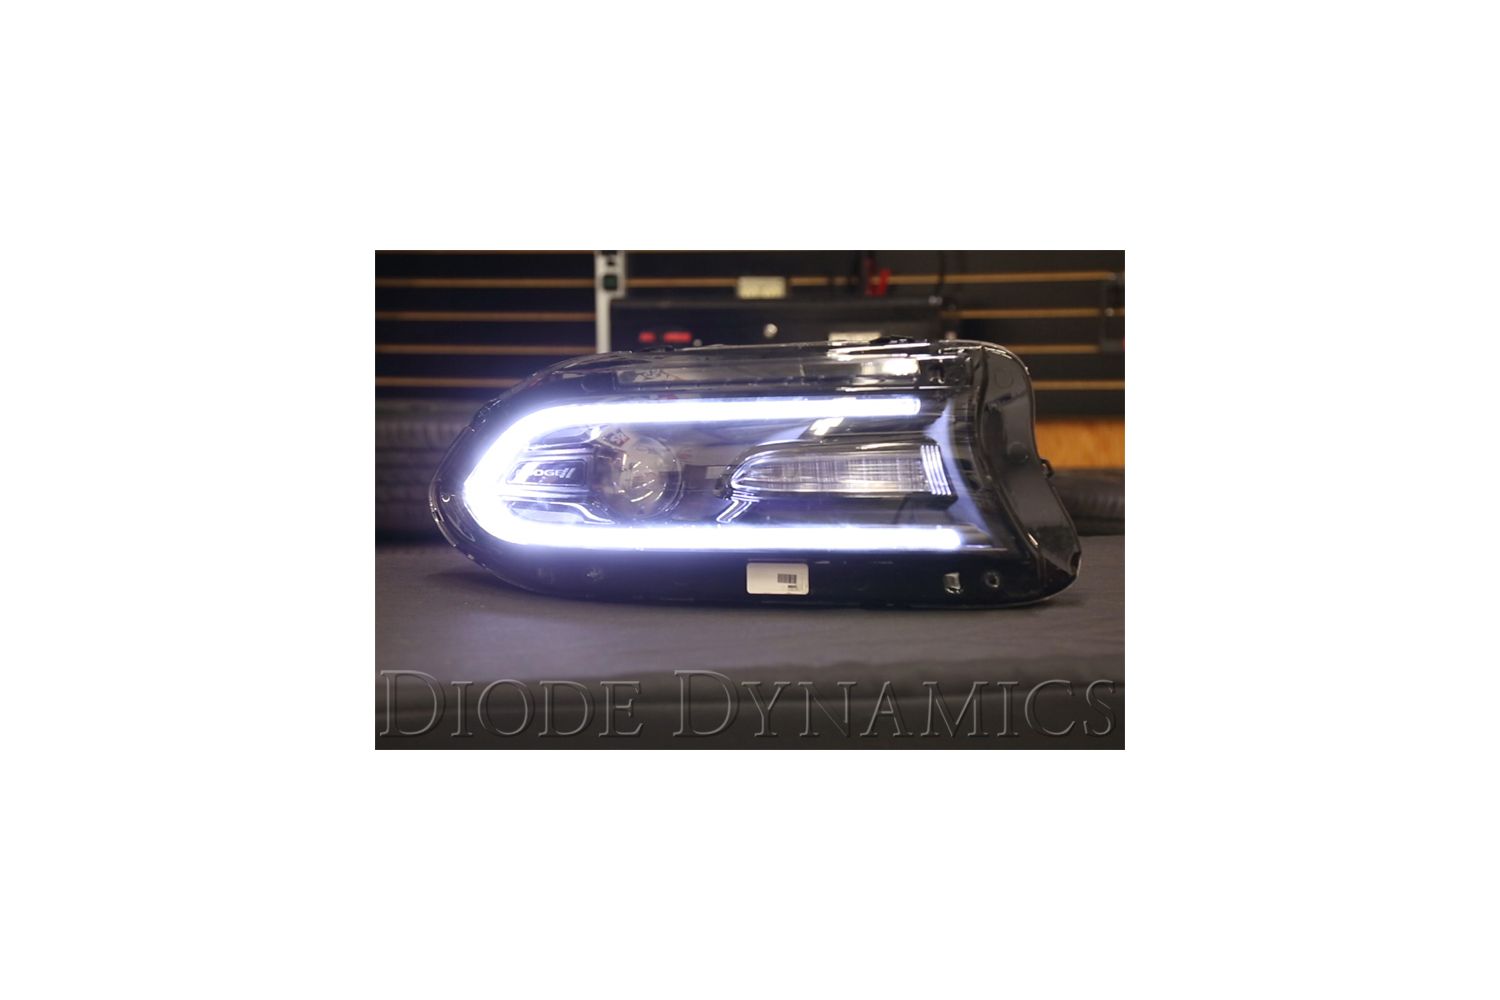
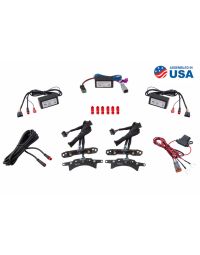
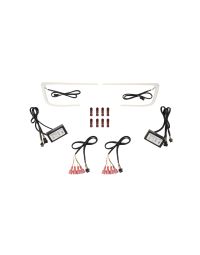
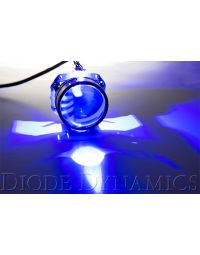
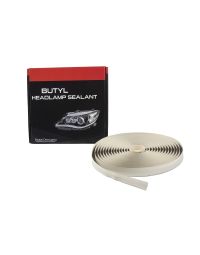
Want to upgrade your ride’s headlights with LED Boards, HD LED Halos, or Pro Series Demon Eyes (or all of the above!)? We can help! As the leading manufacturer of OEM-quality headlight mods, we’re excited to now offer automotive-grade Butyl Headlamp Sealant!
Unlike the generic adhesives or silicone often used to reseal headlights, Diode Dynamics Butyl Headlamp Sealant is specifically designed for automotive headlight assemblies. With a little practice, you'll have a weather-tight seal, with quality butyl that will protect against moisture ingress for years to come!
Scroll down ⬇️⬇️⬇️ for step-by-step instructions on resealing your headlights using our Butyl Headlamp Sealant!
Note:
In order to install your LED Boards, HD LED Halos, Angel Eyes, or Pro Series Demon Eyes, you’ll need to separate your headlight lens from the housing itself, using heat or a process known as “baking”. Since a headlamp assembly can be very expensive to replace, we strongly recommend working with one of our professional installers if you’re not already familiar with this process.

To find a professional installer near you, simply enter your zip code or city into our Dealer Locator Tool!
1. Remove the old sealant
Once you’ve opened your headlights, installed any modifications, and are ready to reseal them, remove all the old sealant from both the lens and housing. While this process can be time-consuming, thoroughly cleaning out the old sealant from the channel helps ensure a weather-tight seal that doesn’t allow any condensation or leaking.

Note: We’d recommend removing the old sealant by hand, as scraping with metal or plastic tools may damage the housing.
2. Apply Butyl Headlamp Sealant
After you’ve thoroughly removed all the old sealant, begin inserting the Automotive Grade Butyl into the channel on your headlight housing. Be sure to press the butyl firmly into the channel as you go around the headlight. At 7mm thick, Diode Dynamics butyl is designed to tuck neatly into the headlight channel. You can also mold and stretch it as needed to fit the channel. It should stretch easily when warmed. If it’s too flexible, let it cool slightly.

Once you’ve tucked the butyl into the headlight channel, trim off any excess. Each roll of our Automotive Grade Butyl is over 20 feet long, more than enough for two large headlights!
3. Reheat the housing before sealing
With your Automotive Grade Butyl firmly in place, reheat the headlight housing in order to make the butyl soft and tacky. If you’re able to use an oven, we recommend baking the headlight at 275 degrees for 10-15 minutes.

Once the butyl has been sufficiently heated, remove the headlight from the oven, and firmly press the lens and housing together. If your headlight uses bolts or screws to hold the housing together, reinstall them now. If your headlight was originally sealed with permaseal, it’s a good idea to add a few small screws to make sure the housing stays together.
Warning: Use caution when removing your headlights from the oven, as they will be extremely hot, and can cause severe burns and other injuries.
4. Apply pressure and reheat
Finally, use either clamps or locking pliers to press the housing and together at as many points as possible, ensuring the best possible seal. Depending on the size of your headlight, you may need five or more clamps per headlight. Once they’re in place and your headlight is firmly pressed together, place your housing back in the oven at 275 degrees for about 5 minutes. This allows the butyl to fully seal the headlight housing.

After removing your headlights from the oven for the last time, set them on a soft, heatproof surface and allow them to cool to room temperature before reinstalling into your vehicle.
Warning: Use caution when removing your headlights from the oven, as they will be extremely hot, and can cause severe burns and other injuries.
5. Install breather patches (optional)
For better protection against moisture build up, we recommend installing some of our 20mm Breather Patches. These are designed to allow for better airflow while keeping condensation and water out. Best of all, they are easy to apply!

To install a breather patch, drill a small hole in the back of your headlight. Then, while wearing gloves, apply the breather patch material over the hole, and press down gently.
Note: Be cautious when drilling holes for your breather patches in order to avoid damaging wiring or other sensitive components in your headlight.
Following these steps, our Butyl Headlamp Sealant provides a weathertight, OEM-grade seal for your headlights after a retrofit or custom build. Ready to get started? You can check out all the headlight customization products we offer for your ride using our Vehicle Finder tool!
And don’t forget about our universal accent lighting such as HD LED Halos and Strips and Pro Series Demon Eyes that can be installed on any vehicle!
Have more questions about resealing your headlights after a retrofit or other modification? Contact us today!
Share This Post