


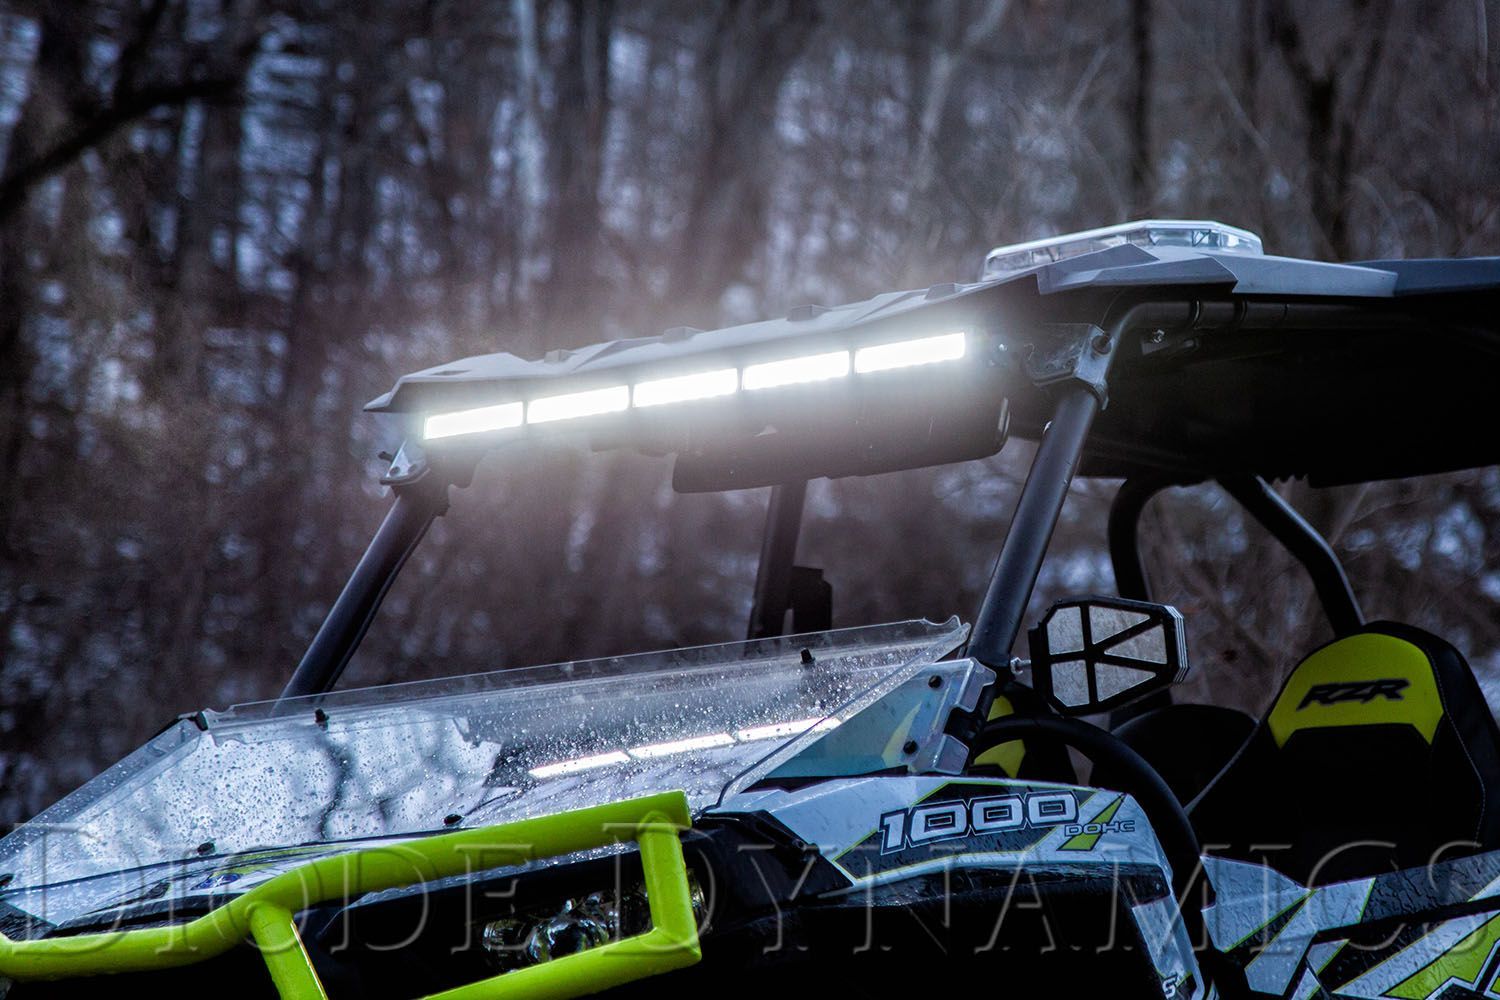
Thank you for your purchase of the Stage Series LED Light Bar! The following installation guide will provide you with step-by-step instructions on how to replace the Stage Series Light Bar Lenses on your Stage Series Lightbar. Continue reading for step-by-step instructions below!
Table of Contents
Installation Tools
- T10 Torx Bit
- Rubber gloves
Installation Instructions
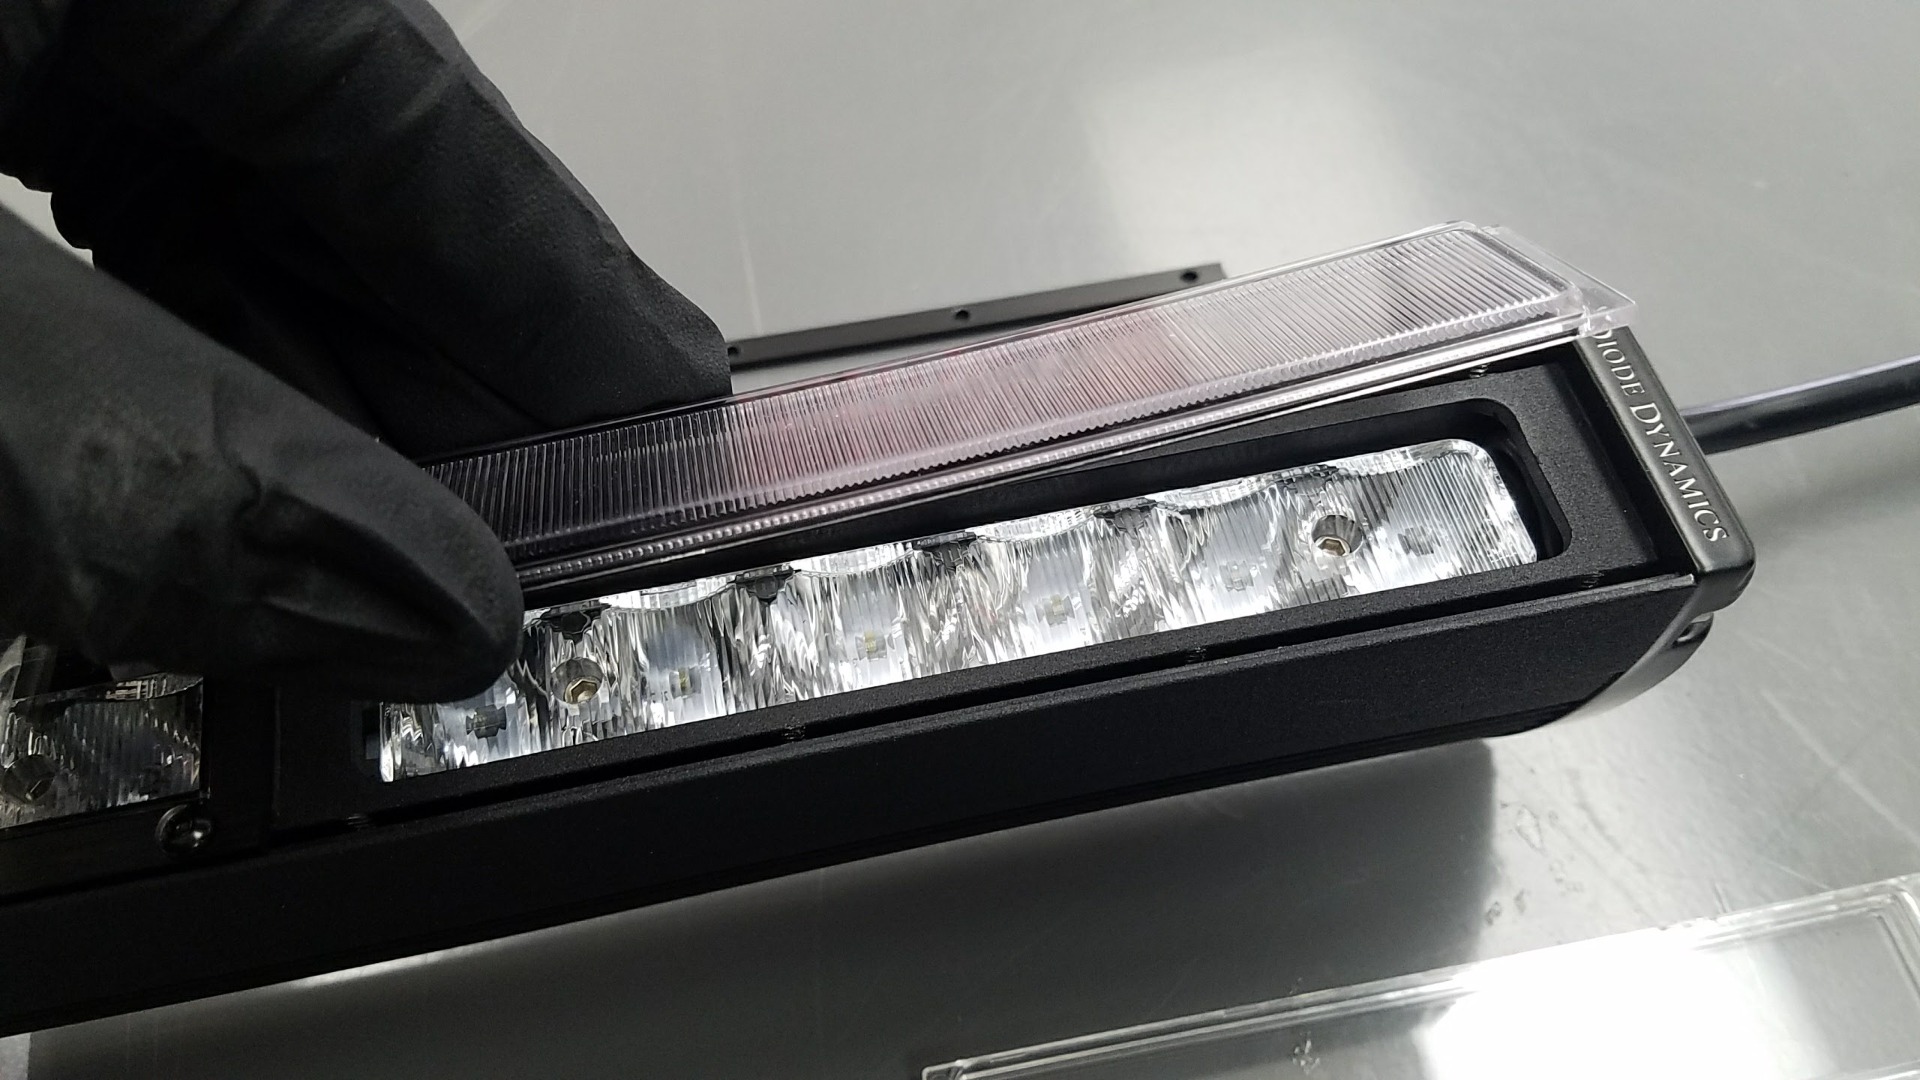
Step 1 - Remove Original Lens
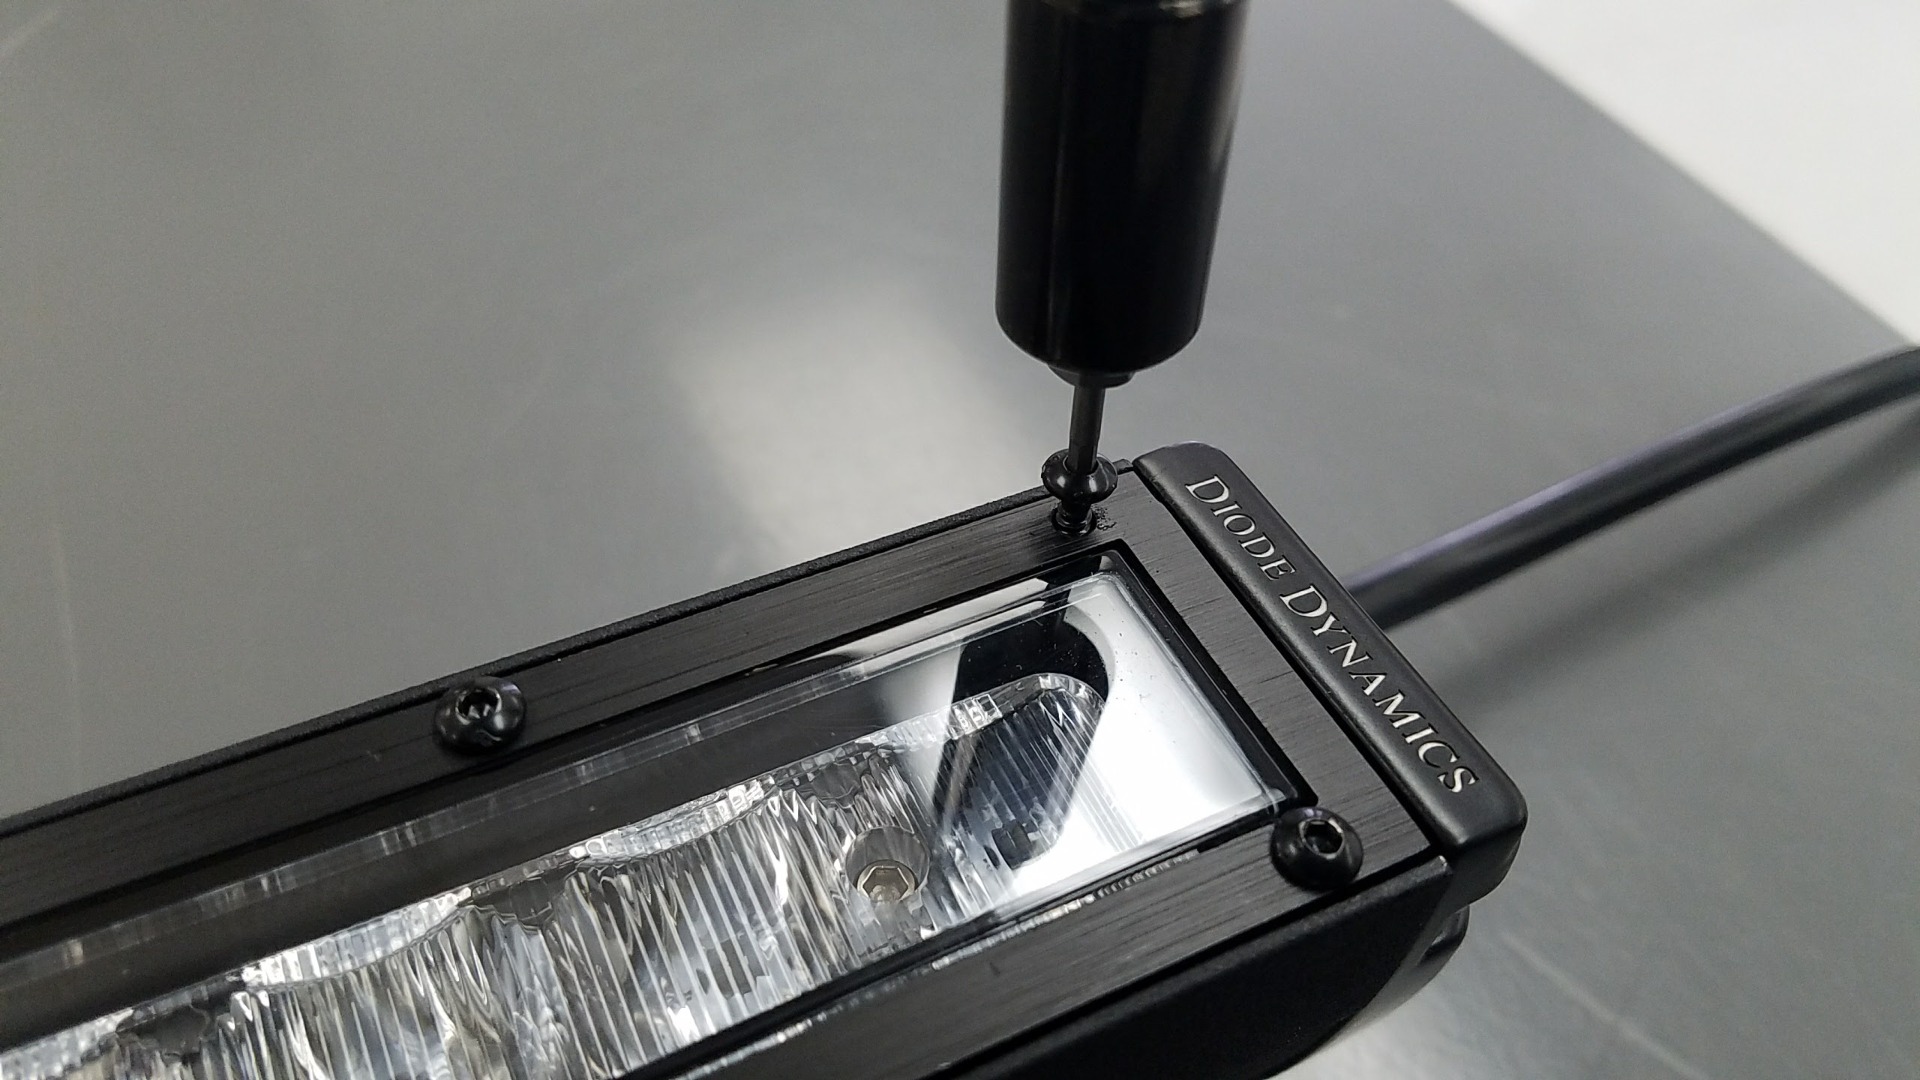
Note: Wear gloves, and place the light bar face-up on a padded, clean surface. To avoid dust and humidity, complete this process indoors, in an air-conditioned room.
Using a T10 torx bit, remove the eight screws securing the frame to the light bar. Be careful to leave the frame in place as you work, removing the screws only.
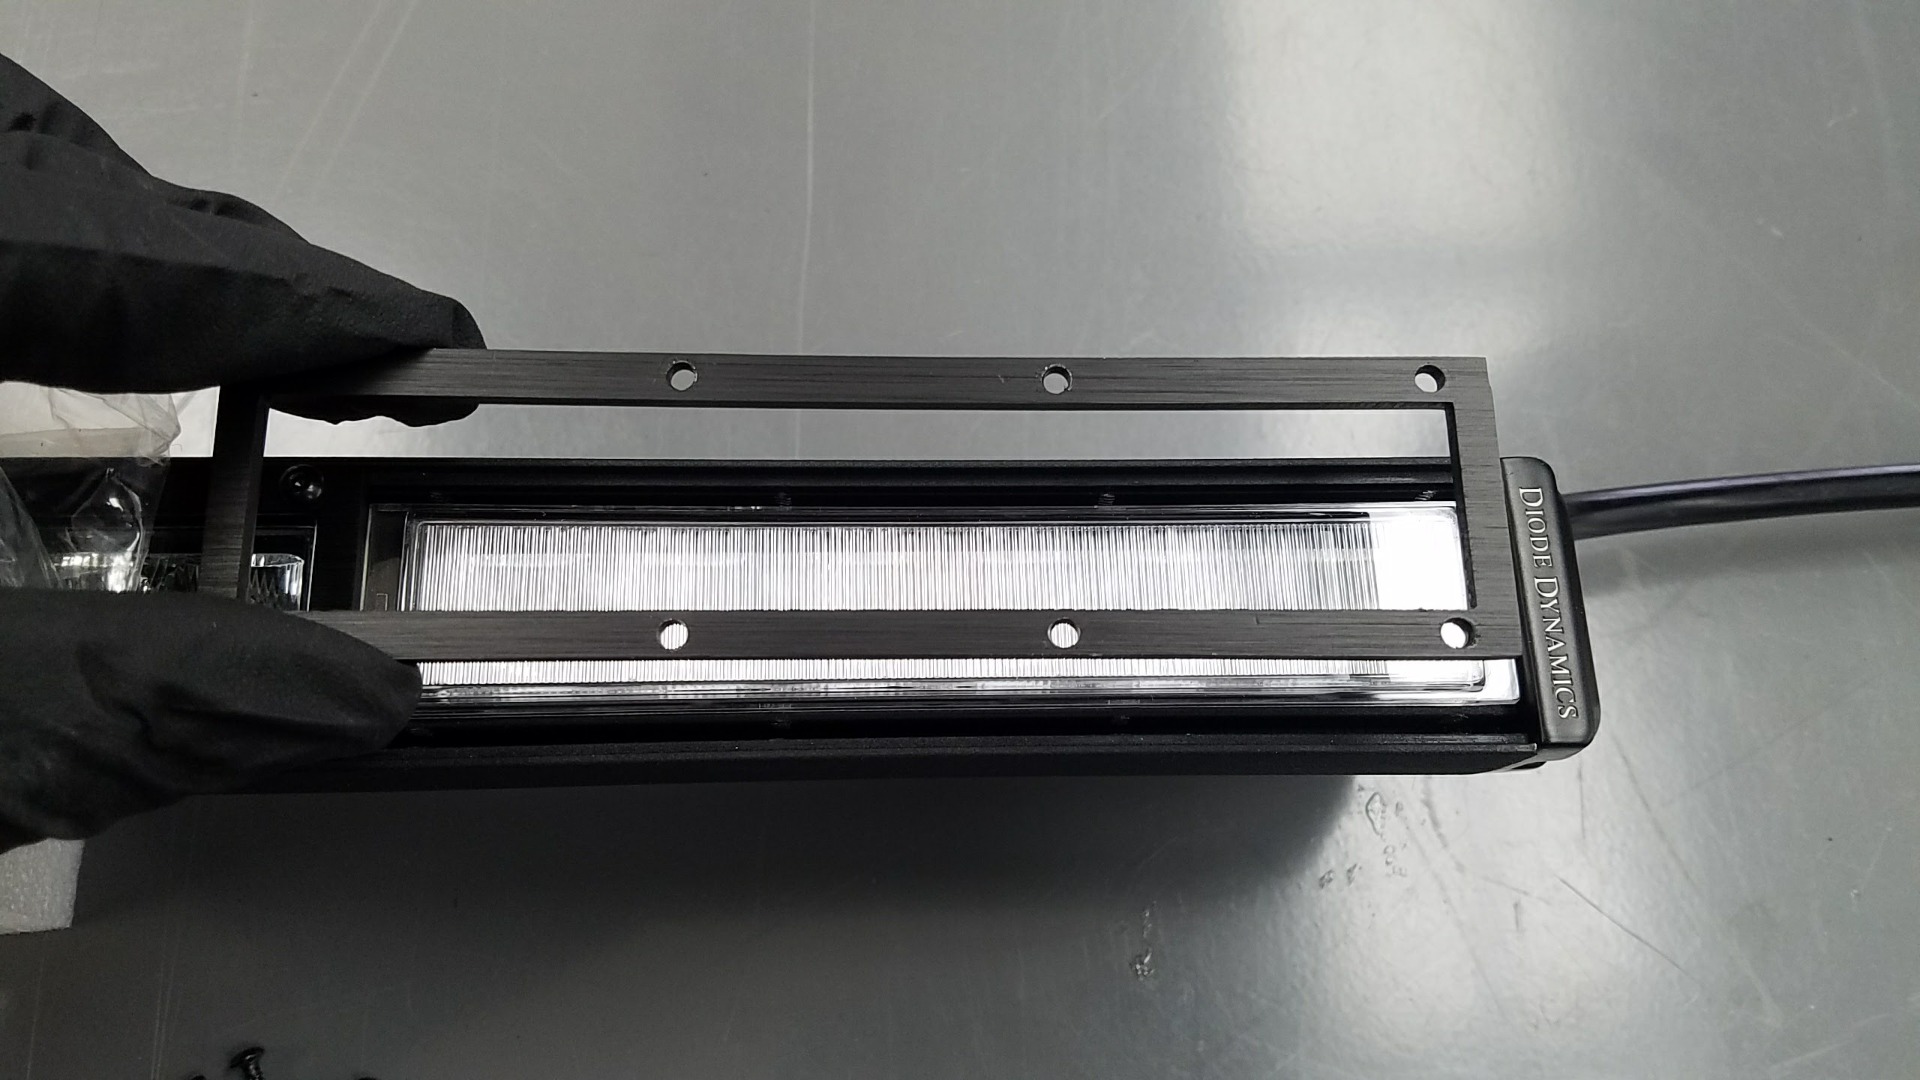
When all screws are removed, take your new replacement lens and unwrap it carefully, wearing gloves. Examine to ensure there are no dust or particles on the inside of the lens. Place on a clean surface.
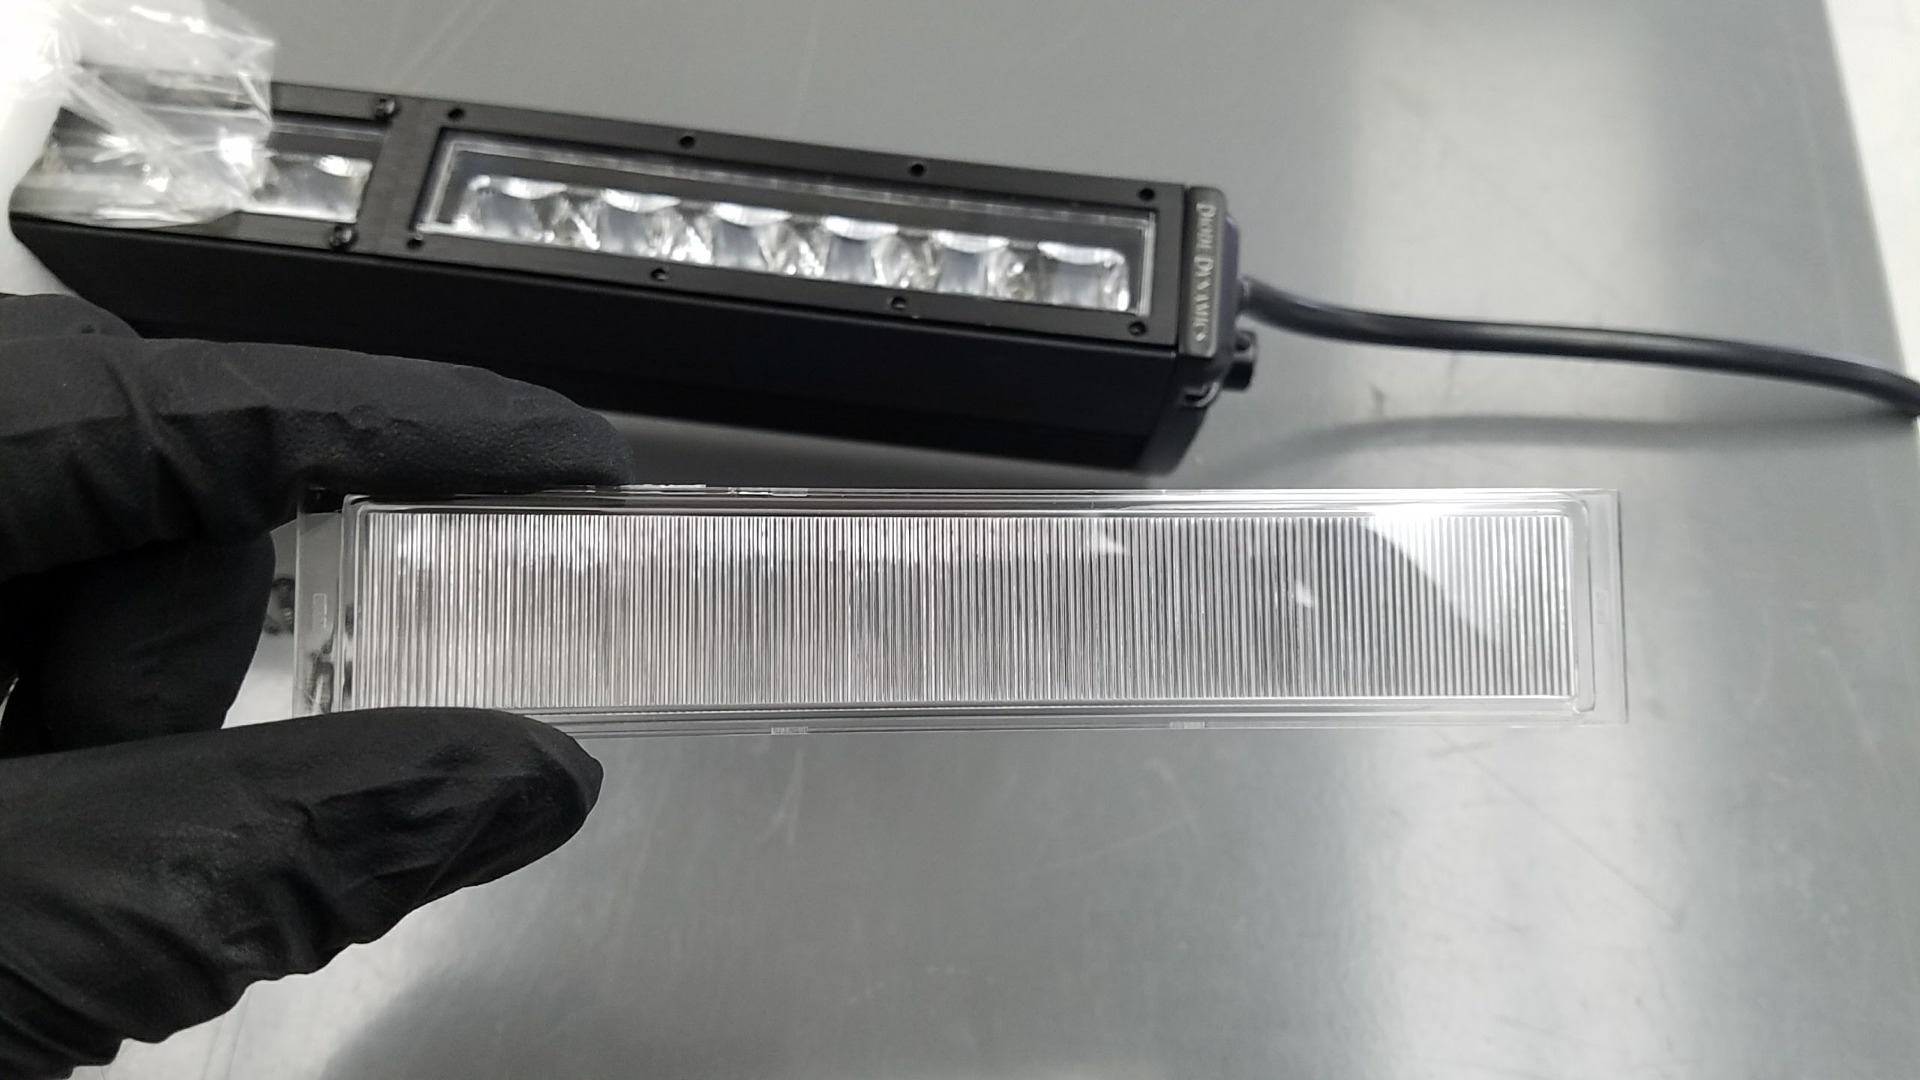
Slowly remove the frame from the light bar, leaving the lens in place. Keep the frame in the same orientation, and set to the side, on a clean surface. Remove the original lens.
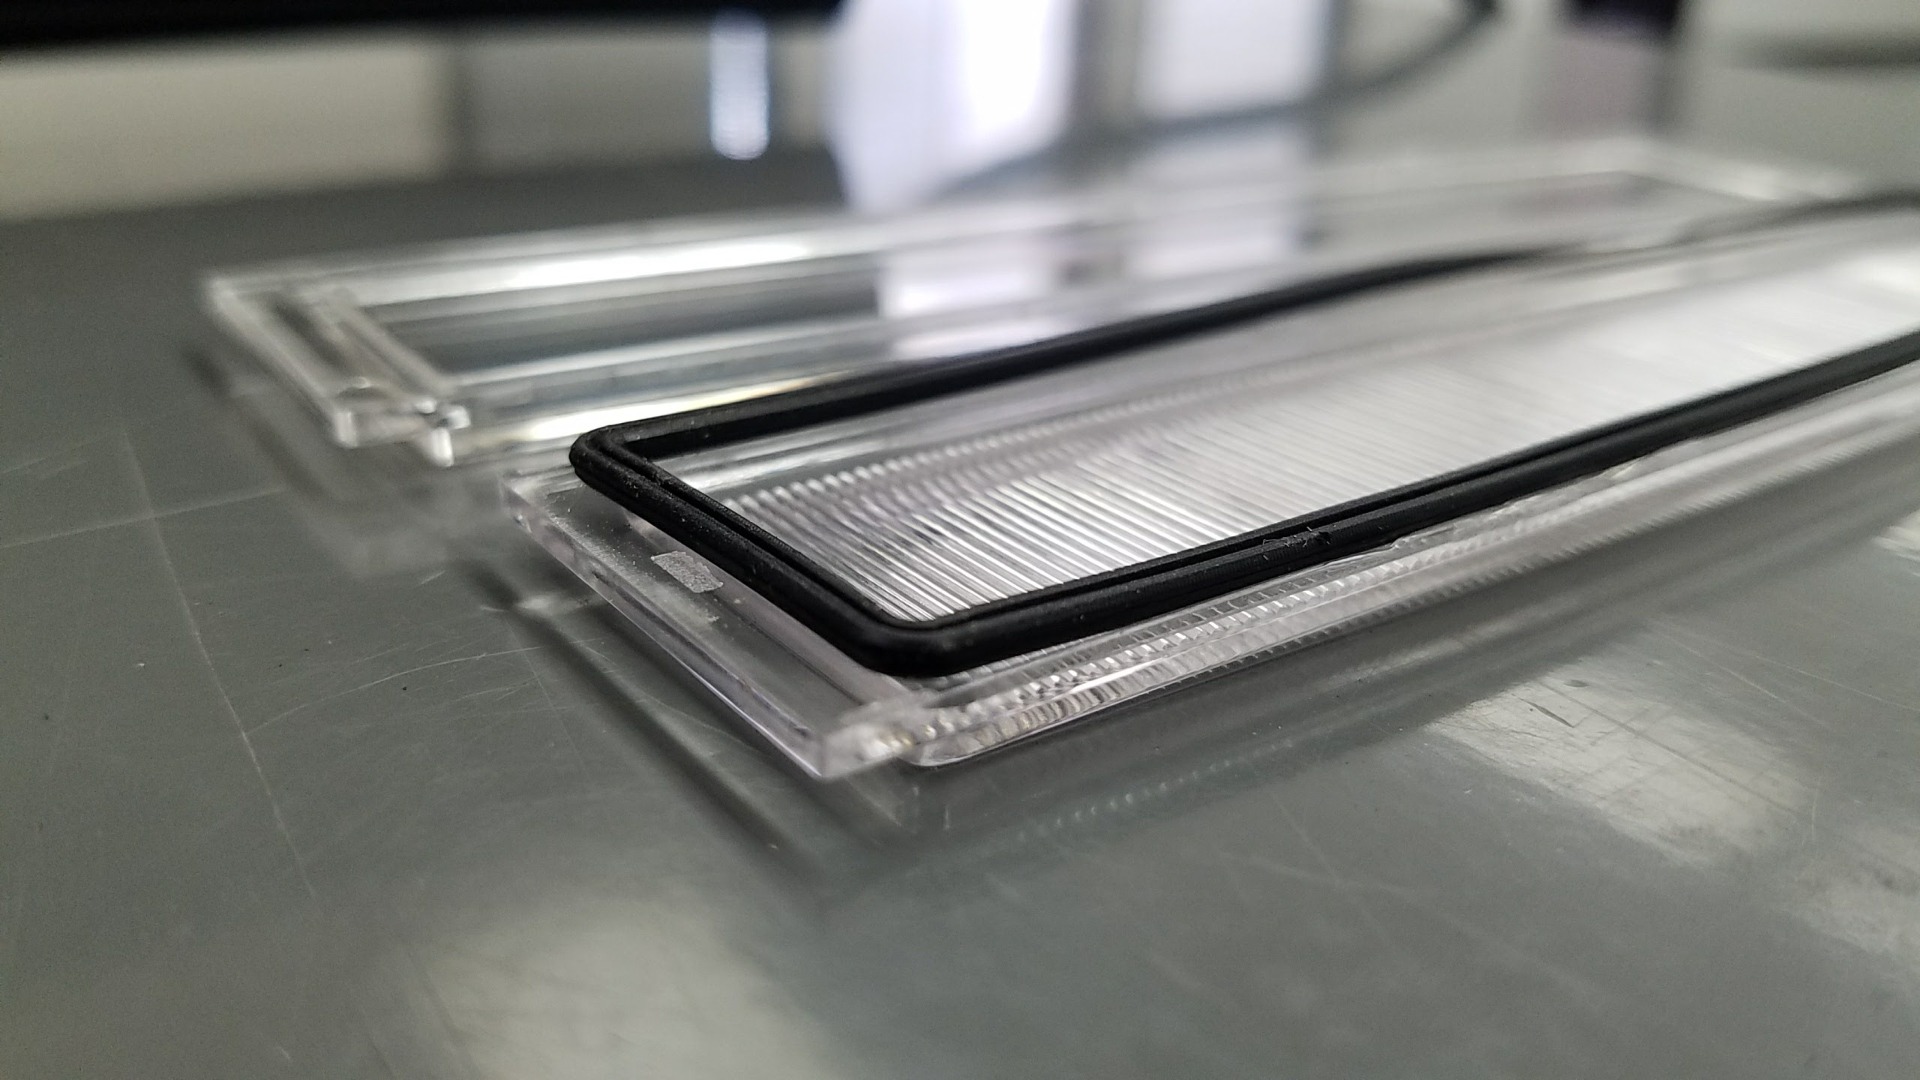
Step 2 - Swap Gasket
Carefully remove the gasket in the inside groove of the original lense. Place the gasket onto the new lens.
Note: Do not press from one side to the other - align the ends, and then work your way towards the middle.
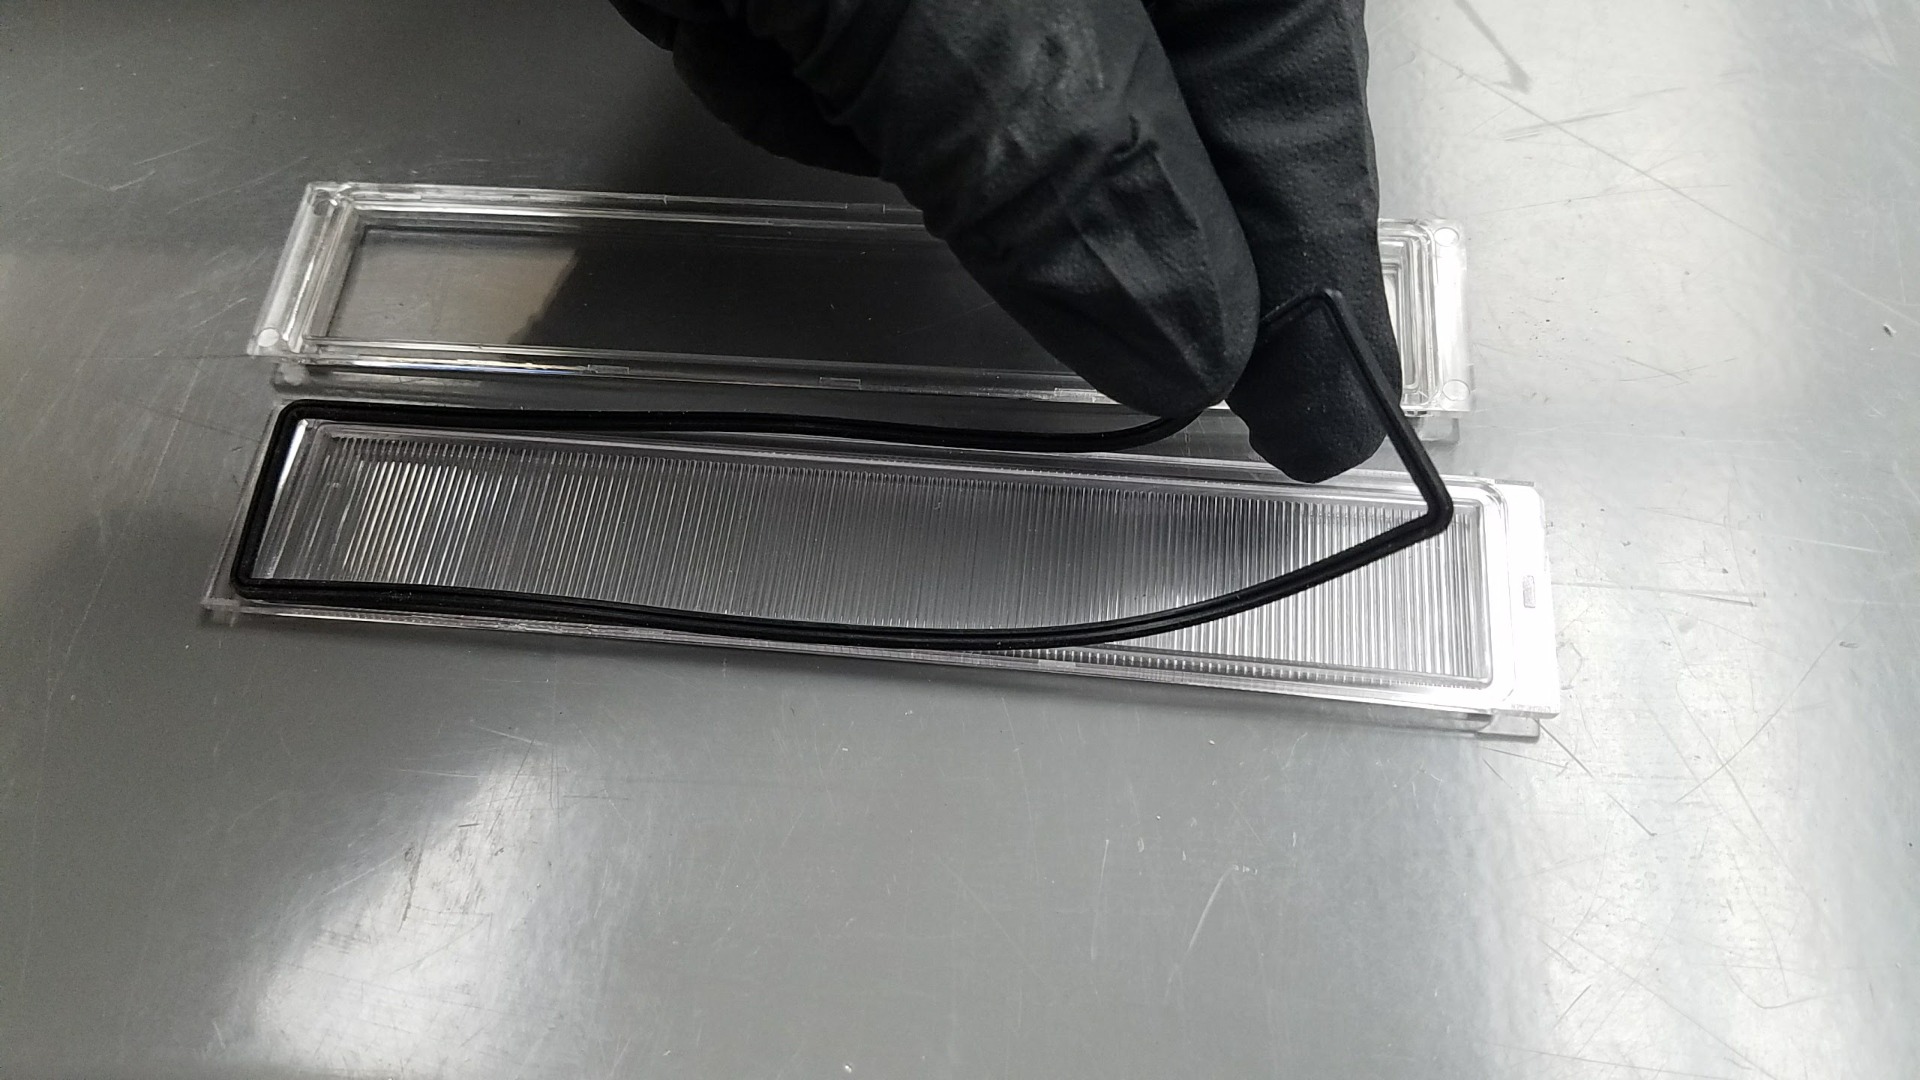
Once the gasket is aligned, push down gently to secure the gasket to the lens. It does not need to be pushed in all the way, only enough to stay in place. Again, do this on both ends and then work your way to the middle. Inspect when finished to make sure the gasket is uniformly installed.
Step 3 - Installing Lens
Carefully place the lens with the gasket back in place on the light bar. If you drop the lens, re-inspect the gasket to make sure it is still aligned properly.
Pick up the frame, and place it back on the new lens, in the same orientation that it was originally installed.
Tip: Check the side-to-side positioning. There should be an equal gap on both sides.
When you are confident in the position, install the first screw, and then one of the middle screws. Do not tighten fully.
Note: If the screw does not twist easily, you are most likely not aligned with the original threading. Reposition and try again.
Move diagonally, installing the second screw. Again, do not tighten fully. Like a wheel on a car, it is important to install the frame with uniform pressure, or one side may lift up and misalign the gasket.
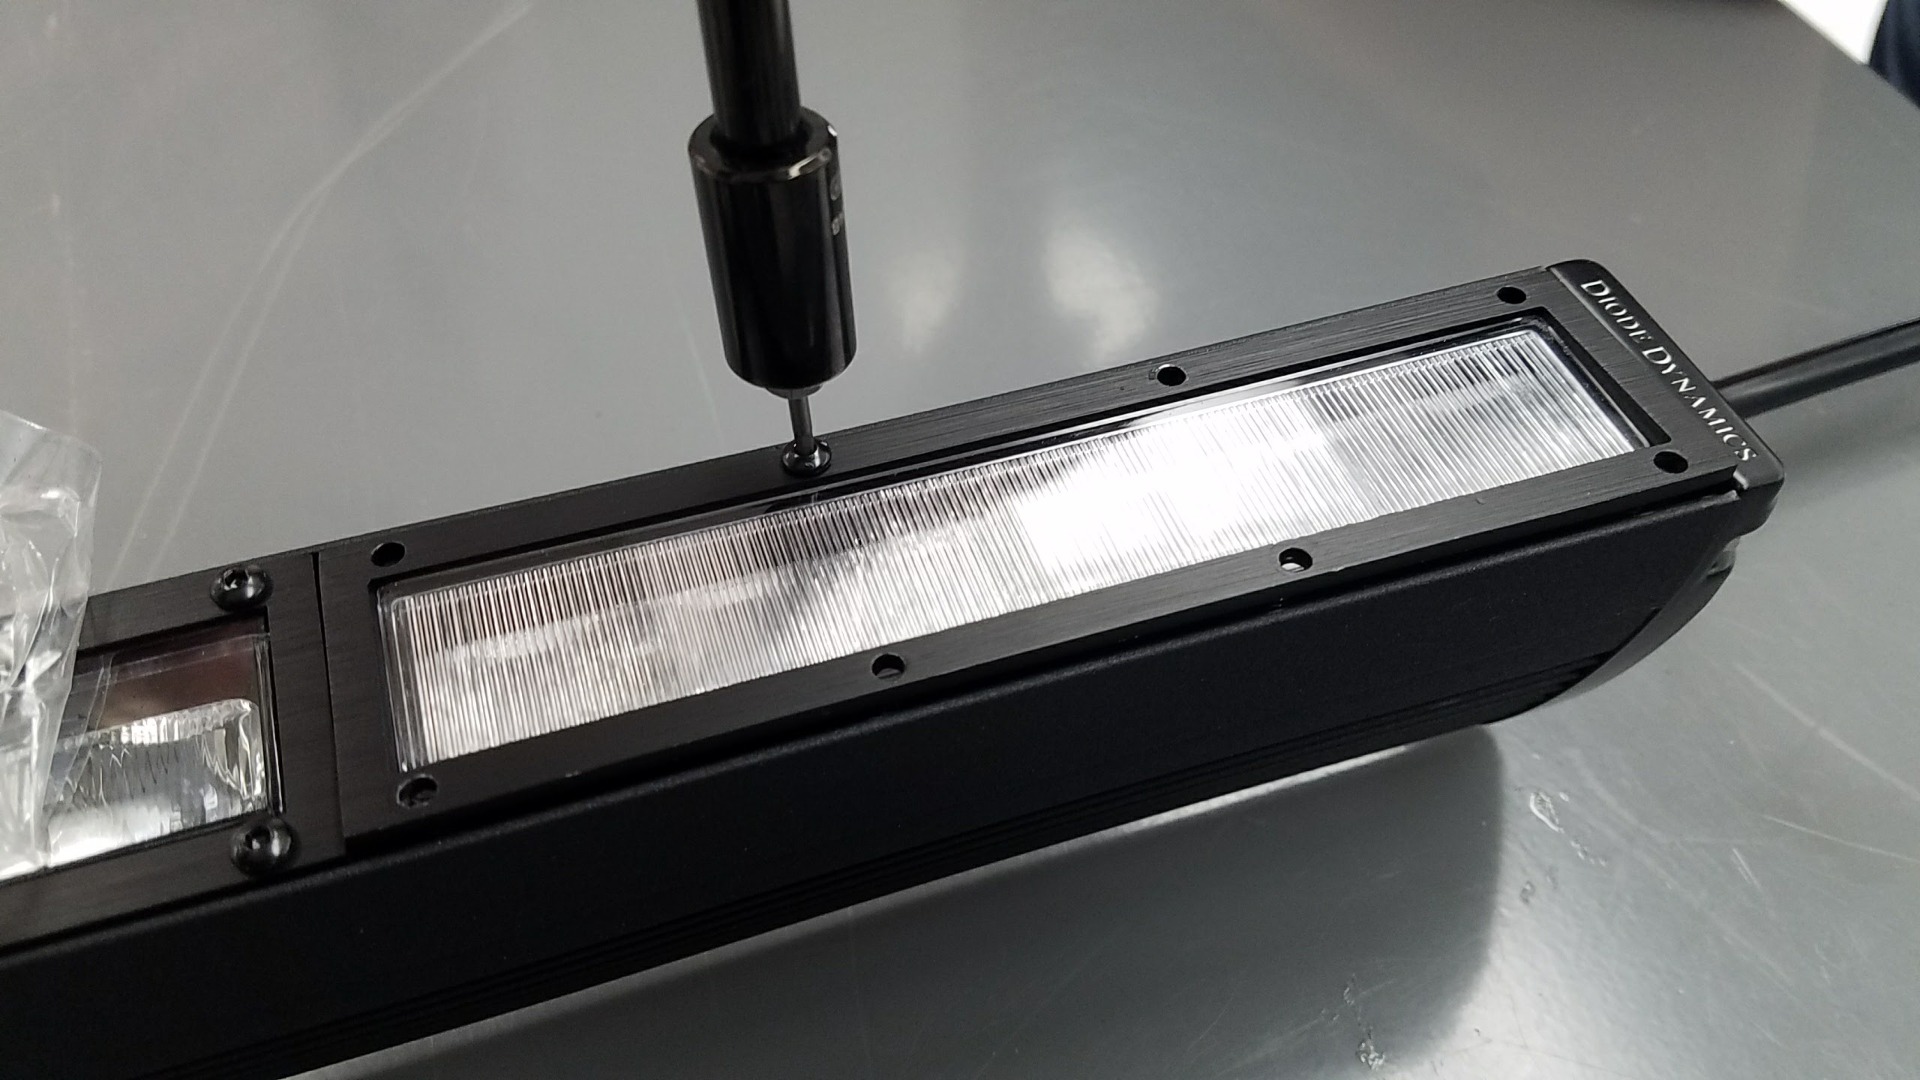
Work your way around, installing the rest of the screws, and then tighten. Do not overtighten - they should be firm, but not forced.
This completes our installation. Enjoy your new Stage Series LED Lightbar Lens!
Questions About the Installation?
If you have any questions or issues replacing the Stage Series LED Lightbar Lens, please contact us for further information.
Where Can I Buy a Stage Series LED Lightbar Lens?
If you're ready to replace the lenses on your Stage Series LED Lightbar you can purchase them by clicking here or using our dealer locator to find a dealer near you.
Want to know more about Diode Dynamics products? Visit DiodeDynamics.com and subscribe to our newsletter for new product releases and more!
This Installation Guide is for the following SKUs: DD6023 DD6024 DD6025 DD6026 DD6030 DD6031 DD7191 DD7192 DD7194
Share This Post