















The SS6 LED Fog Light Kit for the 2024-2026 Toyota Tacoma and 2025-2026 Toyota 4Runner allows you to mount a pair of Stage Series 6" LED light bars as high-output fog lights. This installation guide will provide you with detailed instructions on how to remove the factory fog lights and install the SS6 LED Fog Light Kit for the 2024-2026 Toyota Tacoma and 2025-2026 Toyota 4Runner. Watch our installation video or continue reading below for detailed instructions!
Table of Contents
- Installation Tools
- Installation Video
- Installation Instructions
- Aiming Instructions
- Questions About the Installation?
- Where Can I Buy the SS6 LED Fog Light Kit for the 2024-2026 Toyota Tacoma and 2025-2026 Toyota 4Runner?
Installation Tools
- 10mm socket
- Ratchet and extensions
- Phillips screwdriver
- Phillips screwdriver bit
- Flathead screwdriver
- Plastic trim removal tool
- Needle-nose pliers
Installation Video
Installation Instructions
Hardware Notice: Your kit may include billet mounting adapters, or it may include revised outer mounting brackets that attach directly to the light bars. Both configurations install using this guide and provide identical fitment and performance.
Step 1 - Remove the Front Bumper
Open the hood and remove the six button clips shown. Press down on the center of each clip to release it, then remove the clips using a plastic trim removal tool.

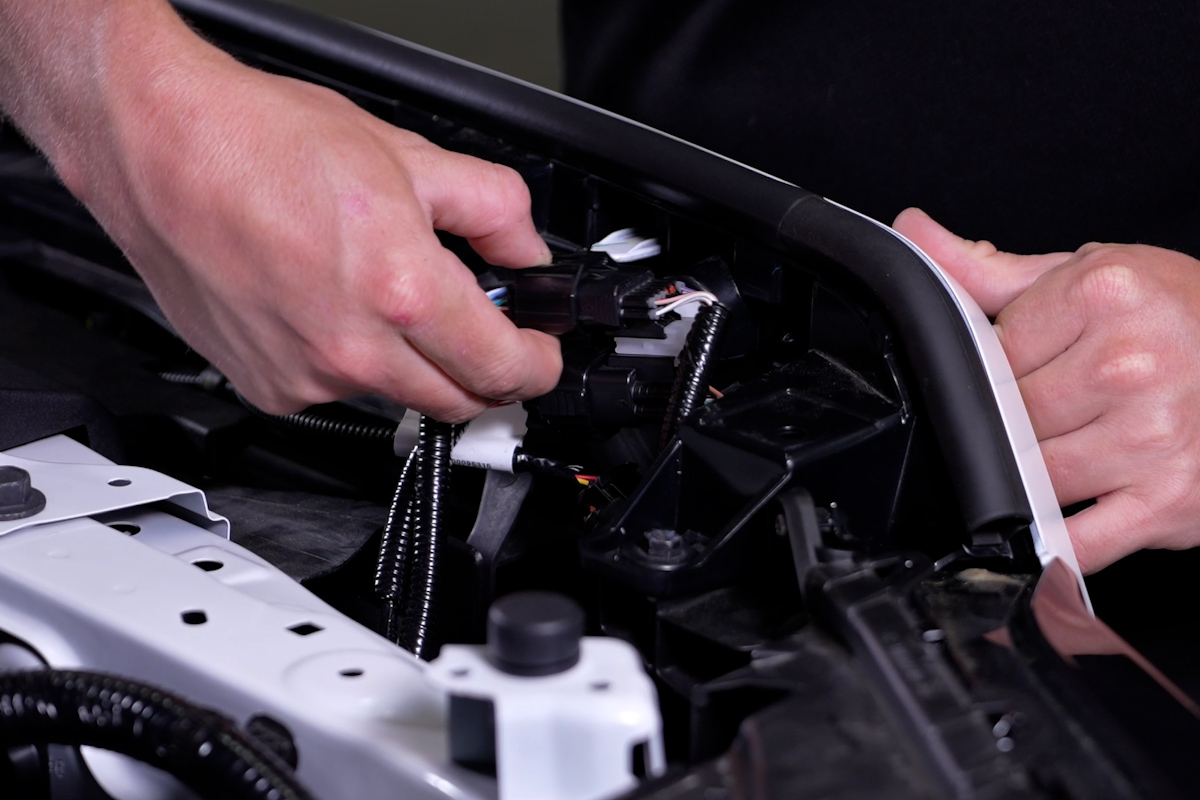
Lift the air intake upward and remove it from the vehicle. Then disconnect the two multi-pin connectors located near the passenger-side headlamp.
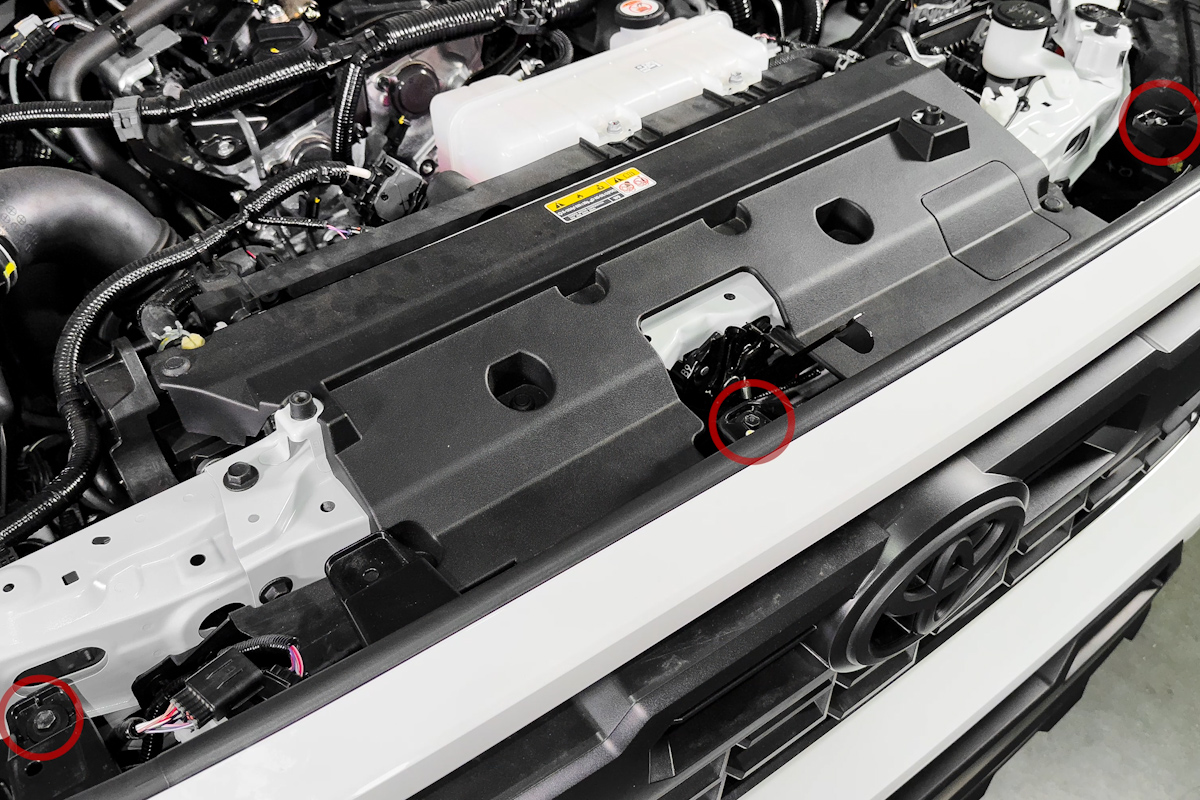
If the vehicle is equipped with a front air dam, use a 10mm socket to remove the three bolts shown.
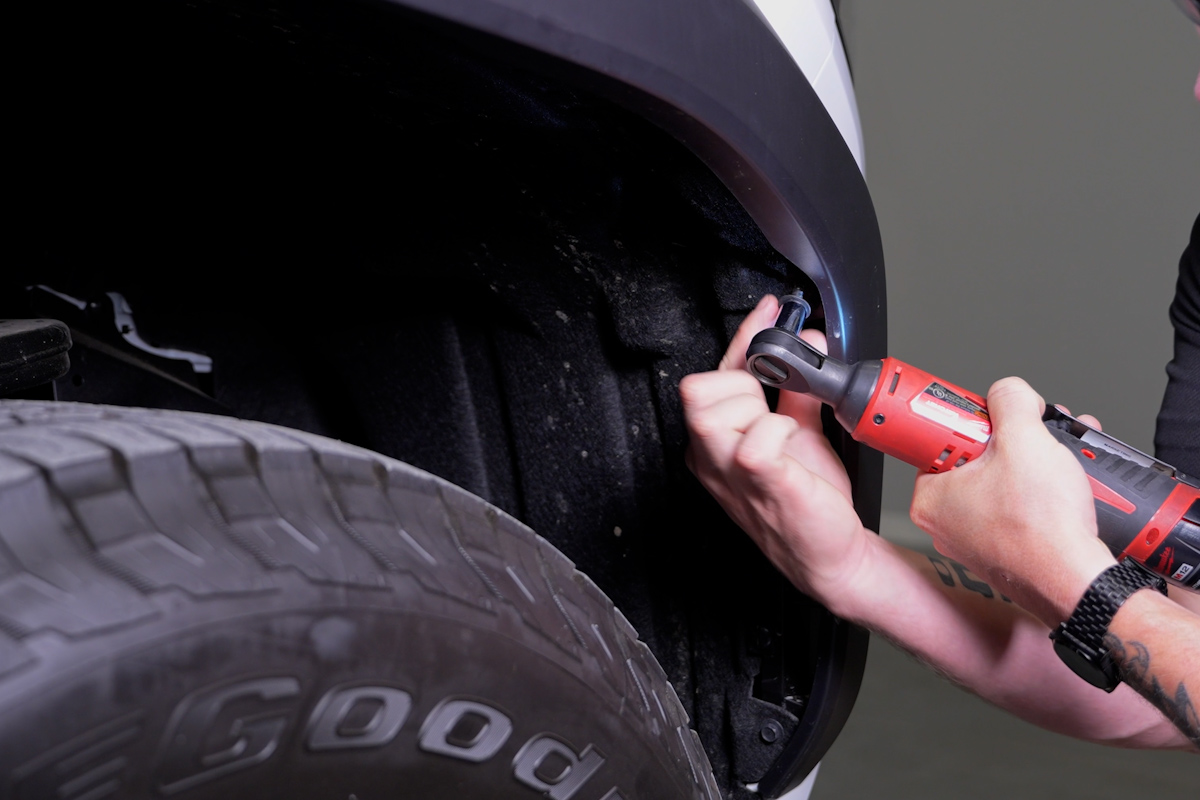
Using a 10mm socket, remove the five screws securing the driver-side wheel liner.
Note: Some screws are shorter than others. Keep track of their original locations for reassembly.
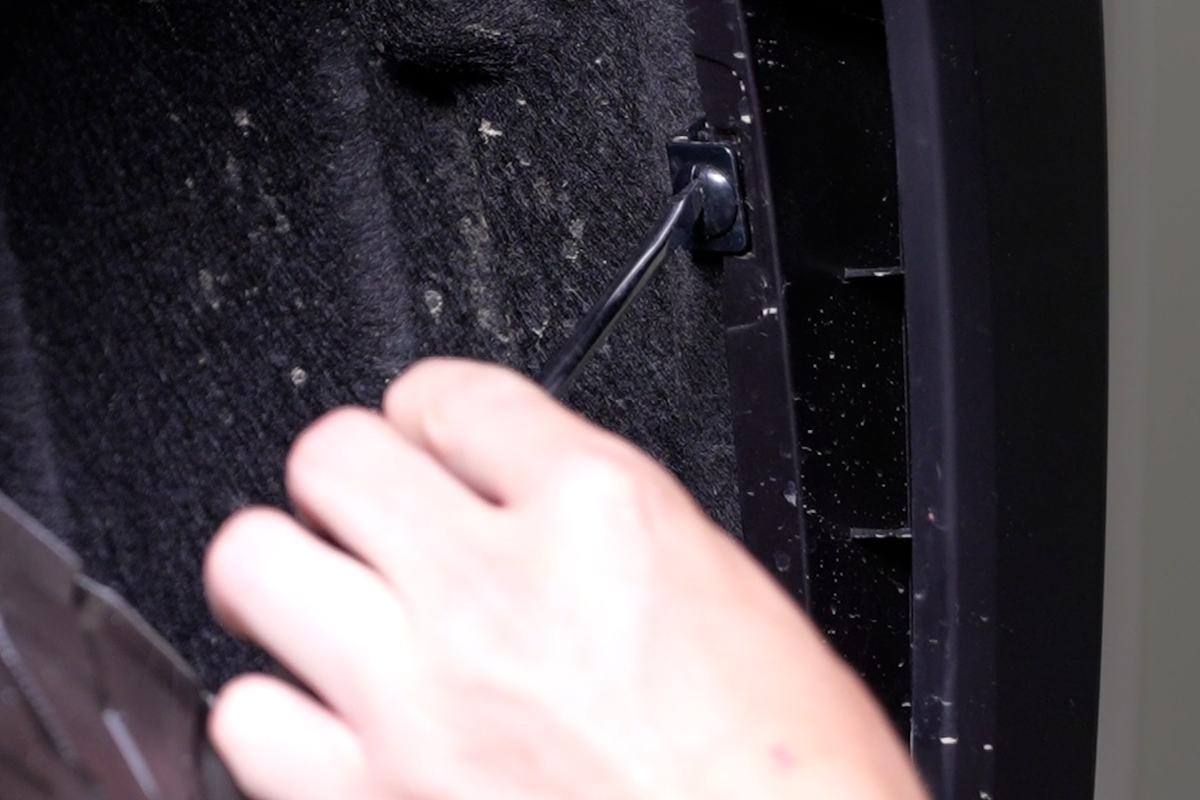
Use a flathead screwdriver or trim removal tool to rotate the two twist clips 90 degrees, then pry them out.
Move the fender liner aside. Reach behind the fender flare and squeeze the three retaining clips to partially release it from the body.
Note: Start with the lower clip and work upward.

Repeat the wheel liner and fender flare steps on the opposite side. With each fender flare pulled outward, use a Phillips screwdriver to remove the screw located behind it.
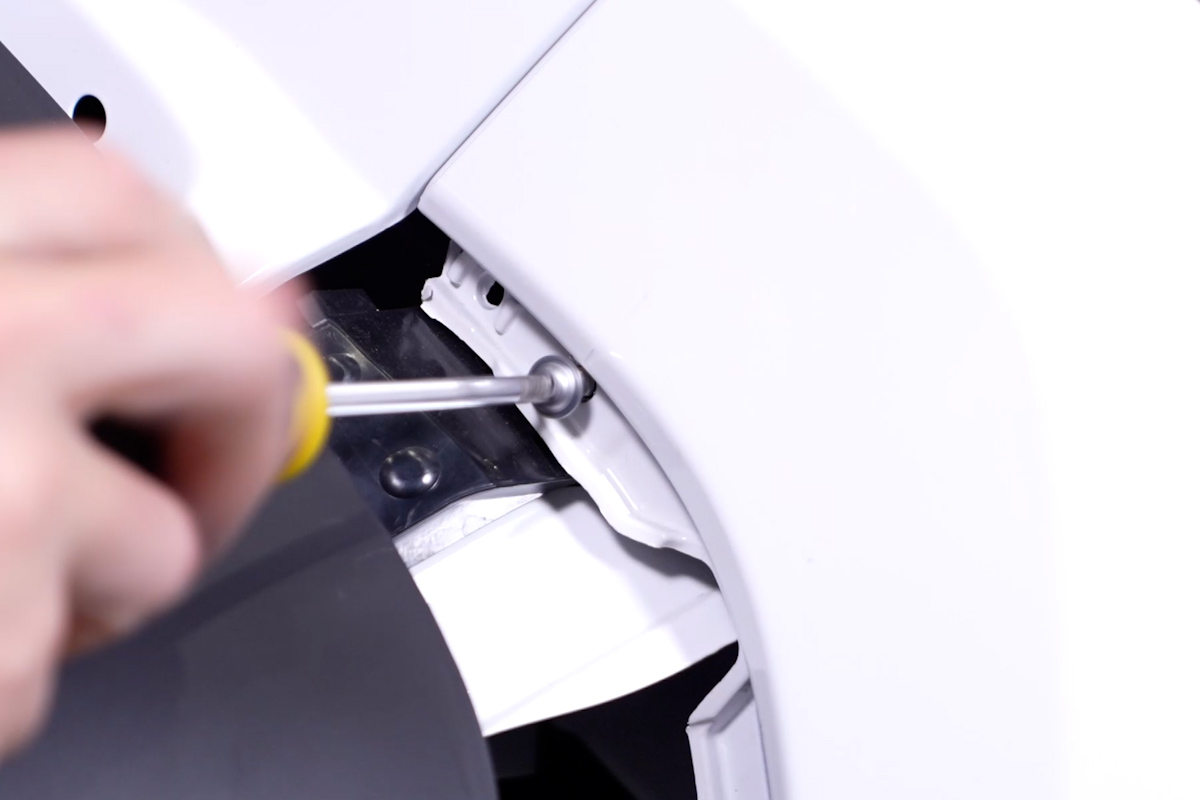
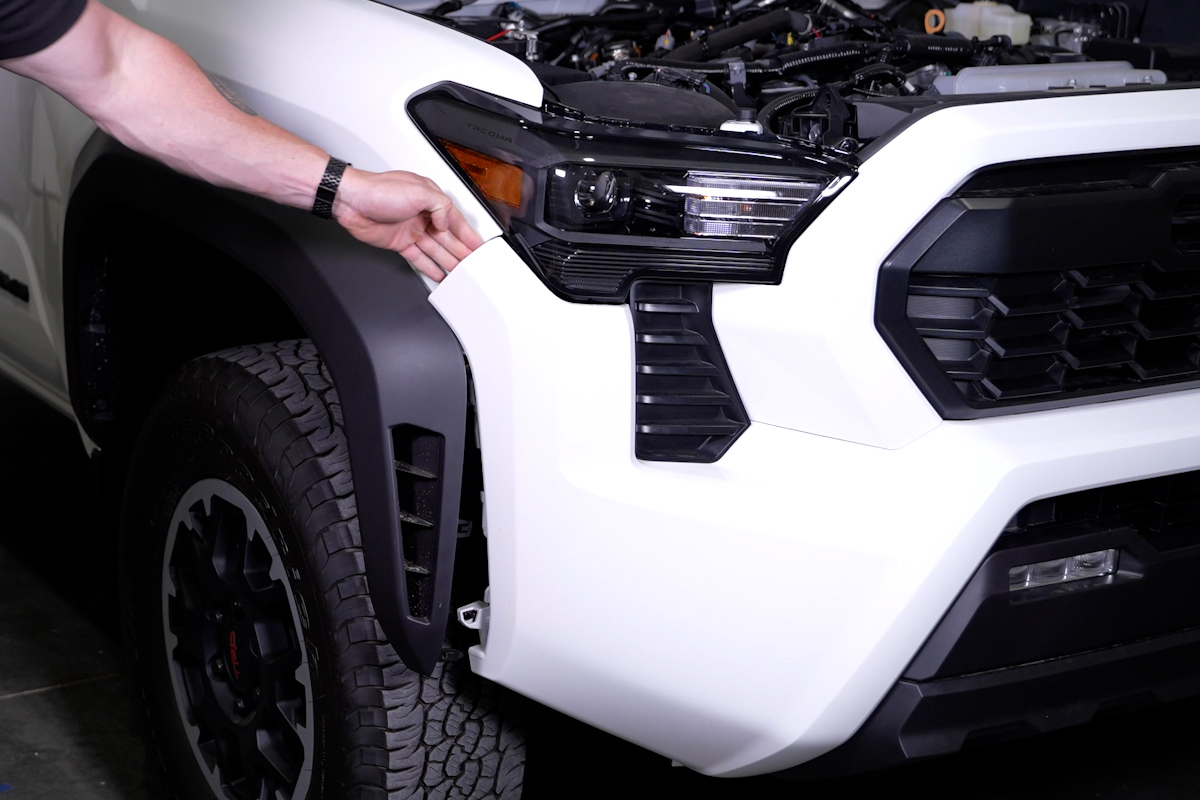
Pull outward on each side of the bumper cover to release it from the support structure.
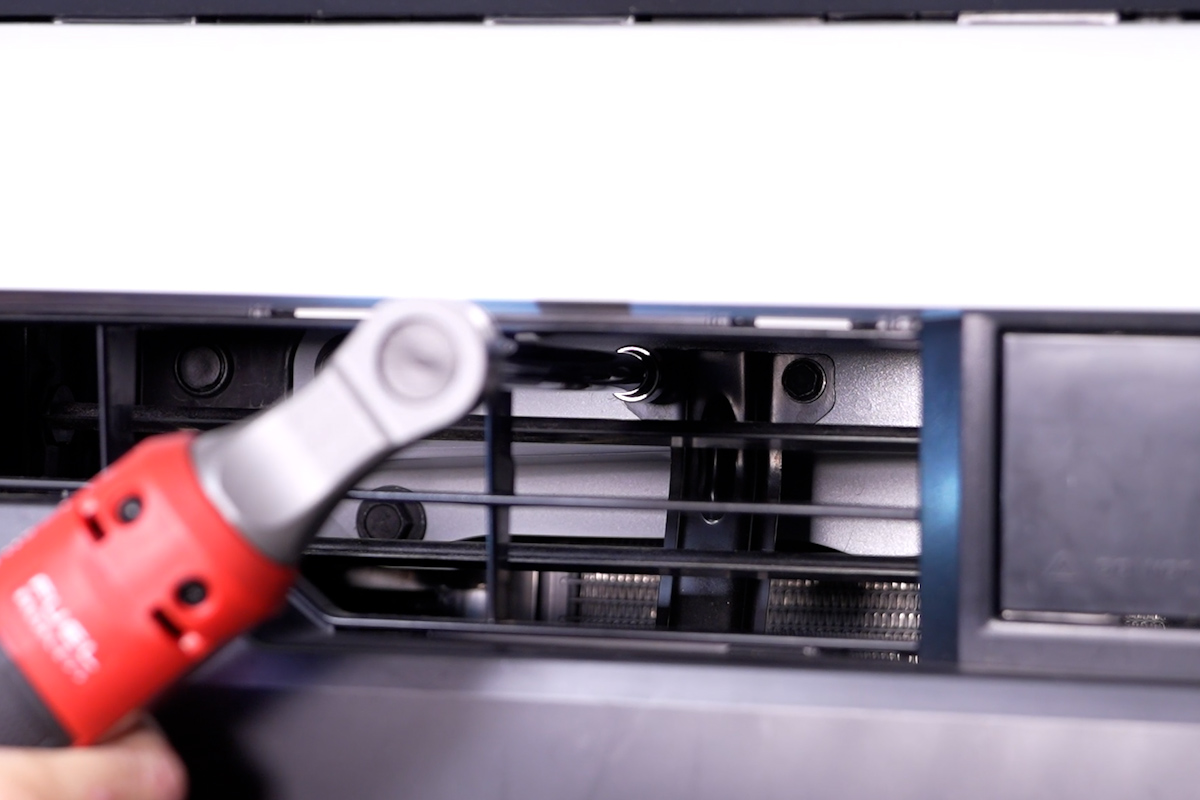
Using a 10mm socket and a 10-inch extension, remove the four bolts located behind the lower grille.
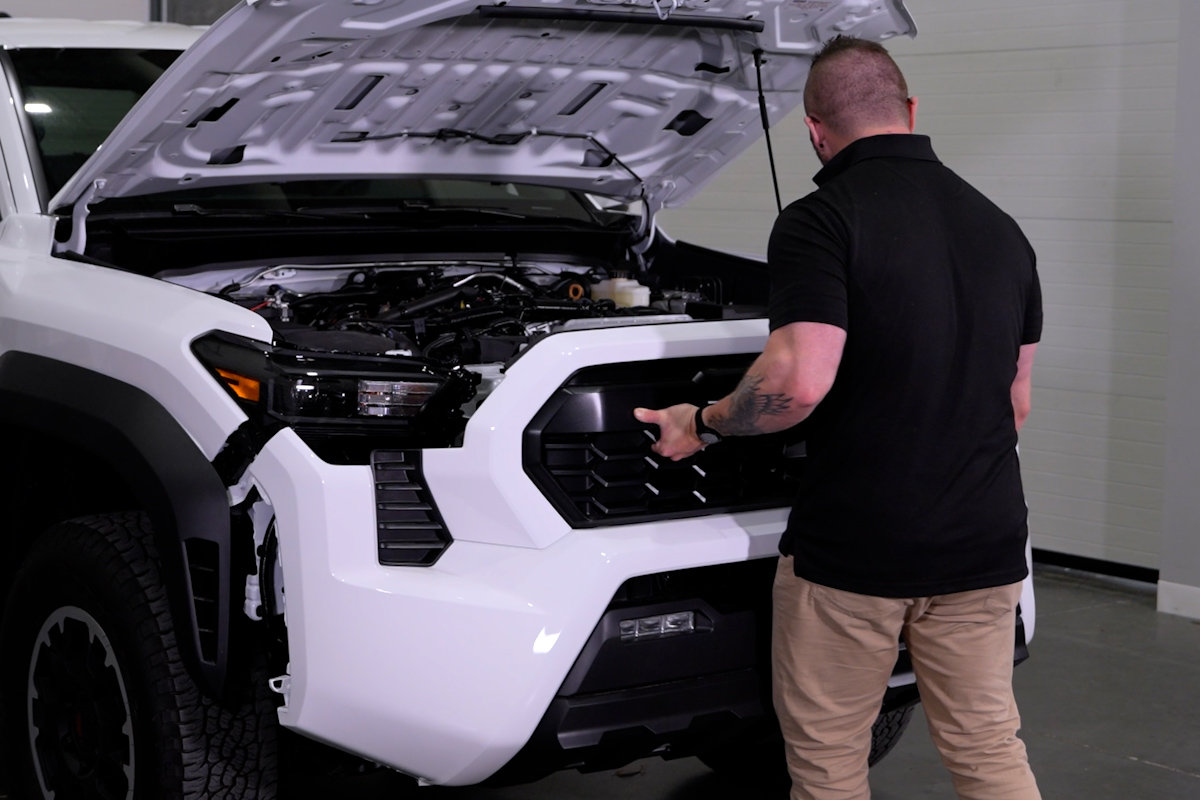
Lift the bumper cover up and away from the vehicle, then place it face down on a protected surface.
Step 2 - Remove the Factory Fog Lights
Release the center support by applying upward pressure to the three retaining clips and pulling the support away.
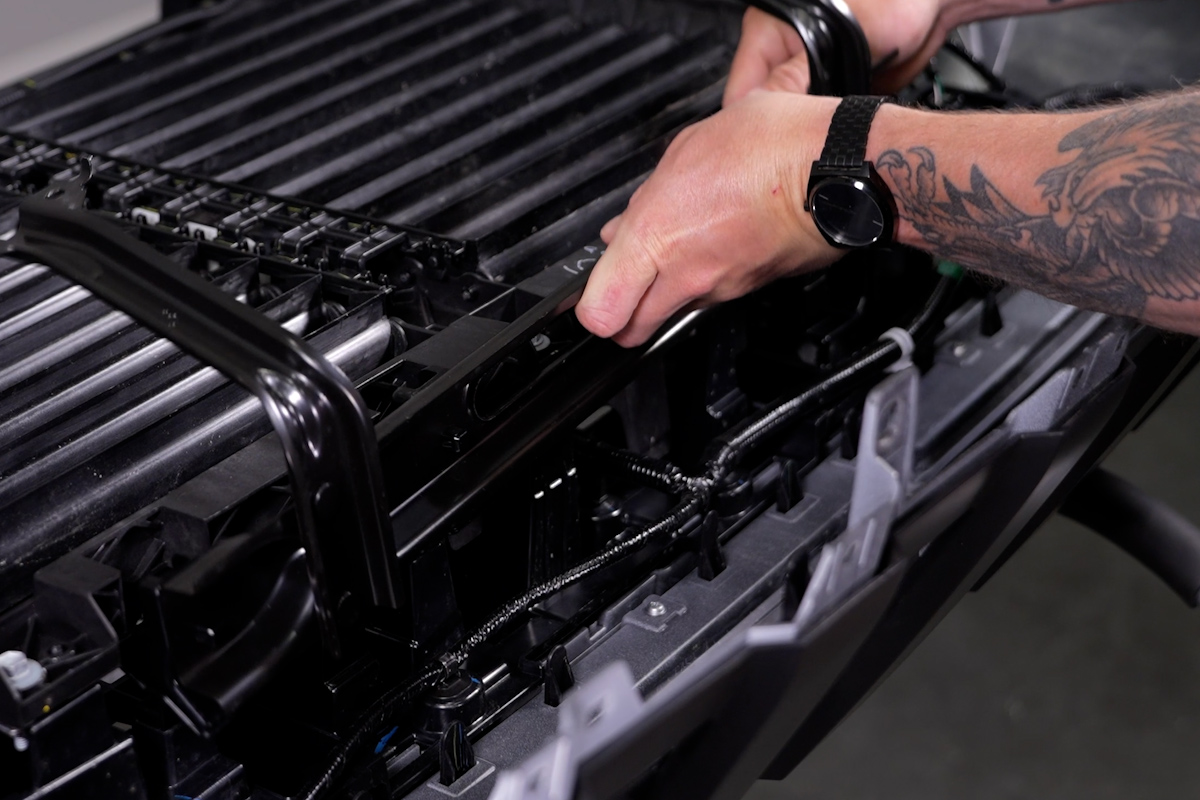
Using a 10mm socket, reinstall the center support onto the vehicle.
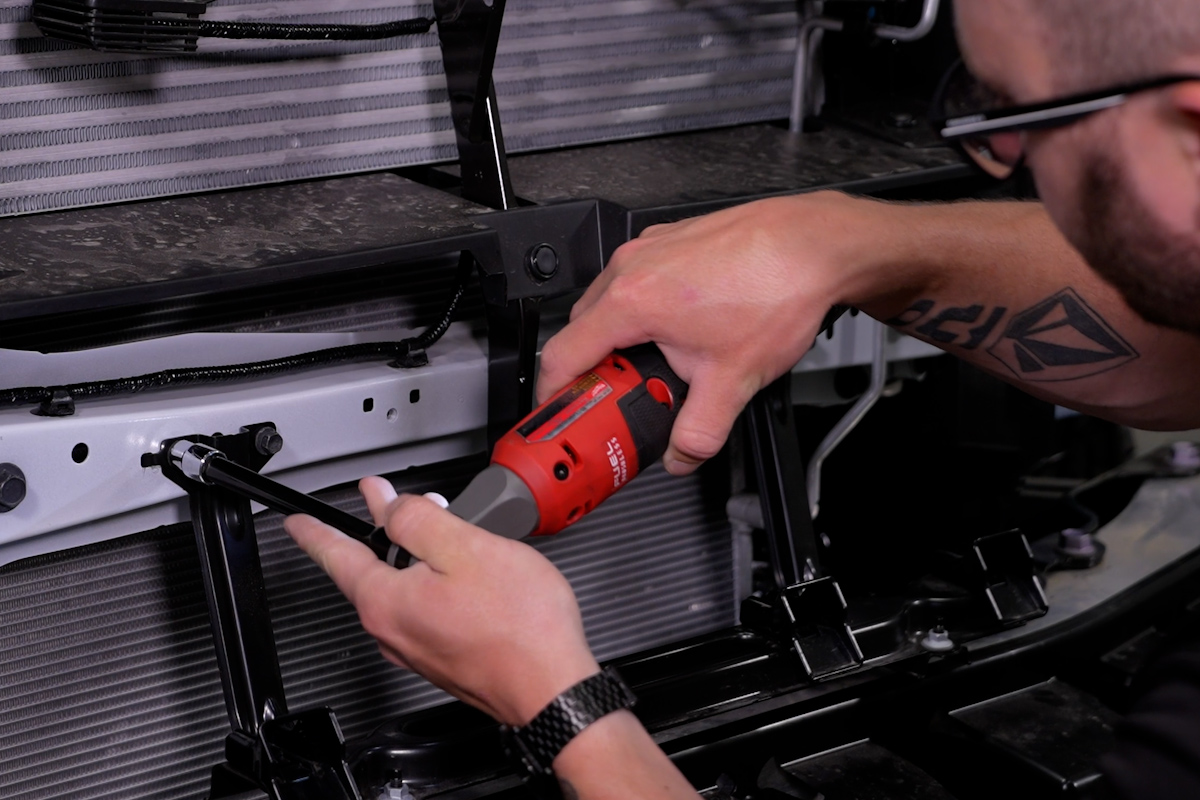
Disconnect the multi-pin connector located at the upper-right corner of the active shutter assembly.
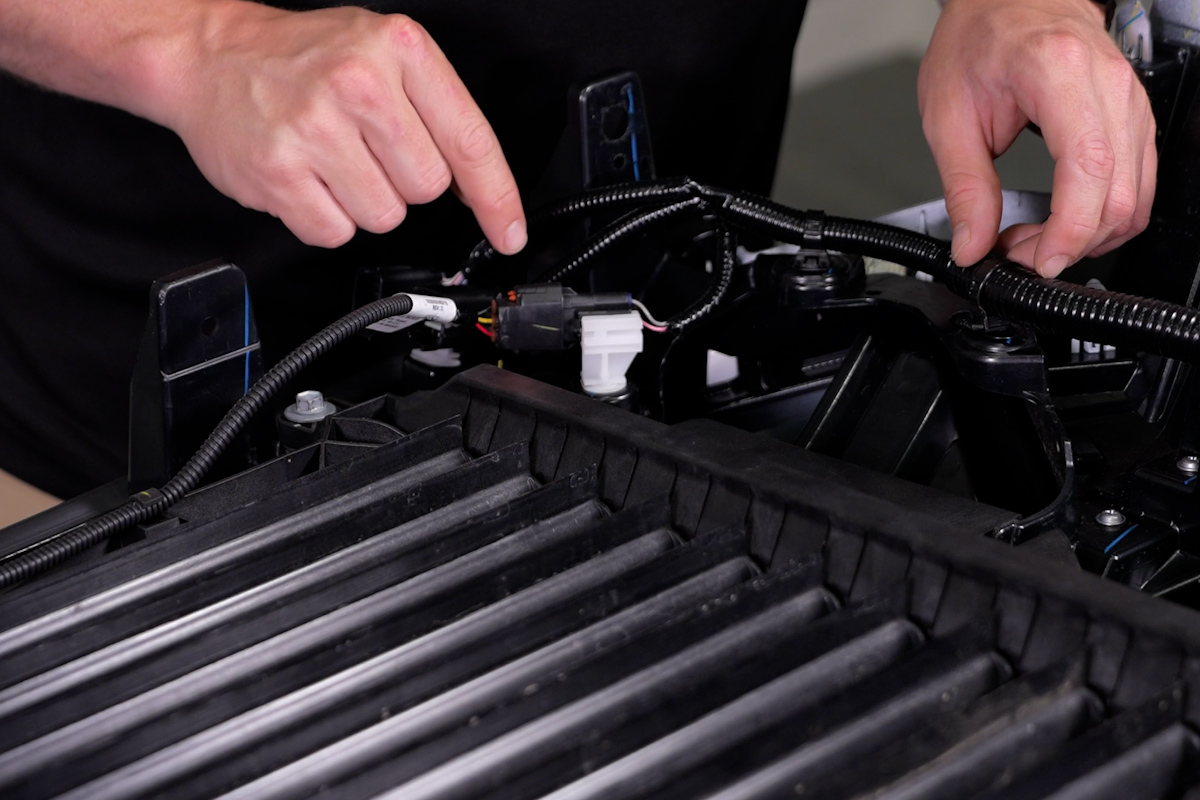
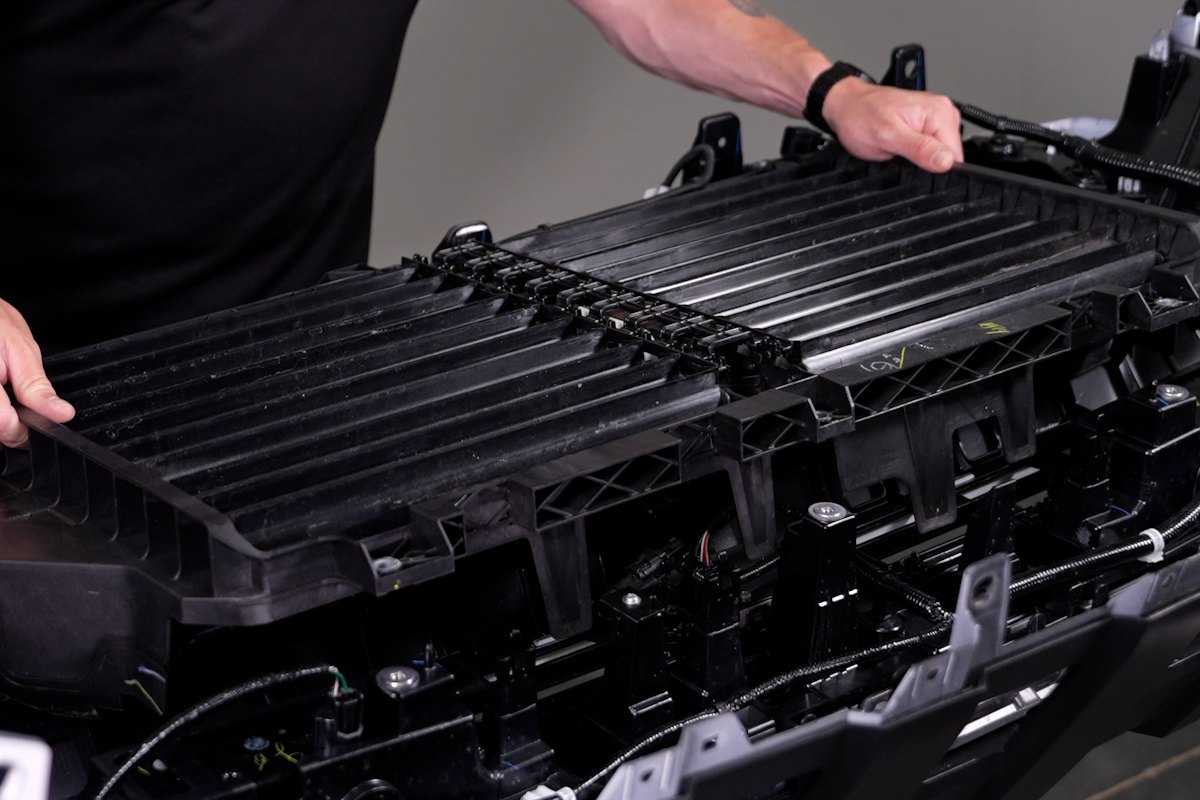
Using a 10mm socket, remove the six bolts securing the active shutter assembly.
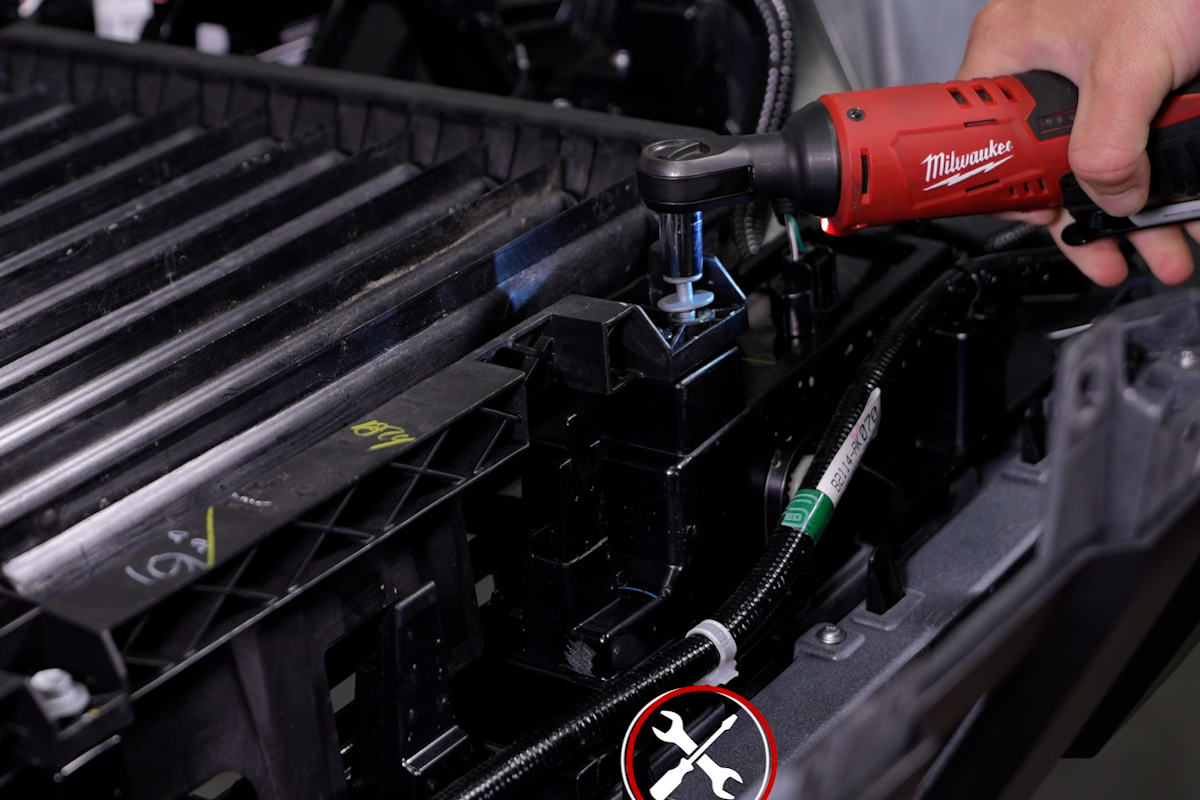
Lift the active shutter assembly up and off the bumper cover.
Disconnect the H11 connector from each factory fog light by depressing the locking tab and pulling the connector away.
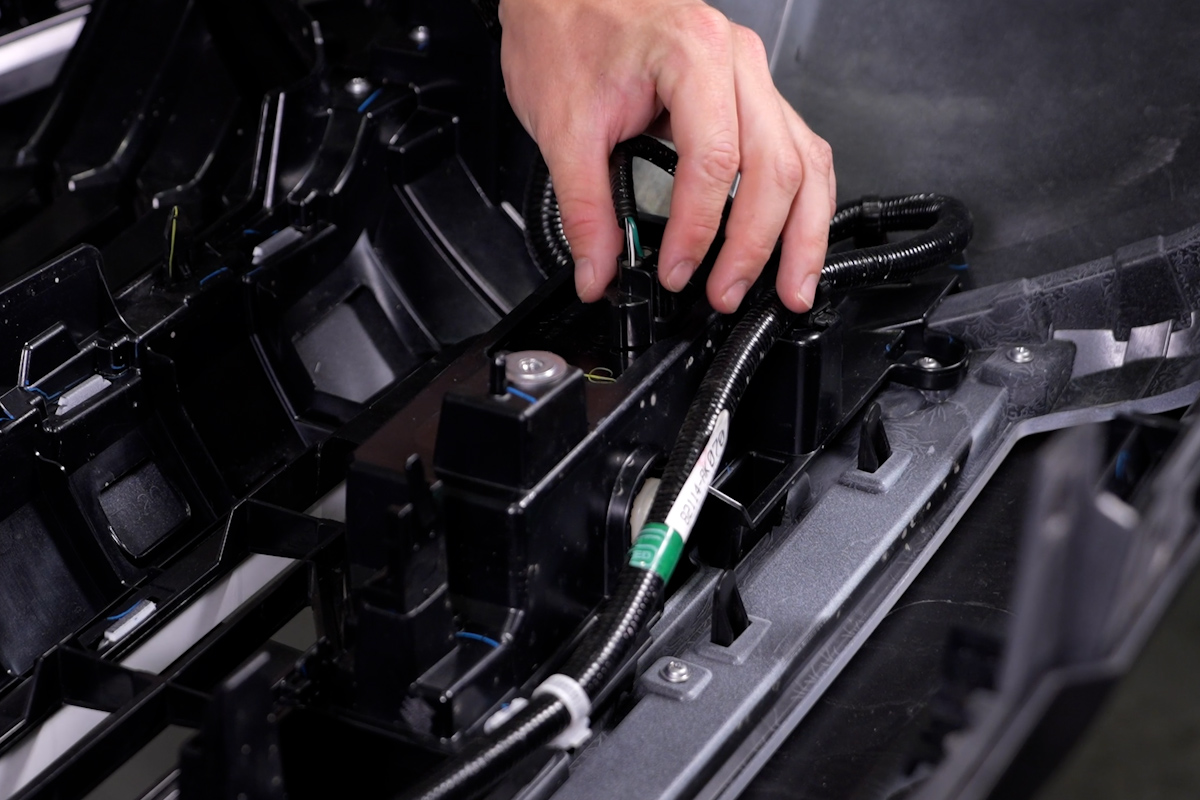
Note: Some vehicles may be equipped with front proximity sensors that must also be disconnected.
Using a Phillips screwdriver, remove the five screws securing the fog light fascia.
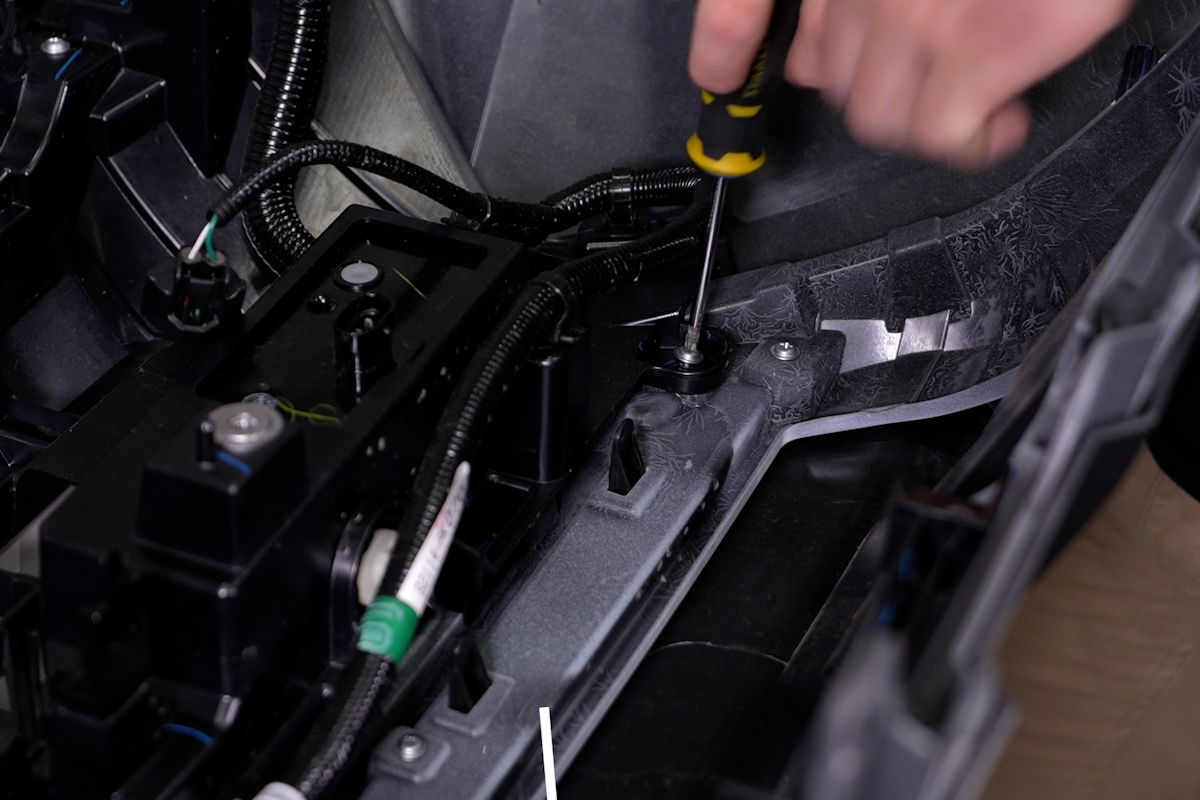
Using your hands or needle-nose pliers, release the ten locking tabs securing the fog light fascia.
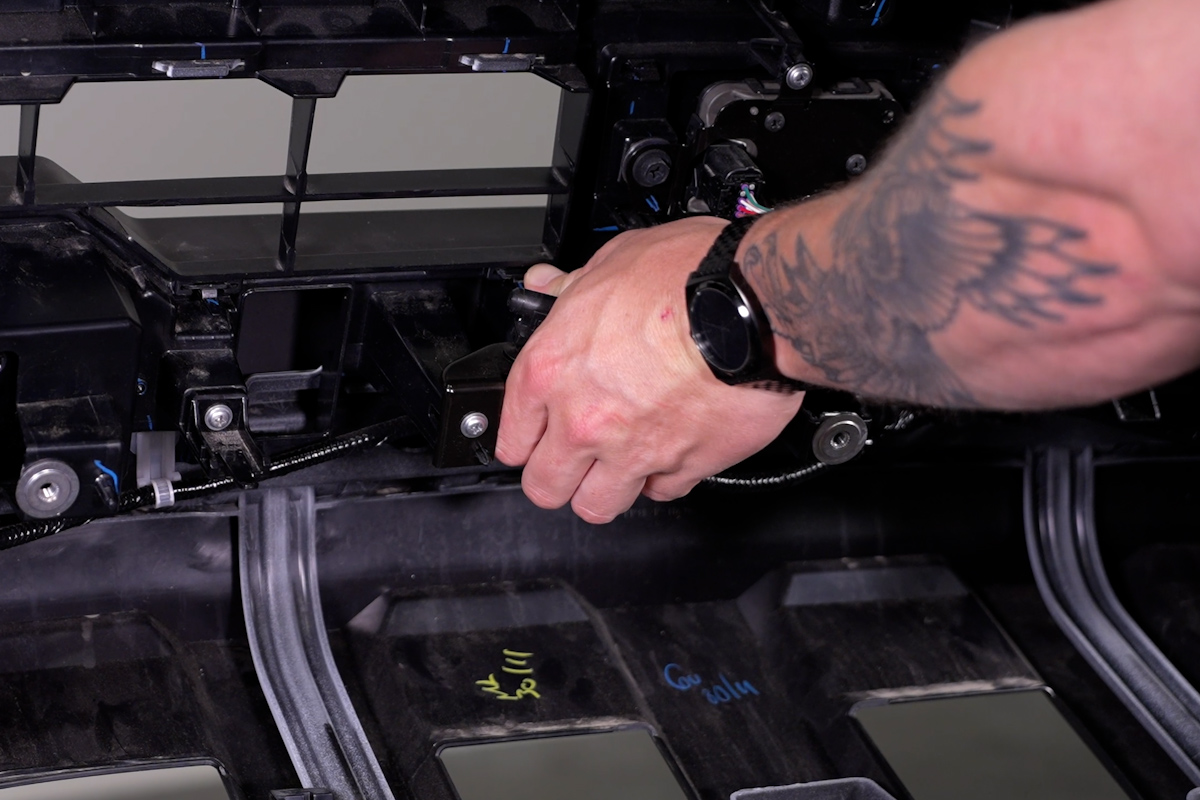
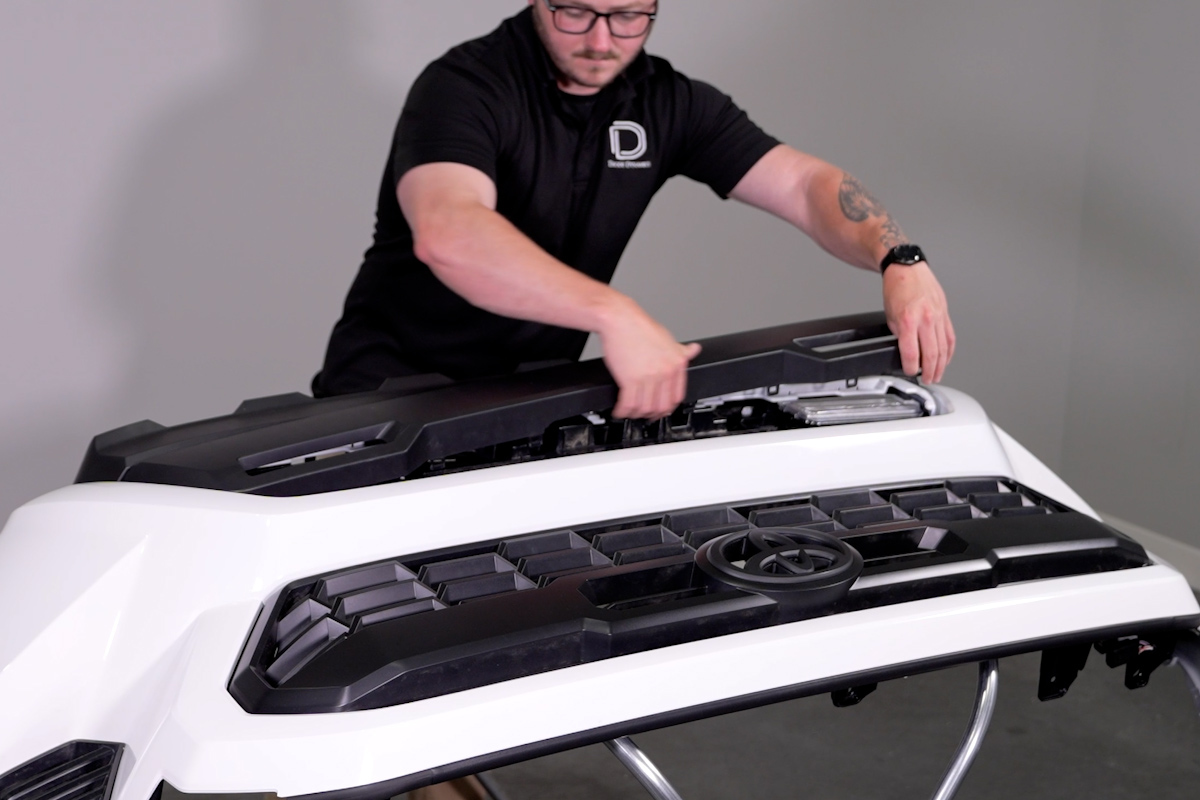
Turn the bumper assembly over and lift the fog light fascia away from the bumper.
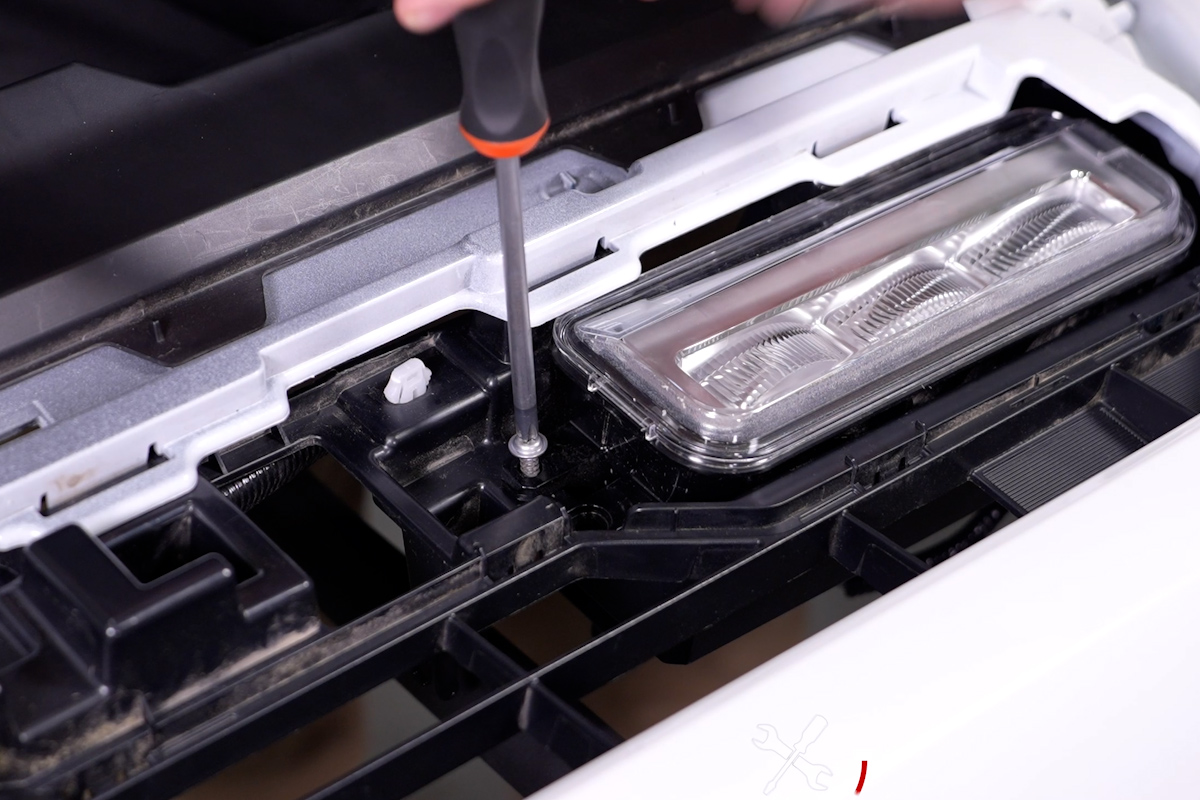
Using a long Phillips screwdriver, remove the four long screws securing each factory fog light, then remove both fog lights from the bumper.
Step 3 - Assemble the Fog Light Brackets
Some kits include billet mounting adapters, while newer kits use revised outer mounting brackets that eliminate the need for the adapters. Both versions install using this guide and provide identical fitment.
If your kit includes billet mounting adapters, install the included set screws in the center mounting position on both sides of each light bar. Attach each adapter to the light bar using the supplied Torx screws in the upper and lower mounting holes. Once the adapters are secured, attach the outer mounting brackets using the supplied hex bolts.
If your kit does not include billet mounting adapters, attach the revised outer mounting brackets directly to the light bars using the supplied hardware.
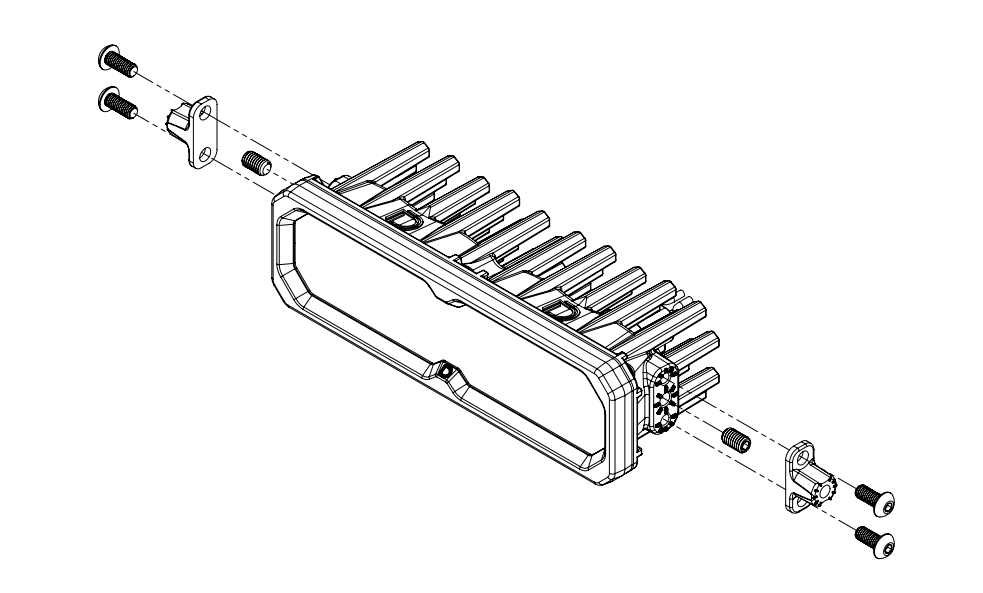
Note: If your kit does not include billet mounting adapters, the revised outer mounting brackets attach directly to the light bars using the supplied hardware. Both versions provide identical fitment and performance.
Position the light bars so the wire leads are on the outboard sides.
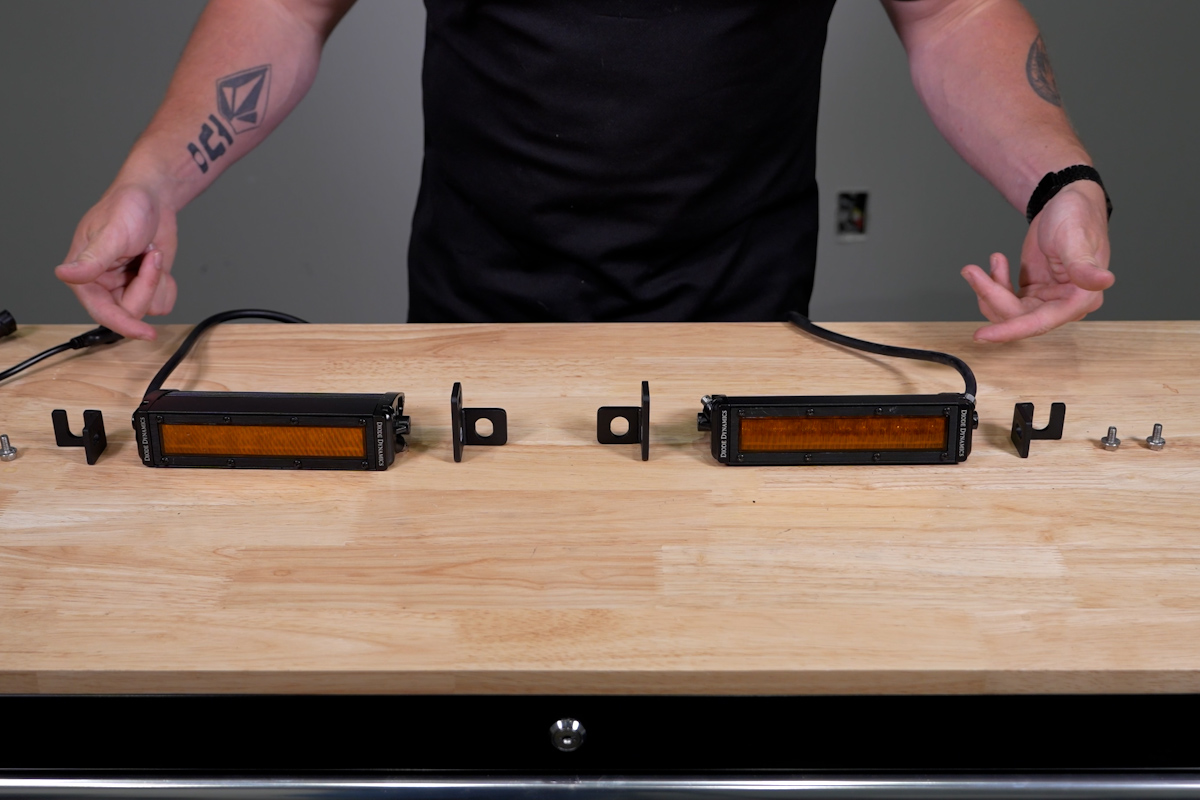
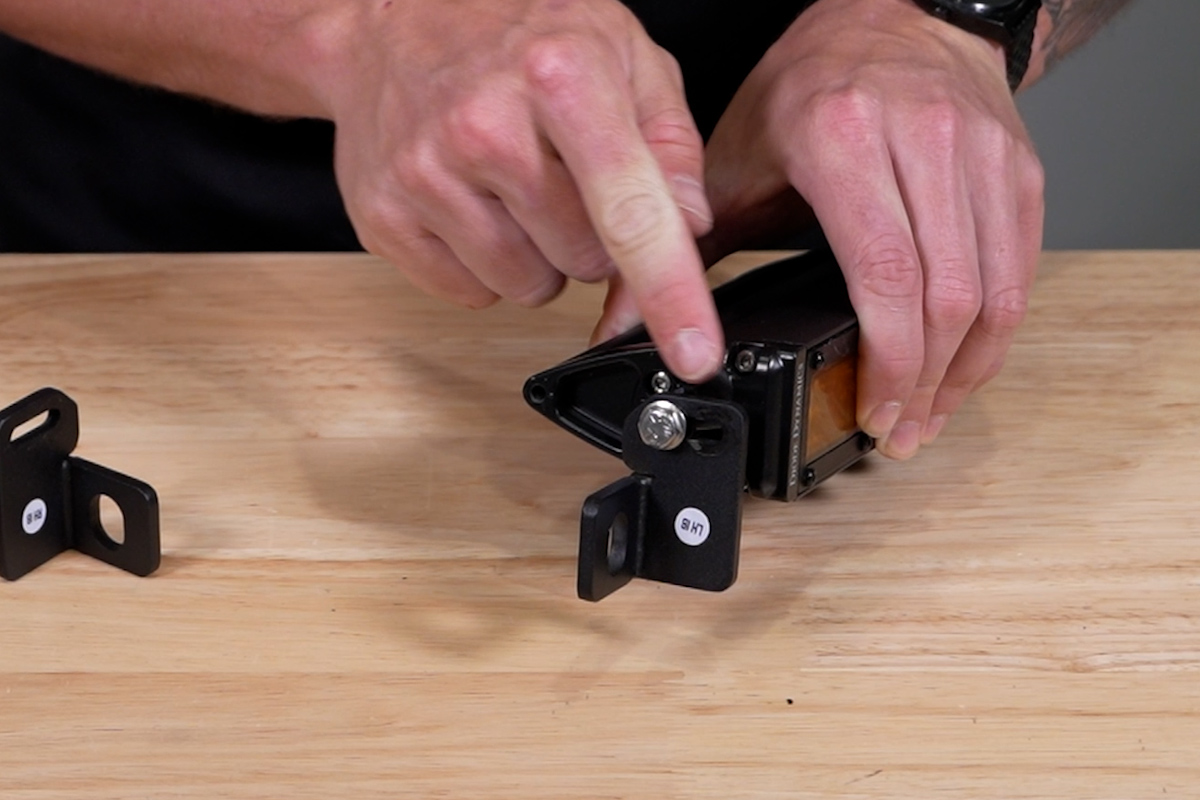
Select the correct side-specific brackets and attach them to the SS6 light bars using the supplied bolts.
Note: Position the brackets as far rearward as possible.
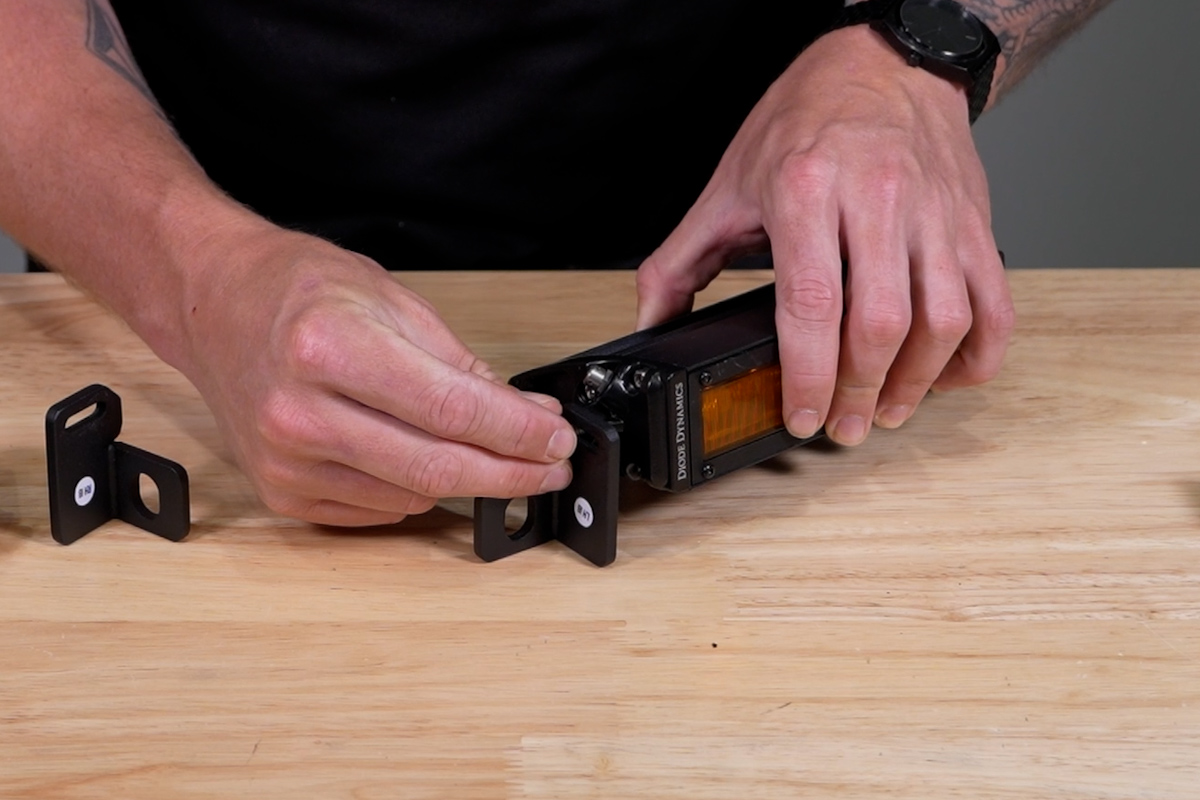
Using a 10mm socket, tighten the bolts in the horizontal slots enough to secure the light bars while still allowing adjustment.
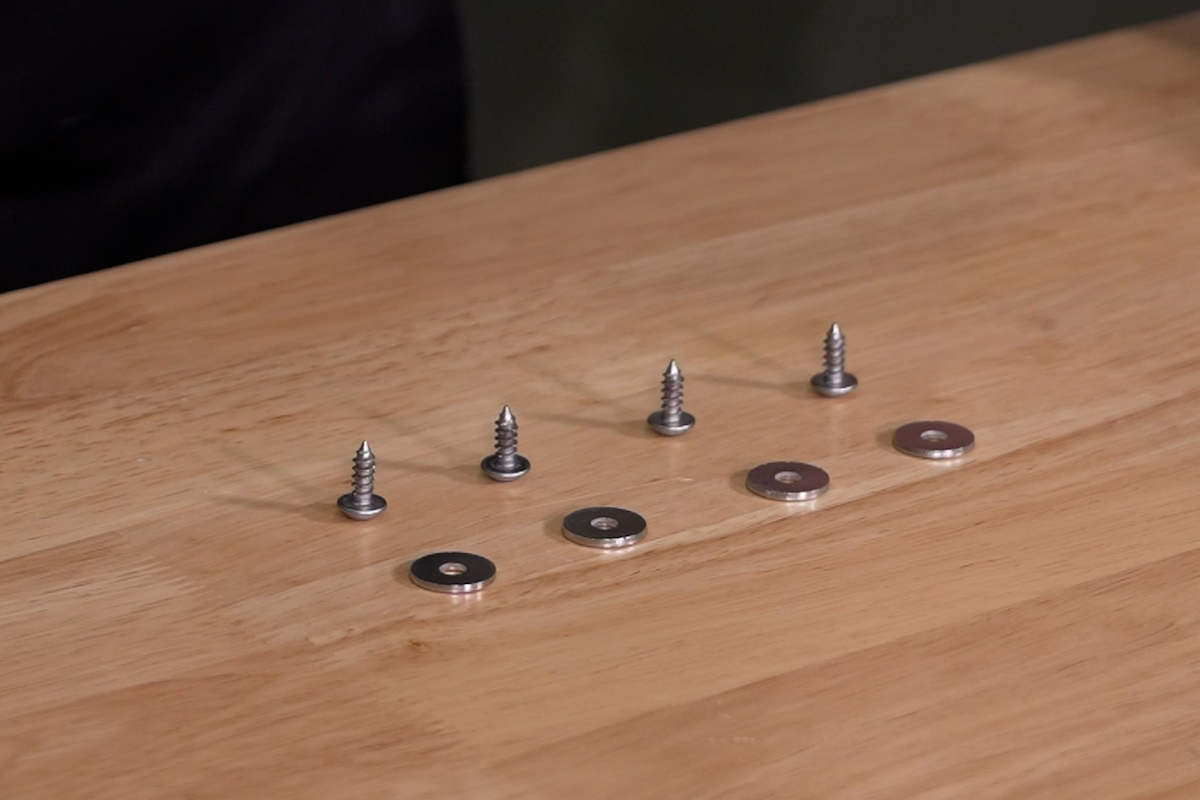
Install the included water-sealing washers onto the four factory screws that previously secured the original fog lights.
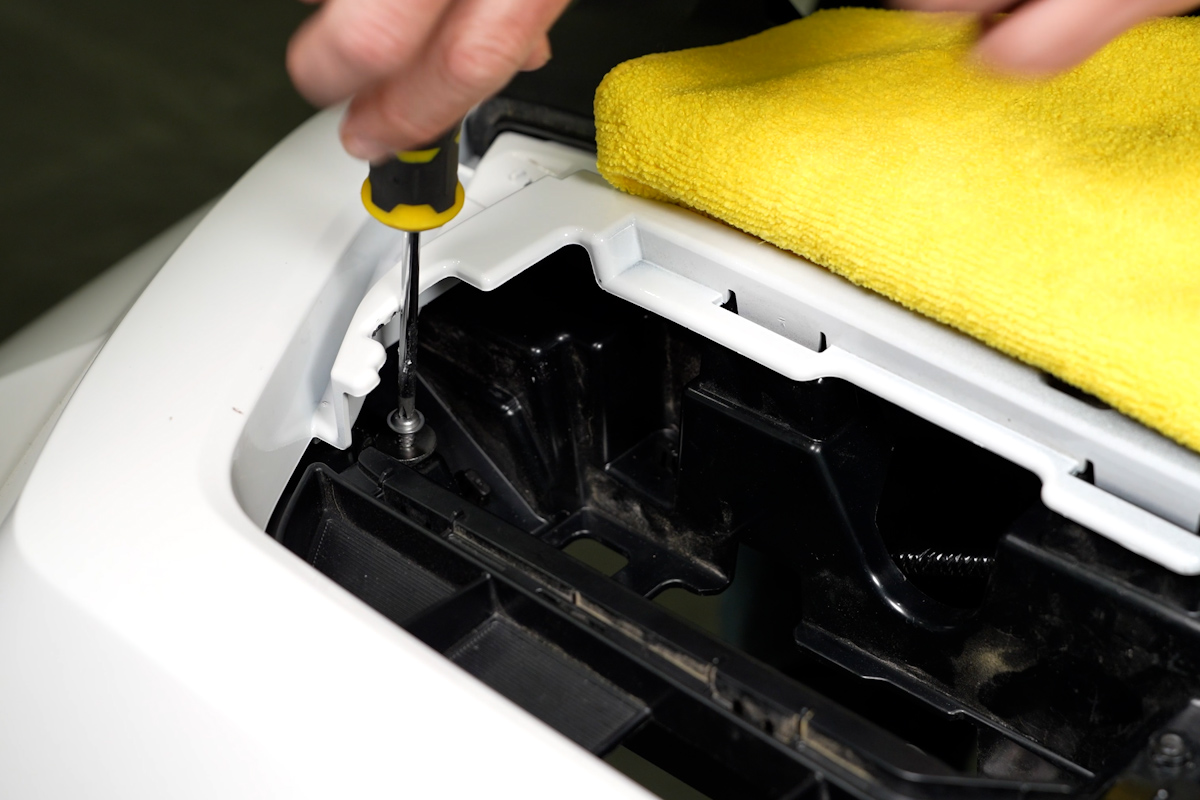
At the bumper, begin threading one factory screw with its added washer into the outboard mounting position on each side. Leave the screws loose enough to install the light bar assemblies.
Step 4 - Install the SS6 Light Bars
Route the light bar wire lead through the opening at the rear of the fog light pocket, then position the SS6 assembly in the factory location.
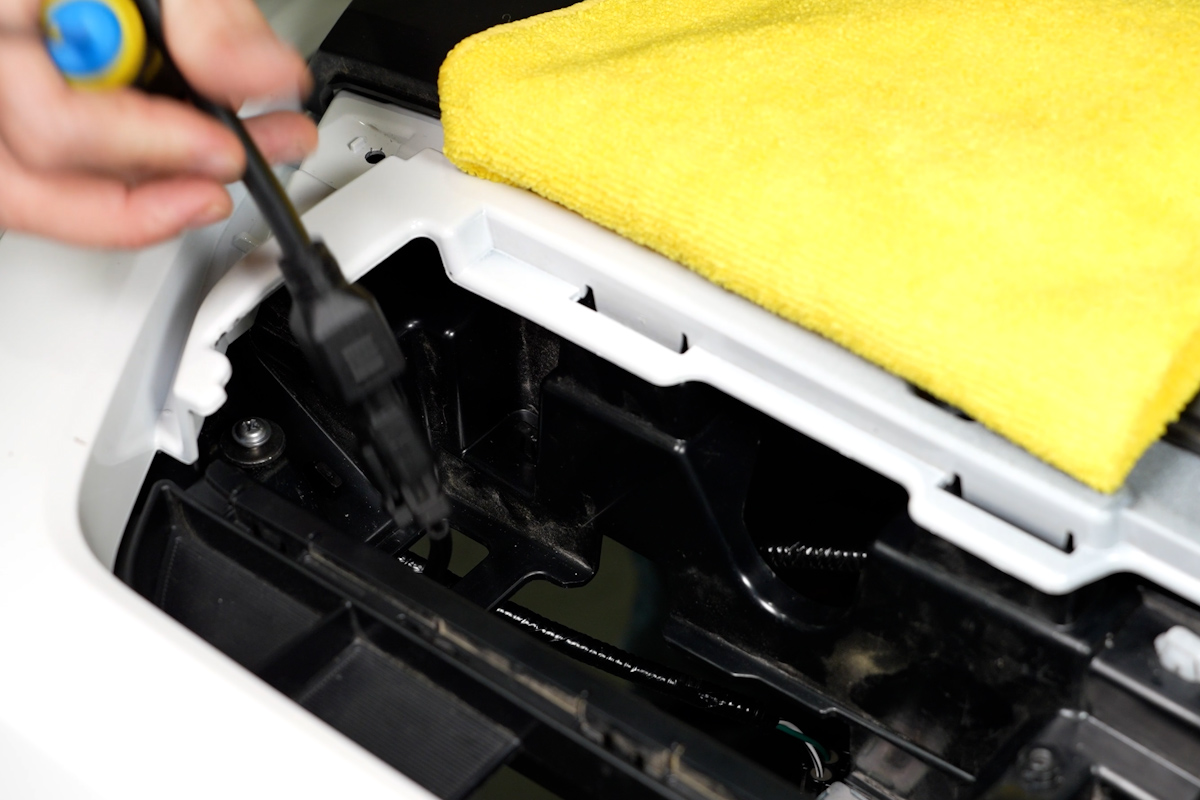
Tip: Make sure the washer is seated on top of the light bar bracket. Position the light bar as high as possible while keeping it level.
Using a long Phillips screwdriver, tighten the outboard screw started in the previous step, then install and tighten the inboard screw. Repeat this process on the opposite side, making sure both SS6 light bars are vertically centered within the fascia openings.
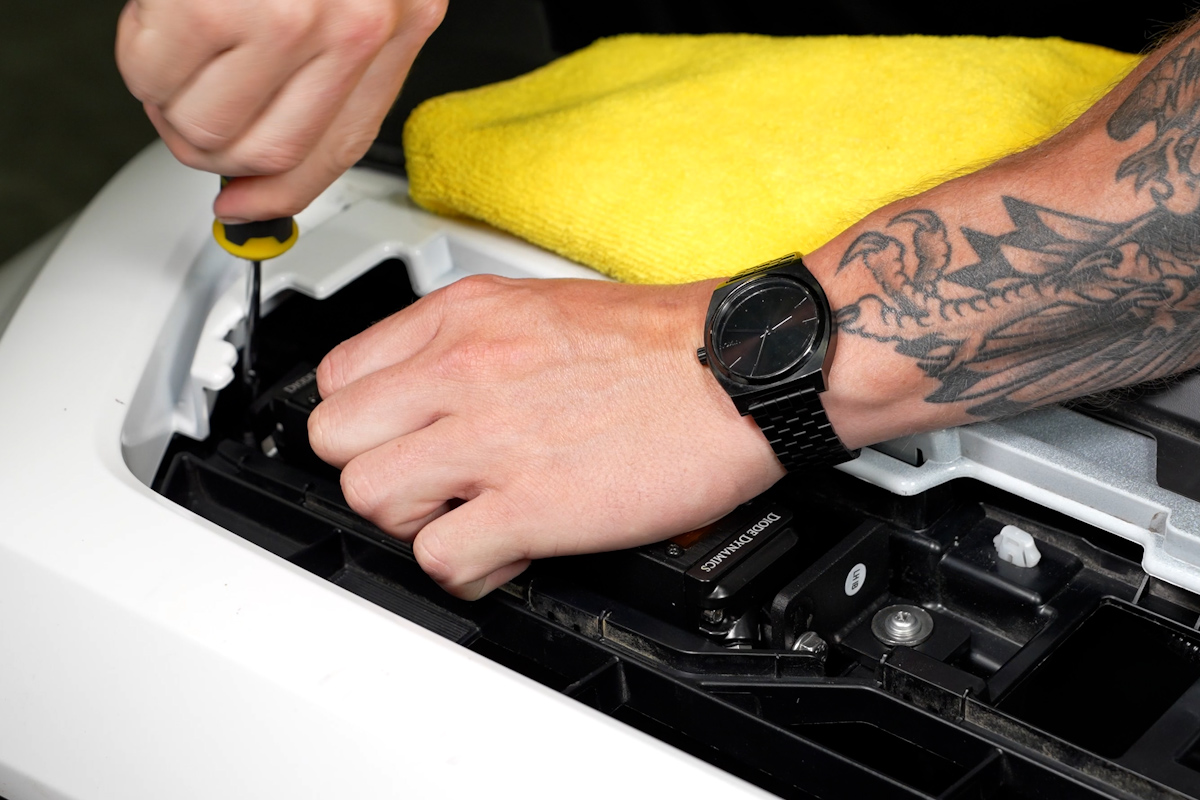
Step 5 - Connect the Lights and Reassemble the Bumper
Reinstall the fog light fascia, then connect an H11-to-DT adapter to each light bar and factory fog light connector.
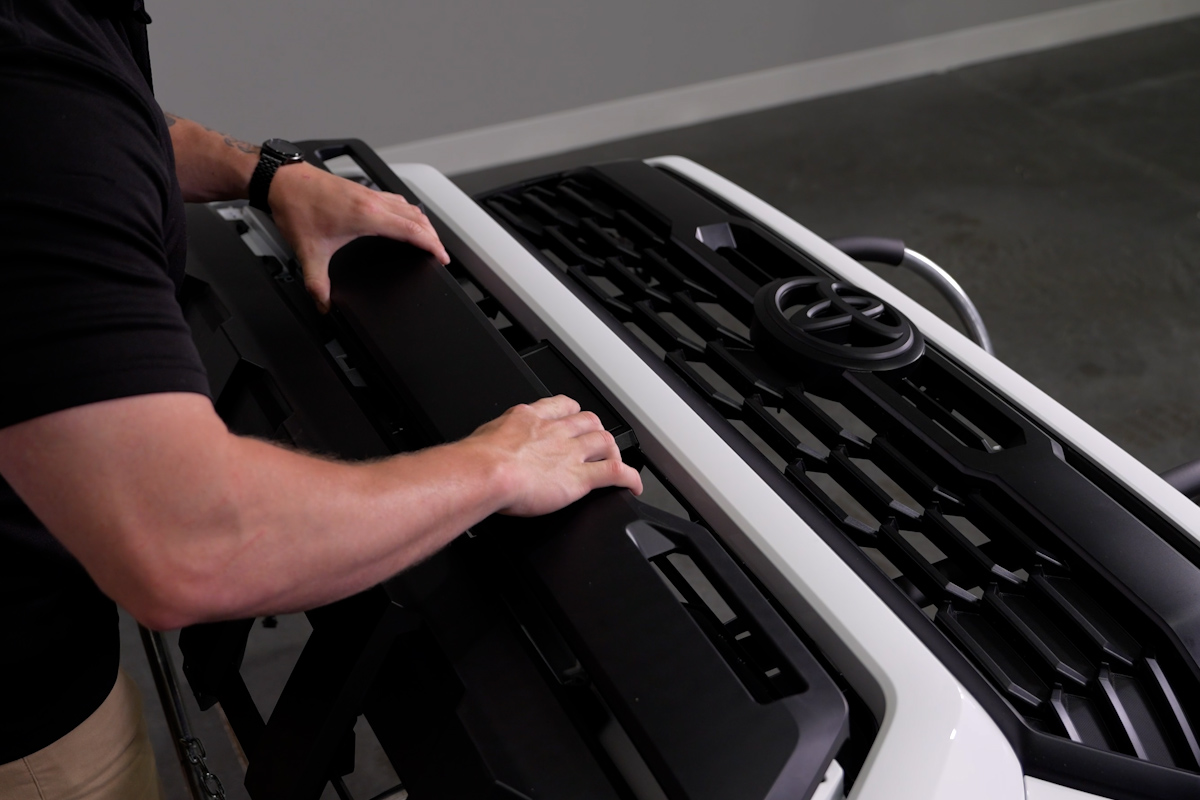
Note: The positive indicator on the H11 connector should align with the green wire.
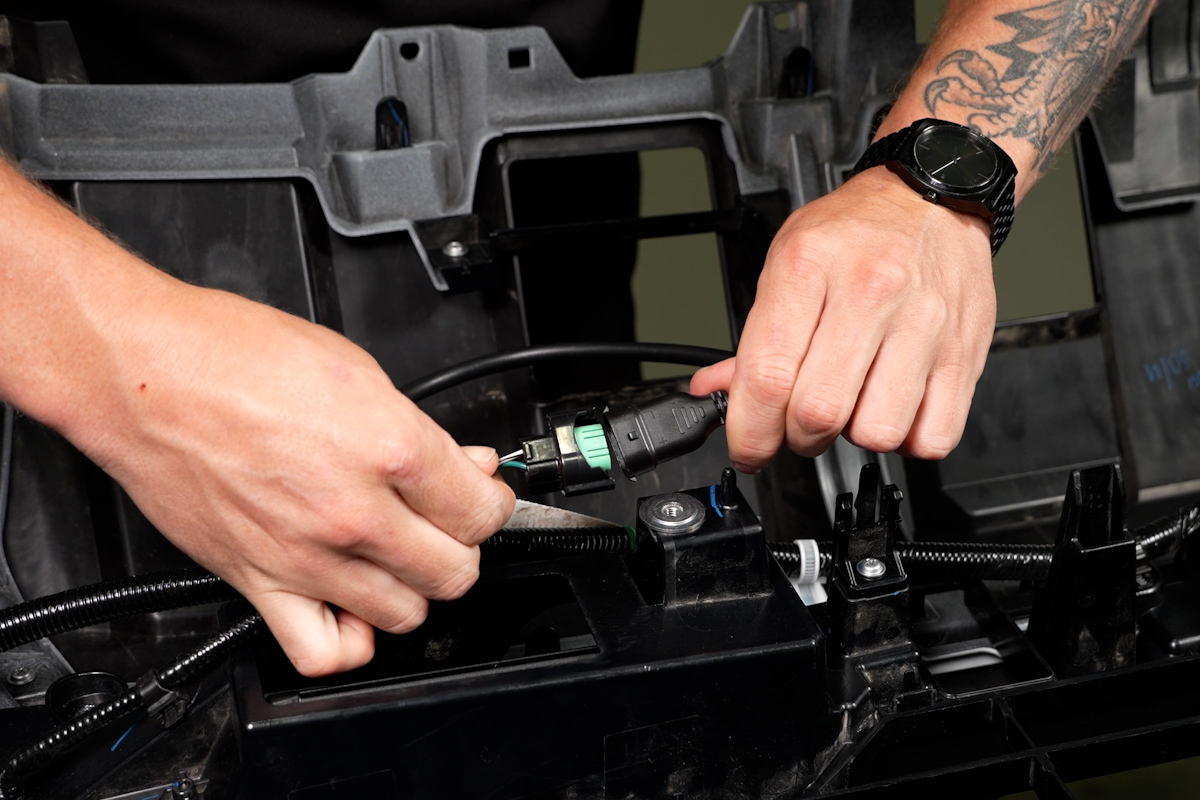
Use the supplied zip ties to secure excess wiring. Reinstall the active shutter assembly and reconnect its electrical connector.
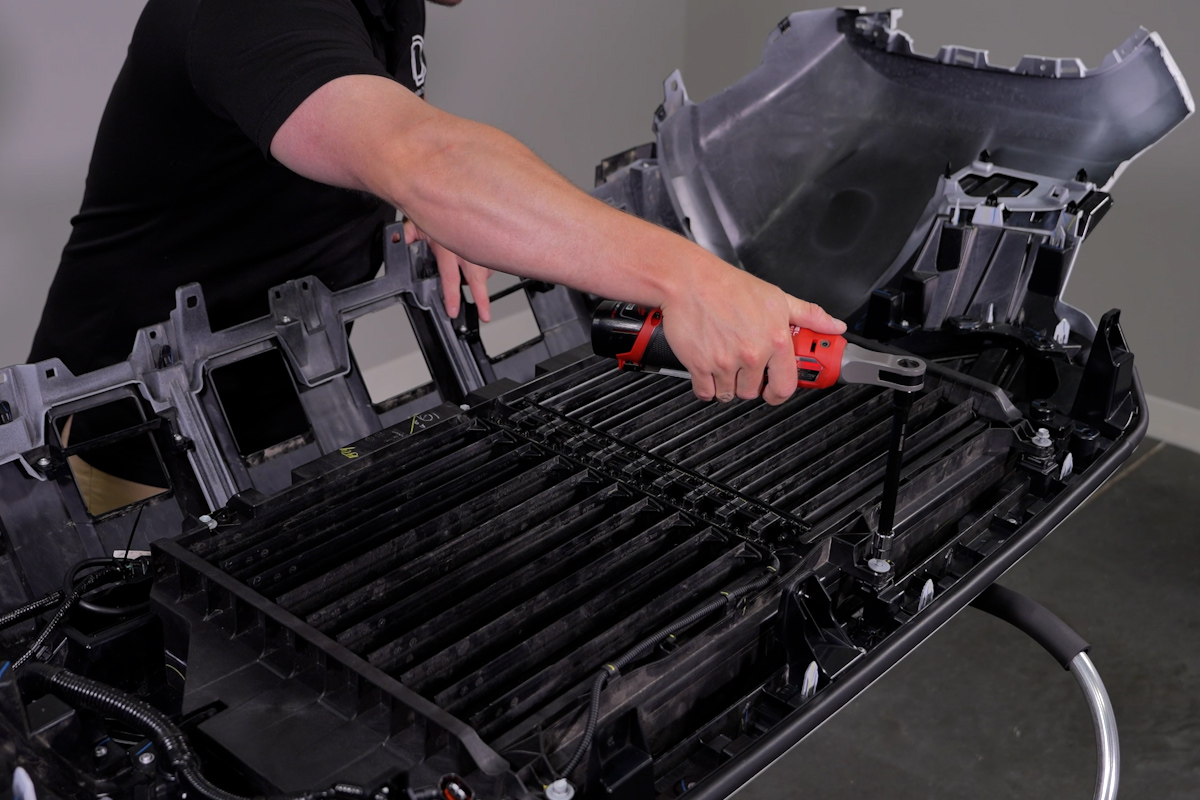
Position the front bumper assembly back onto the vehicle, making sure it aligns with and locks into the center support bracket.
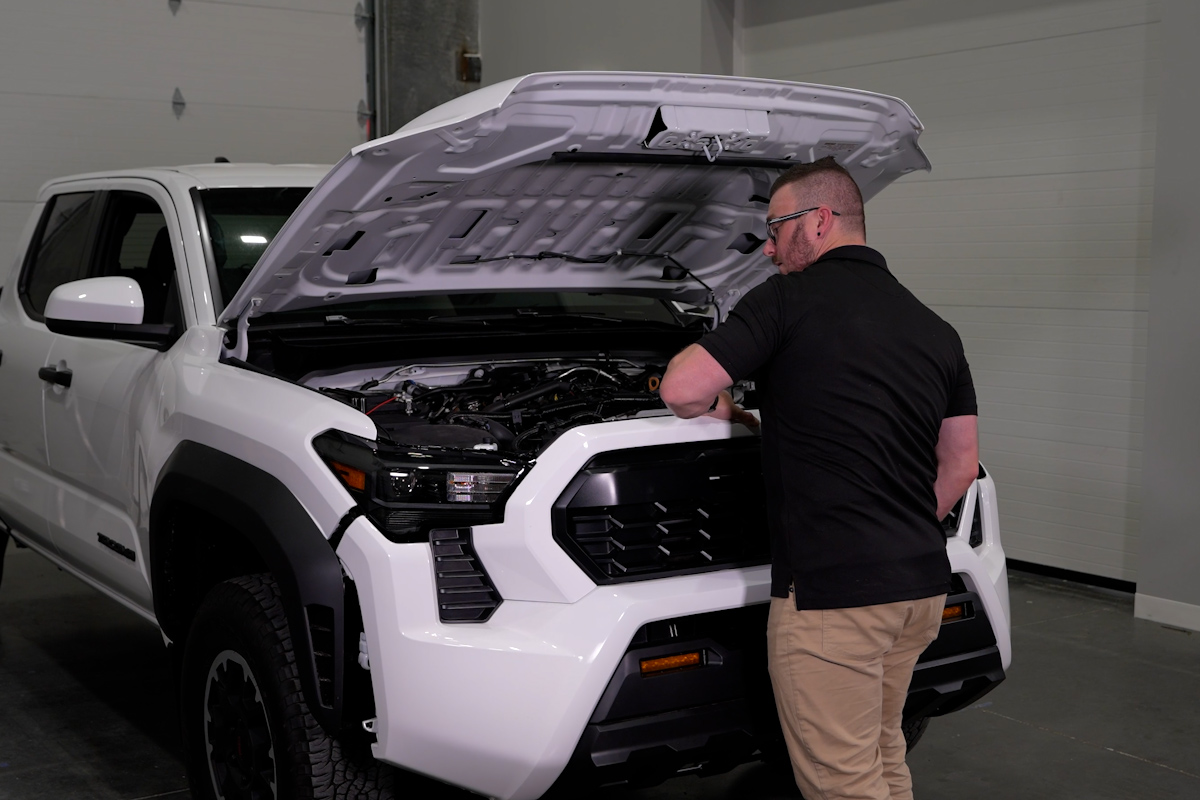
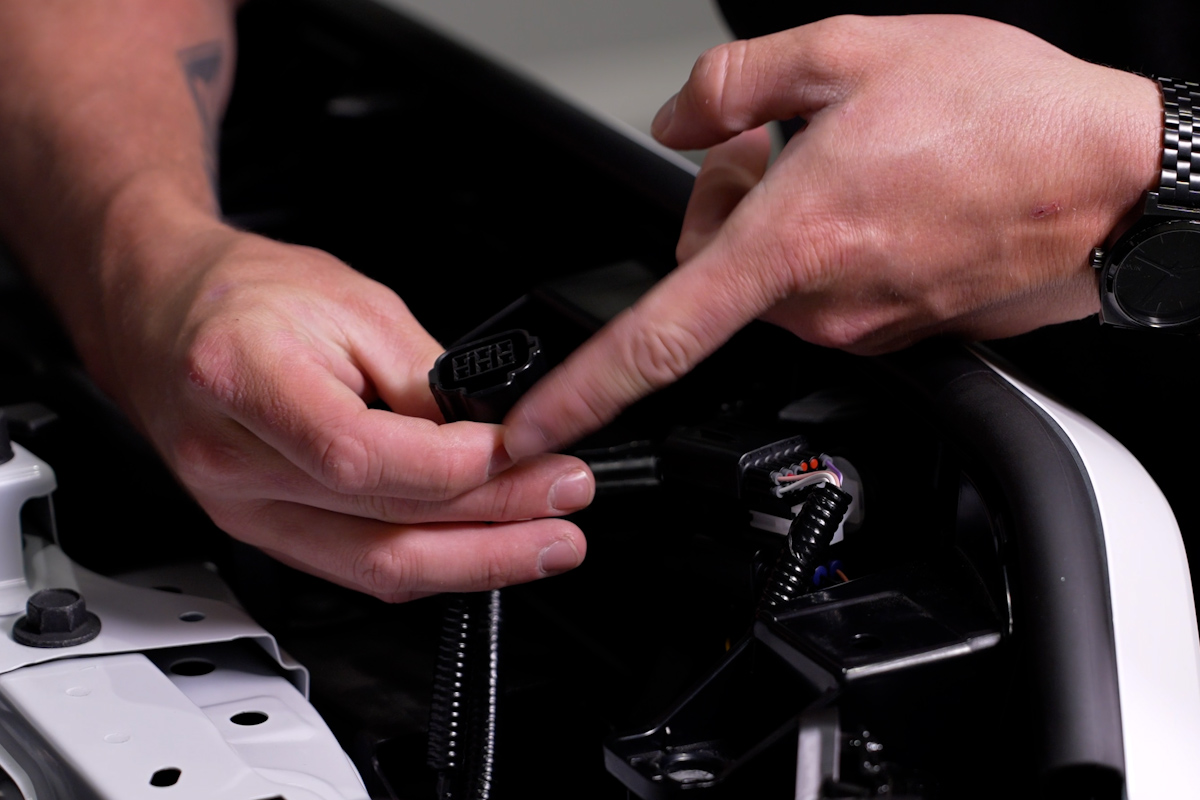
Reconnect the two multi-pin connectors near the passenger-side headlamp.
Connect the Backlight Wire (Optional)
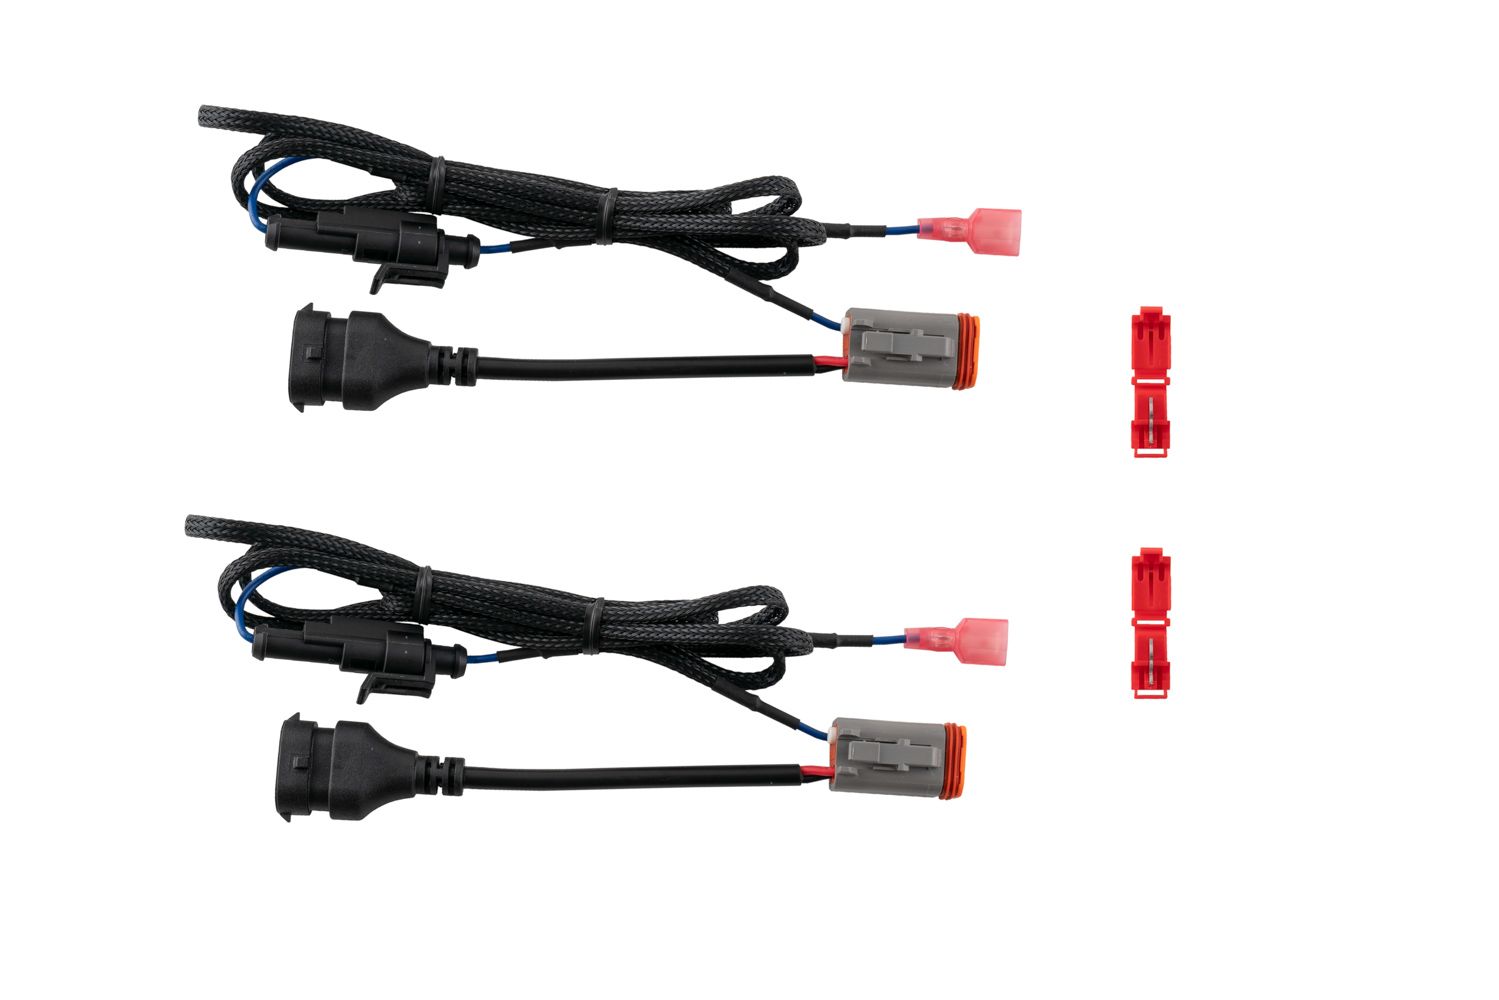
Stage Series Light Bars equipped with the backlight function feature an integrated amber backlight that illuminates the TIR optic for a distinctive accent appearance.
Connect the blue wire with the red male spade connector to a fused 12V source. The parking light or sidemarker circuit is commonly used so the backlight activates with the vehicle's exterior lighting.
Use the included T-taps to make the connection:
- Position the T-tap over the selected wire.
- Use needle-nose pliers to fully seat and crimp the T-tap.
- Insert the red male spade connector into the T-tap until secure.
Note: The selected power source must be fused. Do not connect the backlight wire directly to the vehicle battery.
Test both light bars for proper operation. If either light bar does not illuminate, disconnect the H11-to-DT adapter, rotate the H11 connector 180 degrees, and reconnect it to correct the polarity.
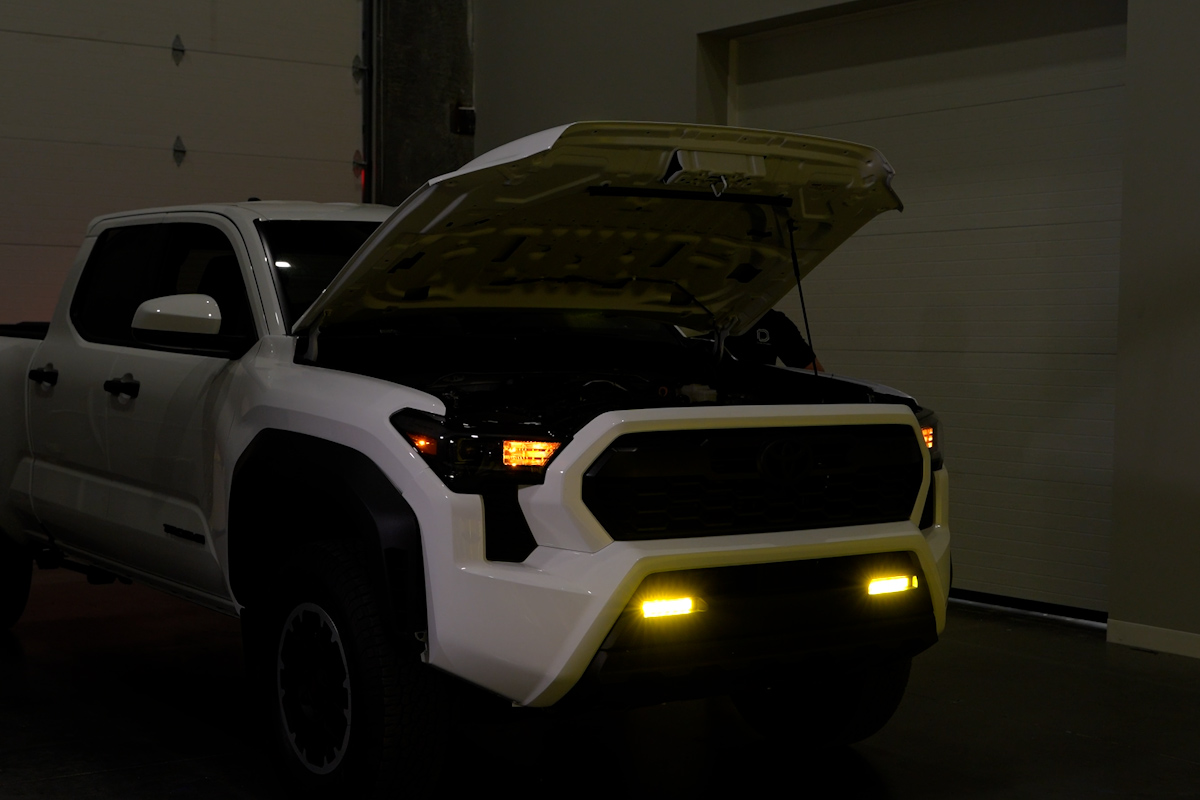
Reinstall the remaining bumper, wheel liner, fender flare, air intake, and upper engine-bay components by reversing the removal procedure from Steps 1 and 2.
Aiming Instructions
Step 6 - Aim the Fog Lights
Follow the Diode Dynamics Fog Light Aiming Instructions to properly aim both SS6 light bars for optimized road output.
Step 7 - Complete the Installation
Tighten the M6 bolts on both sides of each light bar. Do not overtighten the bolts or use power tools.
The installation is now complete. Enjoy your new SS6 LED Fog Light Kit for the 2024-2026 Toyota Tacoma and 2025-2026 Toyota 4Runner!
Questions About the Installation?
If you have any questions about installing the SS6 LED Fog Light Kit for the 2024-2026 Toyota Tacoma and 2025-2026 Toyota 4Runner, contact us via our support page.
Where Can I Buy the SS6 LED Fog Light Kit for the 2024-2026 Toyota Tacoma and 2025-2026 Toyota 4Runner?
If you're ready to upgrade your 2024-2026 Toyota Tacoma or 2025-2026 Toyota 4Runner with the SS6 LED Fog Light Kit, visit DiodeDynamics.com or use our Dealer Locator to find a dealer near you.
Want to know more about Diode Dynamics products? Visit DiodeDynamics.com and subscribe to our newsletter for new product releases and more!
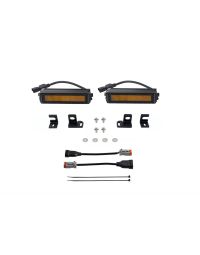
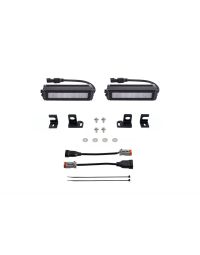
This Installation Guide is for the following SKUs: DD7931, DD7932, DD8843, DD8577, DD8579, DD8844, DD8578, DD8580
Share This Post