


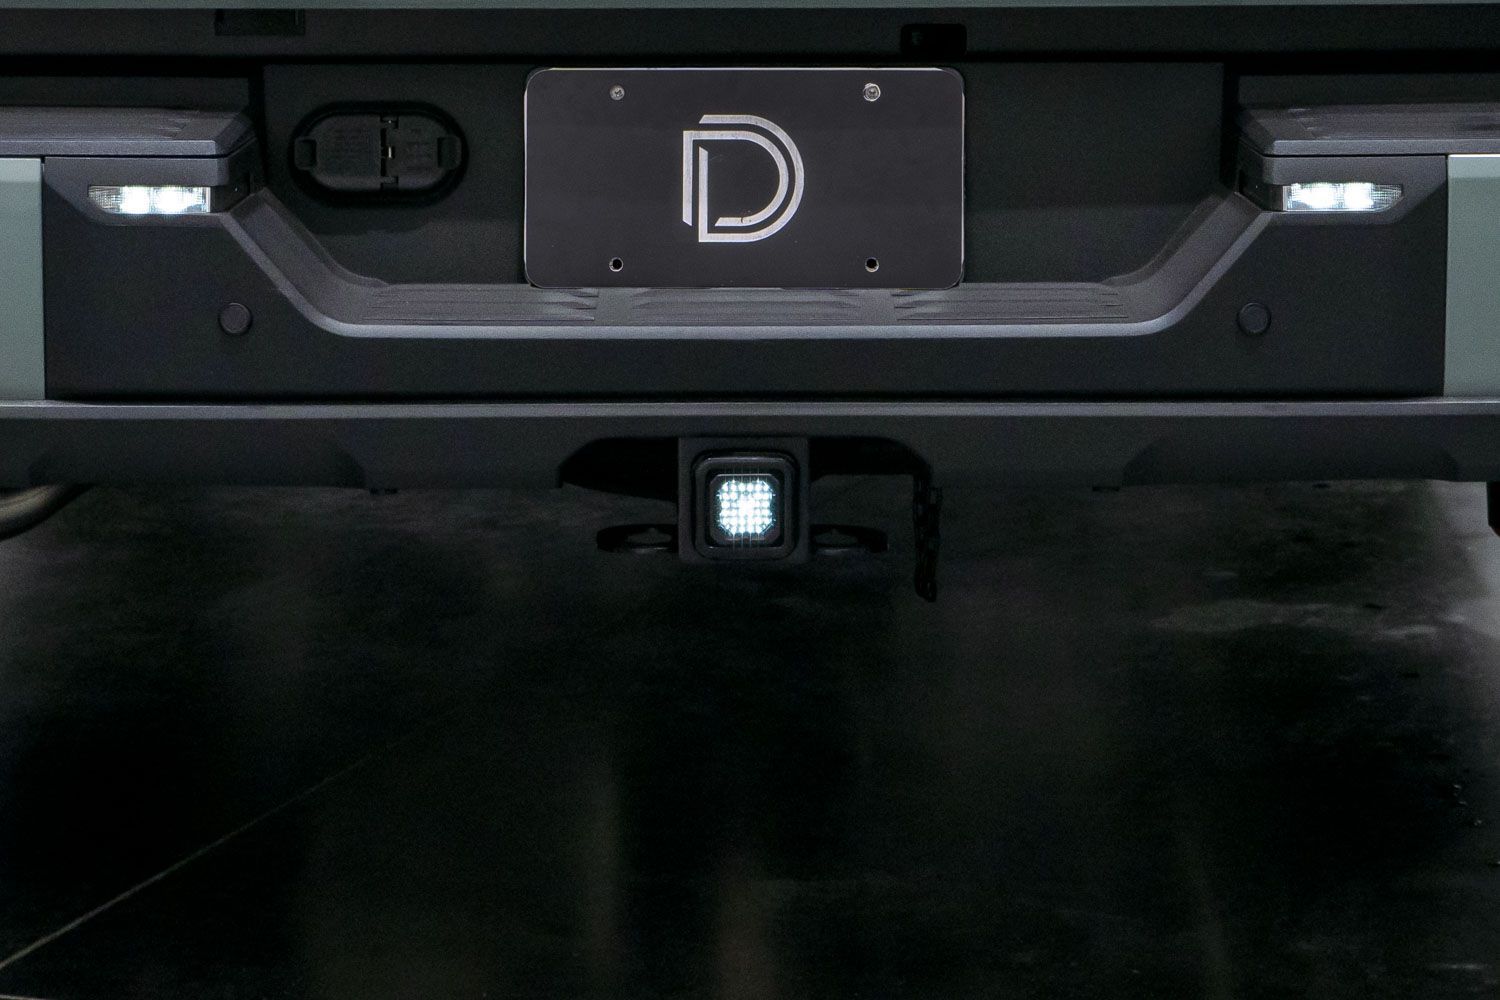
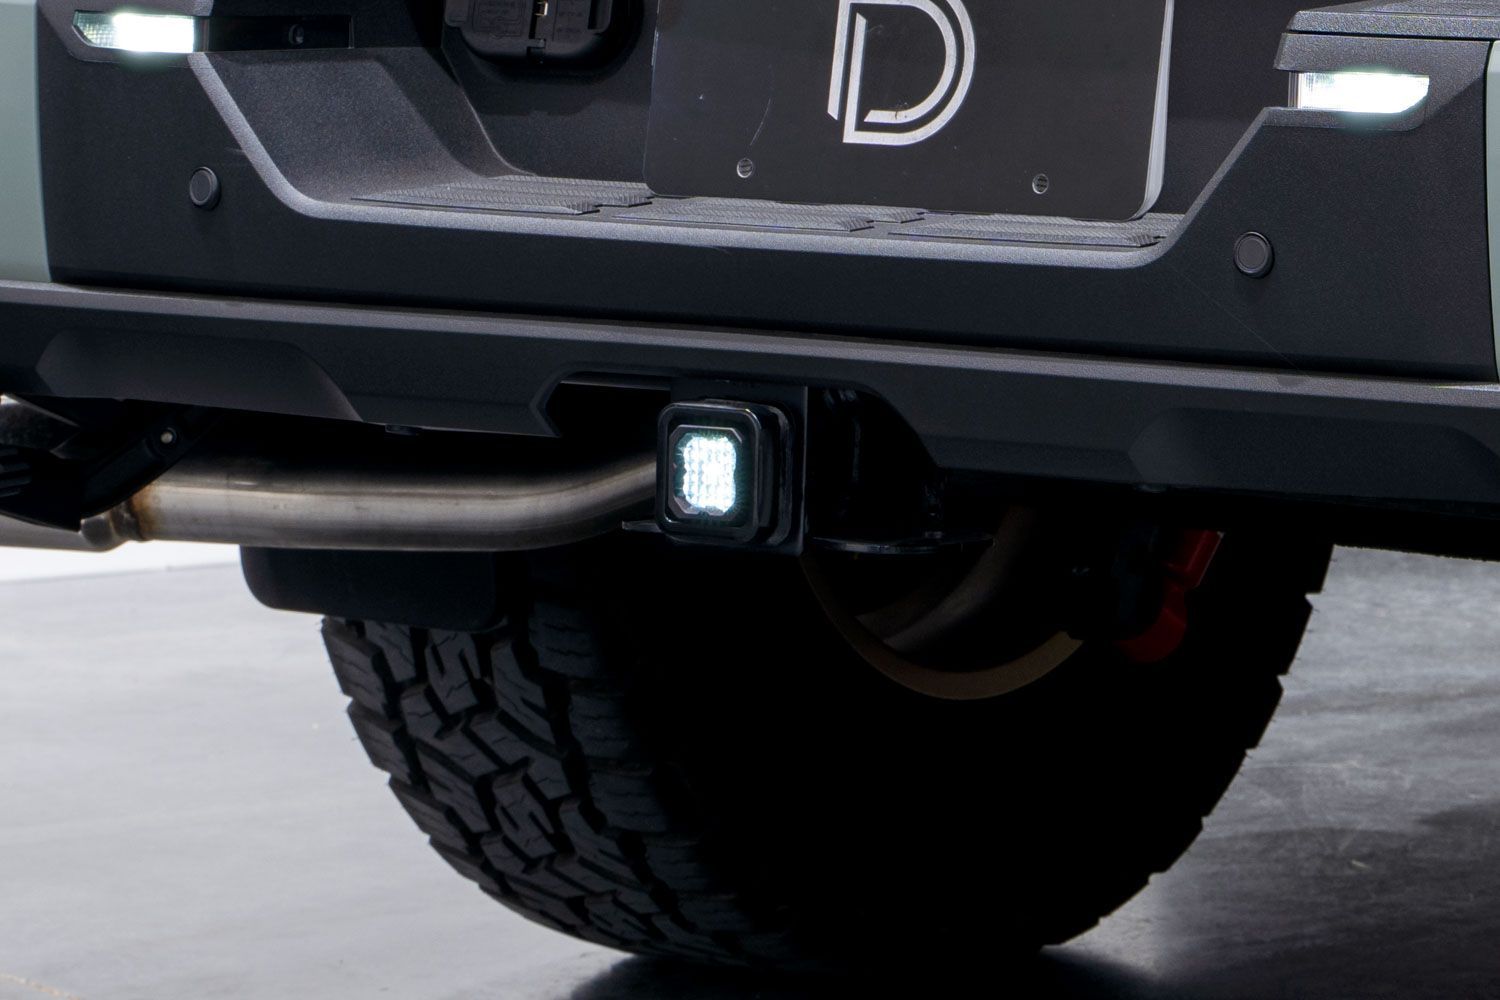
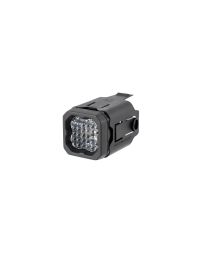
The HitchMount LED Pod Reverse Kit allows you to install one SSC1 or C1R LED Pod in your 2-inch or 2.5-inch trailer hitch receiver, adding a high-power reverse light, additional running light, and optional 4th brake light.
The following installation guide will provide you with instructions on how to install the HitchMount LED Pod Reverse Kit on your vehicle. Check out our installation video, or continue reading for step-by-step instructions!
NOTE: All HitchMount LED Pod kits now include a custom-molded adapter sleeve for use with 2.5-inch receivers. This component is not required for vehicles equipped with a standard 2-inch hitch receiver, and can be set aside during installation.
Table of Contents
Installation Video
Mounting Instructions
The C1R model includes a SafetyStrobe feature. This provides extra visibility by blinking the high-power red LED rapidly the first time the brakes are applied. If you would like to disable this feature, cut the purple wire on the included module, and the light will not blink when it is activated. To keep this feature, leave the purple wire connected.
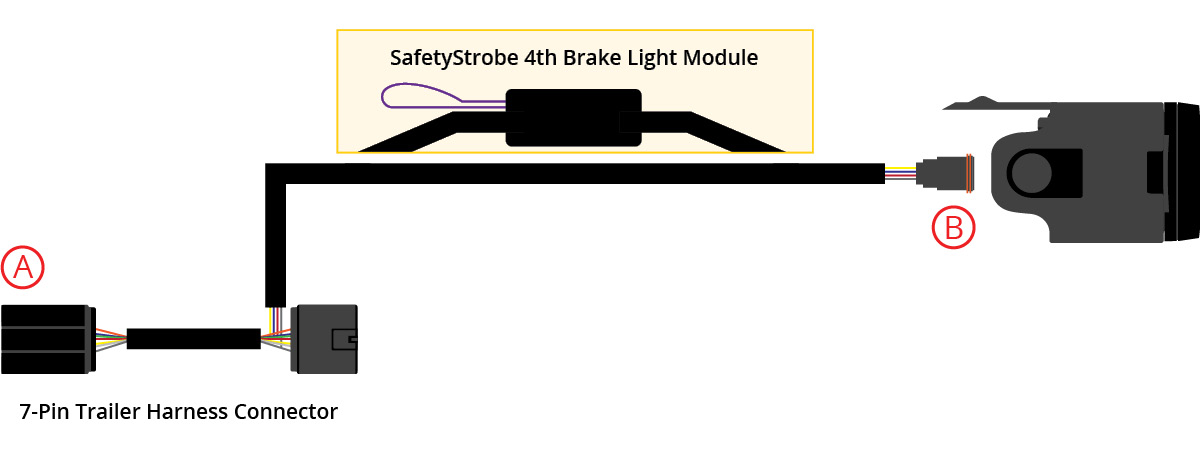
Step 1 - Connect the Wire Harness.
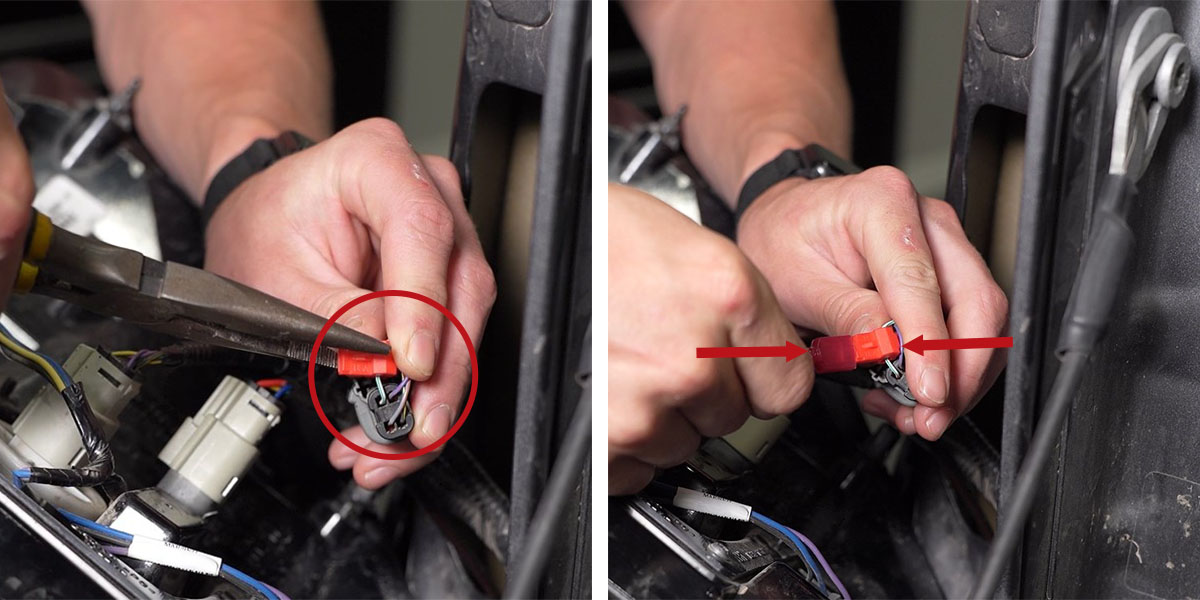
Disconnect the plug on the back of the 7-pin trailer connector by reaching up underneath the bumper. Depress the locking tabs and slide the connector off. Connect the provided wire harness in-line by connecting one side to the original plug, and the other side to the back of the 7-pin connector (A).
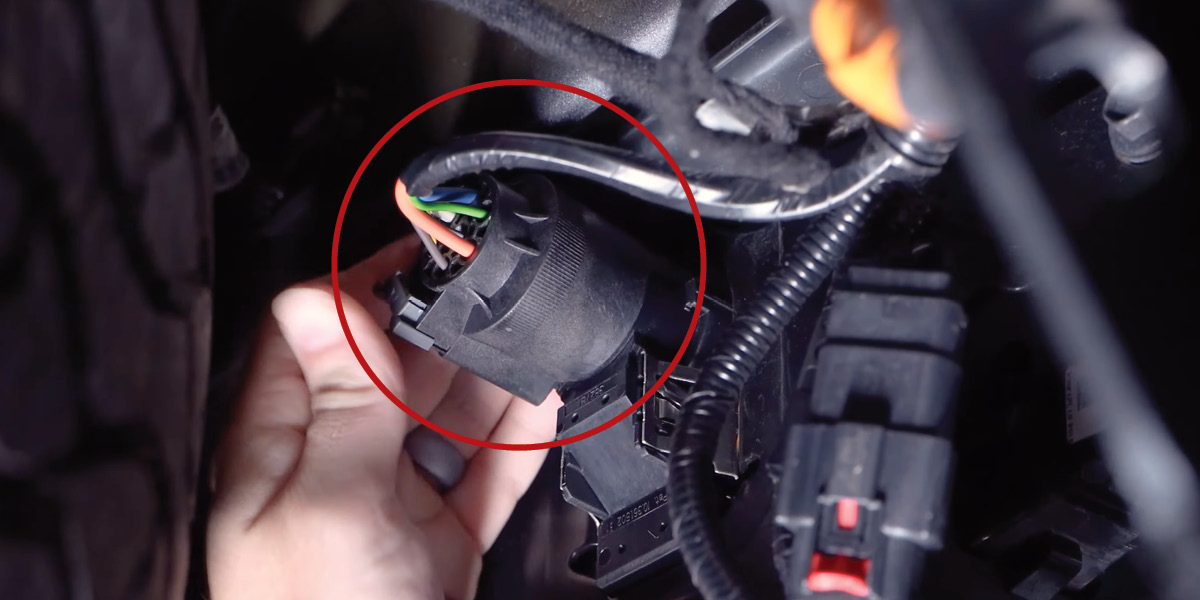
NOTE: If your vehicle does not have a 7-pin trailer connector or the provided plug does not fit, you may proceed by removing one of the 7-pin connectors and tapping the bare leads to your vehicle’s signal wires. A multimeter may be needed to confirm signals.

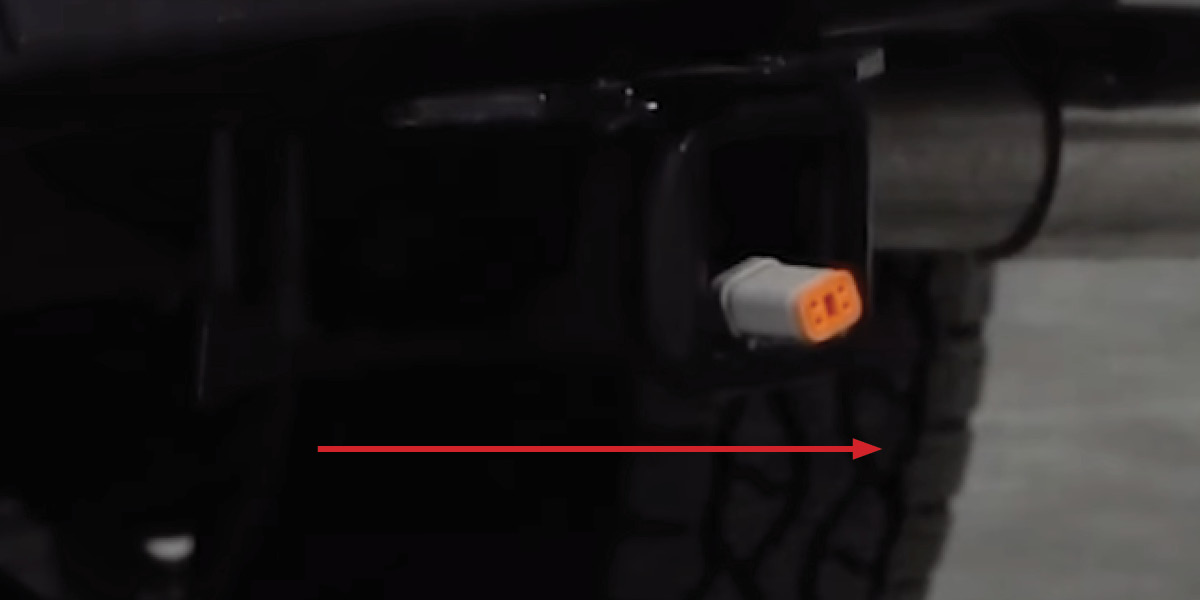
Step 2 - Route the DT Connector.
Route the DT connector (B) through the back of the trailer hitch receiver to the front. If your hitch receiver does not have an opening on the back, you may need to drill one—this is rare and not typically required.
Step 3 - Swap Receiver Sleeve (if needed).
The HitchMount comes pre-installed with the 2-inch sleeve. If you have a Class V 2.5-inch receiver, remove the default sleeve by gripping the top tab and pod bezel, and firmly pulling them apart.
Place the larger 2.5-inch sleeve face-down on a flat surface, and press the pod into place until it snaps securely—make sure the DT connector exits downward, opposite the top tab.
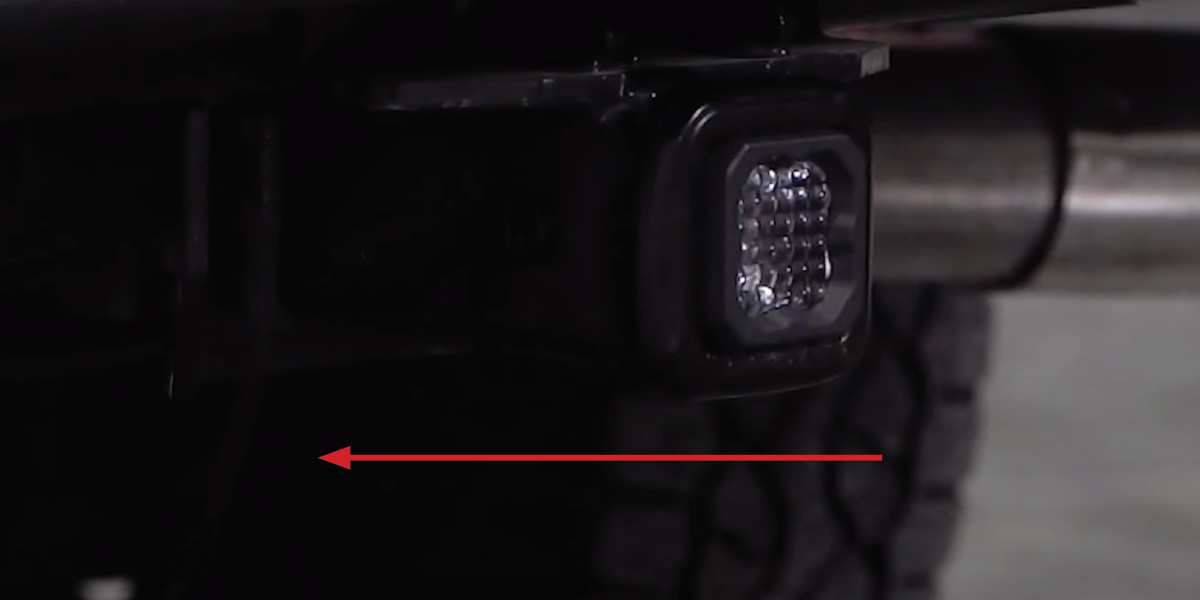
Step 4 - Connect HitchMount Pod to Harness.
Plug the DT connector (B) into your LED pod. Then, using the built-in snap-fit mounting clip, push the HitchMount into the hitch receiver until it locks into place.
NOTE: The HitchMount LED pod may protrude slightly depending on the depth of your hitch receiver.
Step 5 - Test Function.
Verify that reverse and running lights function correctly. If your C1R includes a brake light, test that as well. Some vehicles may change trailer-related settings when a 7-pin is connected—this is normal. Power cycle your vehicle if the light does not turn on, and contact Diode Dynamics if issues persist.
Step 6 - Optional Red Wire Lead for Brake Signal Compatibility.
If your vehicle disables the brake light circuit when a trailer is detected, or if you experience flickering or trailer detection warnings, you may use the included red wire tap harness.
Disconnect the red AMP-style plug from the 7-pin harness. Then, connect the red AMP-style plug on the tap harness into the exposed port on the 7-pin harness. Cover the disconnected lead with the included cap and secure it out of the way.
Next, use the included T-tap to tap into your vehicle’s factory brake light wire near the tail lamp. Connect the wire lead from the tap harness to the T-tap. This will provide the C1R with a clean brake signal, resolving most compatibility issues.
Step 7 - Removing the HitchMount.
To remove the HitchMount, press both side tabs and pull forward. You may unplug the harness or leave it installed with the included DT cap to protect the connector. Store your light safely until you're ready to re-install.
Using a Hitch Pin (Optional)
The HitchMount stays secure using its integrated clip, but if you'd like to add a locking pin (not included), follow the steps below. This modification does not affect warranty coverage.
Step 1 - Cut Retention Tabs.
Use a cutting tool to remove the circular sections from each side tab. This will allow the hitch pin to pass through the sleeve.
Step 2 - Insert HitchMount Pod.
Connect the pod to the harness and push it into the receiver.
Step 3 - Insert the Pin.
Slide the hitch pin through and lock it in place. It should be snug to avoid movement or rattling during use.
Questions About the Installation?
If you have any questions or issues installing the HitchMount LED Reverse Pod Kit, please contact us for further assistance.
Where Can I Buy The HitchMount LED Pod Reverse Kit?
If you're ready to upgrade your vehicle with the HitchMount LED Pod Reverse Kit, you can purchase one by clicking here or by using our dealer locator.
Want to know more about Diode Dynamics products? Visit DiodeDynamics.com and subscribe to our newsletter for new product releases and more!
This Installation Guide is for the following SKUs: DD7420, DD7422, DD4145, DD4146
Share This Post