


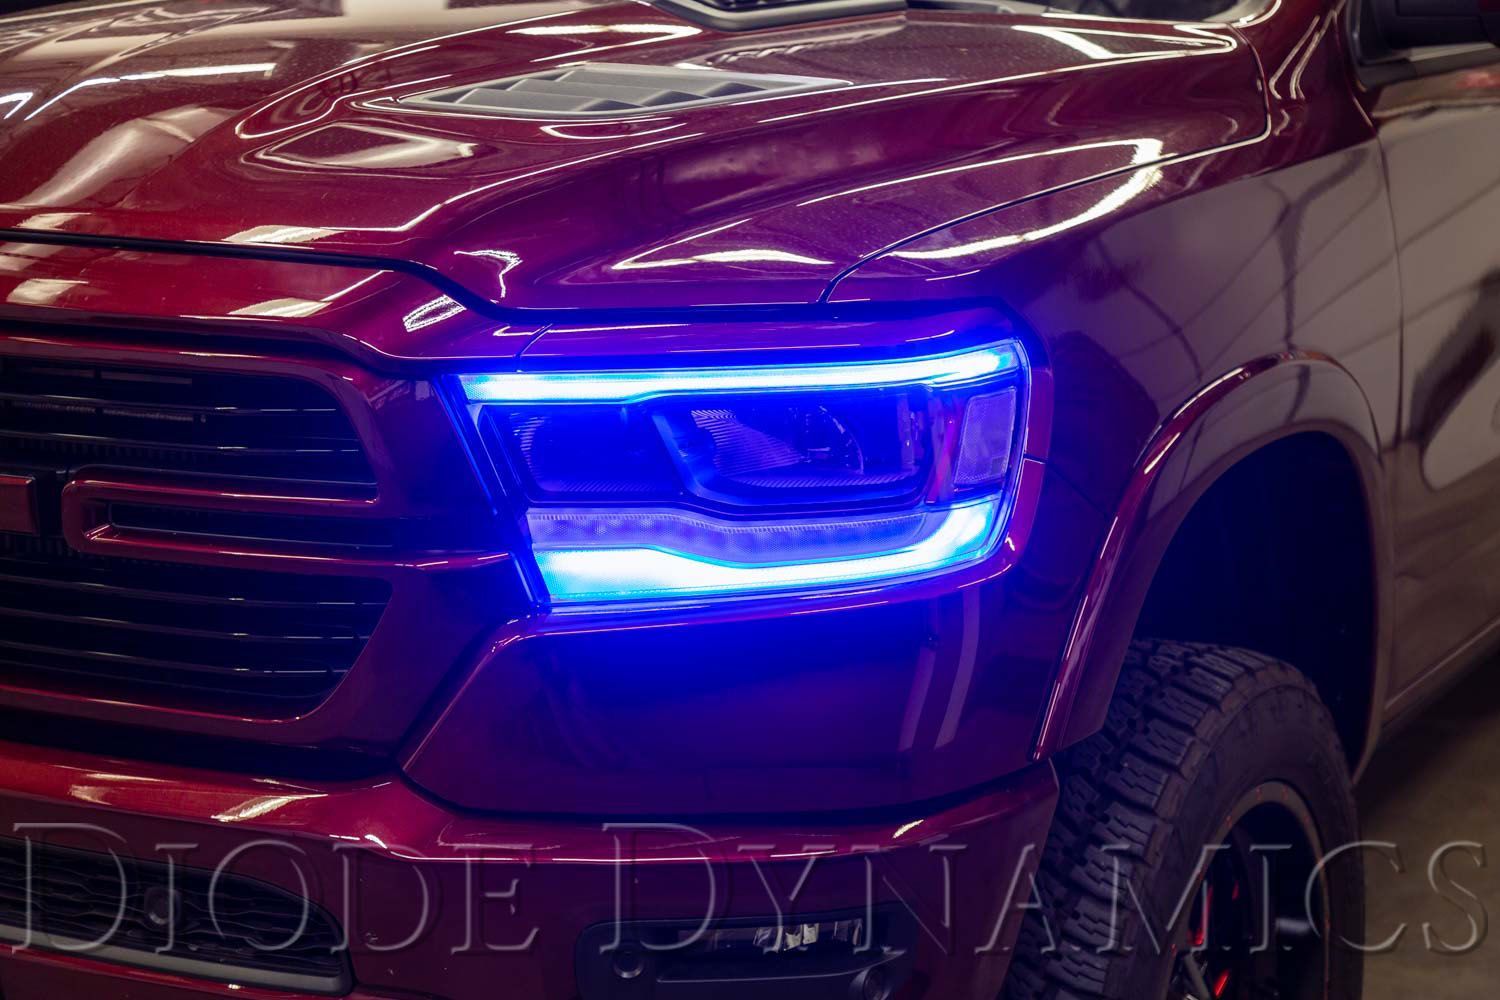
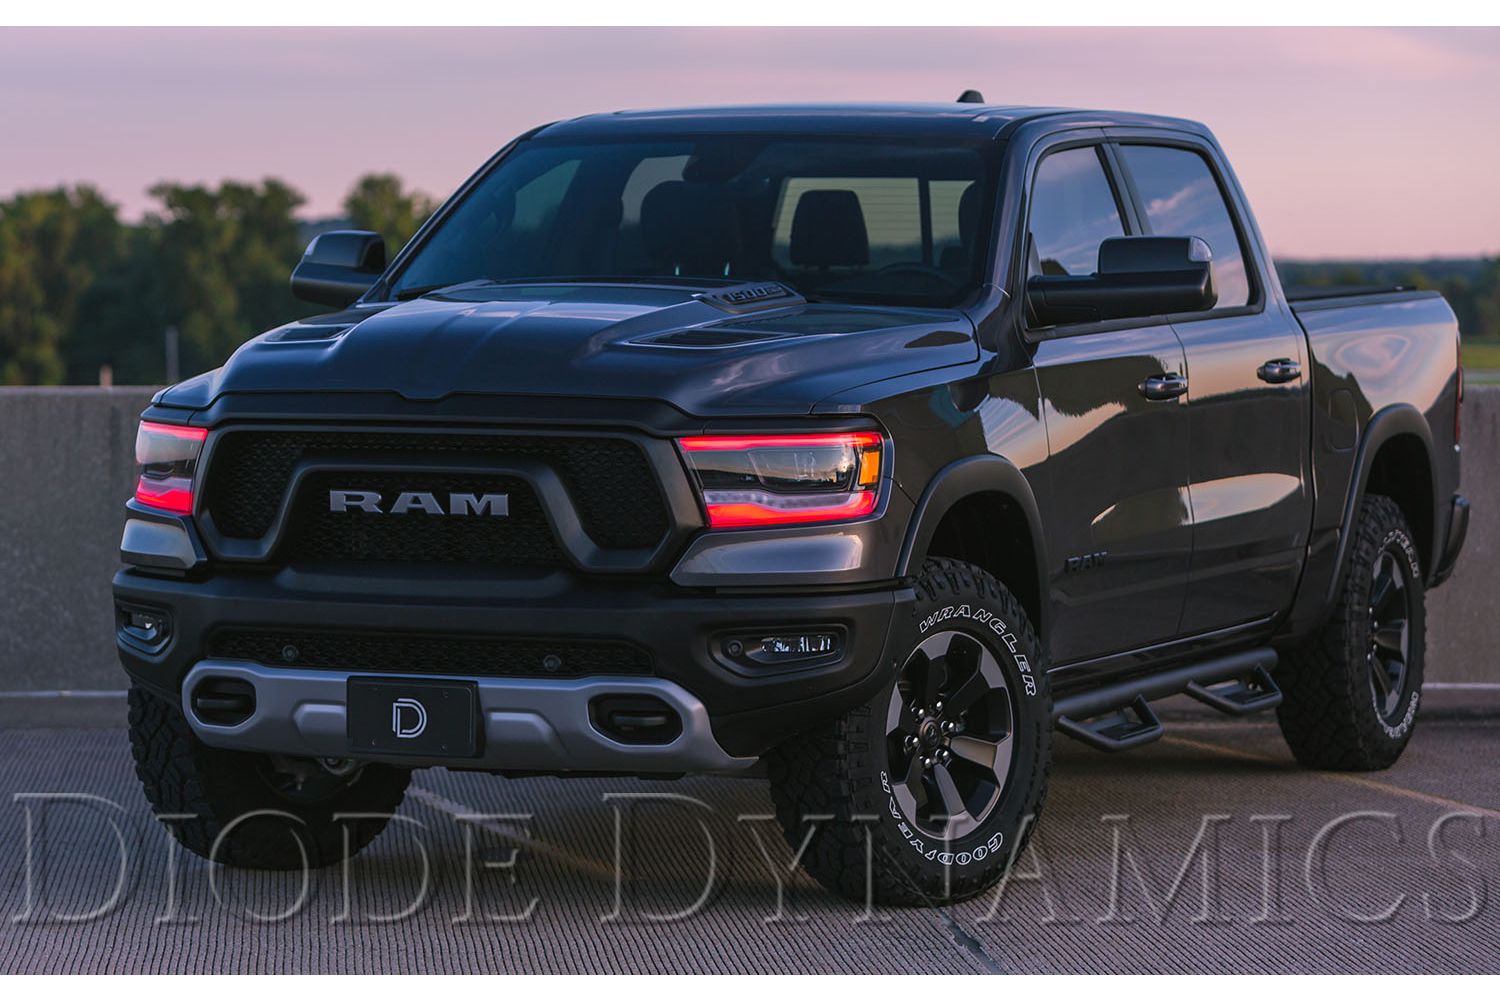
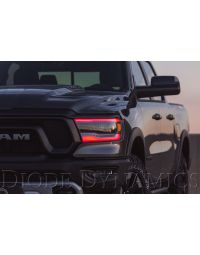
The Midline RGBW™ DRL LED Board for your 2019-2023 Ram Laramie and Rebel allows you to convert your factory LEDs inside the headlight into full multicolor functionality. They are a direct replacement for the factory Dodge Ram DRL LED panels inside the light.
Please note: Headlights must be opened before proceeding with the installation. Professional installation is strongly recommended. Please contact us if you need assistance locating an installer, or use our dealer locator tool to find an installer near you.
Continue reading for step-by-step installation instructions below.
Table of Contents
Installation Tools
- Torx T20 Screwdriver
Mounting Instructions
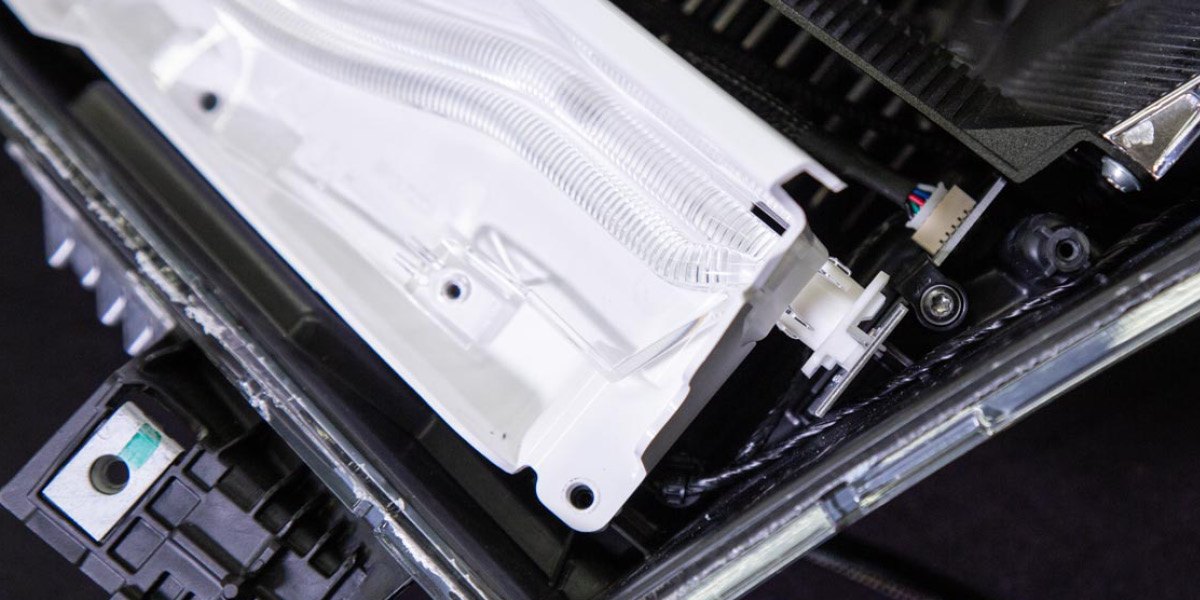
Step 1 - Remove Lower Optics Screws.
Remove the four T20 screws holding the lower optics shroud and light pipe in place.
NOTE: The fifth screw is blocked by the shroud, but will be removed in step 2.

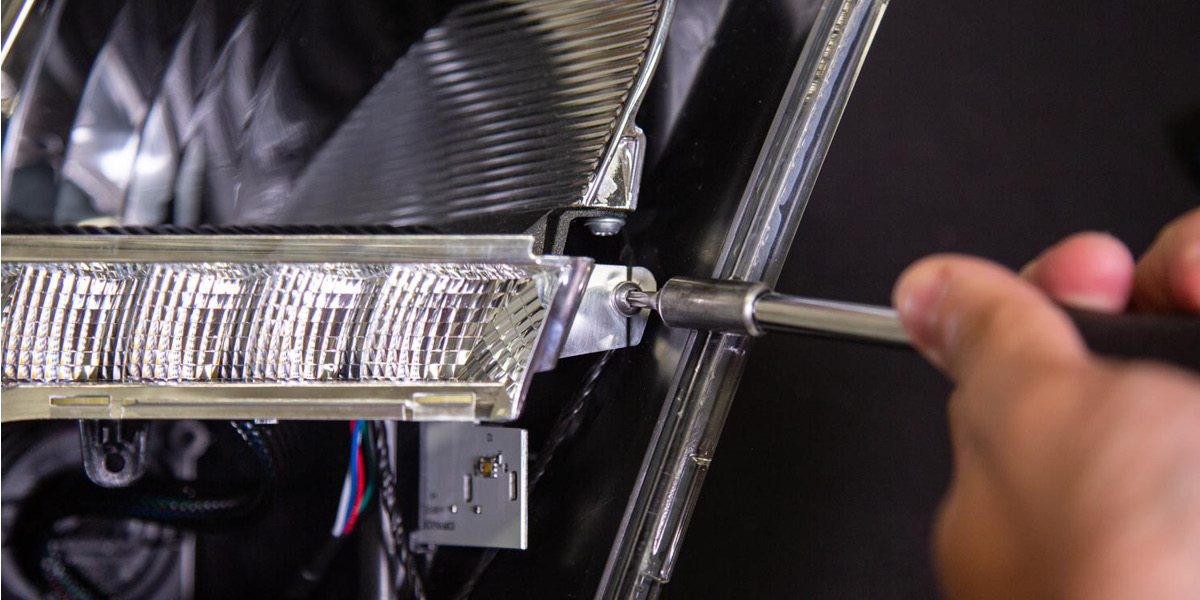
Step 2 - Remove Light Pipe.
Remove the light pipe from its retaining clip by gently pulling the pipe away from the board until the tabs on the pipe release from the clips. Repeat for the other side to fully remove the light pipe.
With the light pipe removed, remove the final T20 screw holding the lower optics shroud in place.
Step 3 - Remove Shroud.
Pull straight up on the shroud to remove it. Set it aside.
NOTE: Be careful when removing as to not damage the retaining clips.
Remove the retaining clips from the lower boards by gently prying the tabs and pulling out.

Step 4 - Remove Housing.
Remove the screw holding the turn signal reflector in place on each side and disconnect the factory harness. Then remove the housing and set it aside.
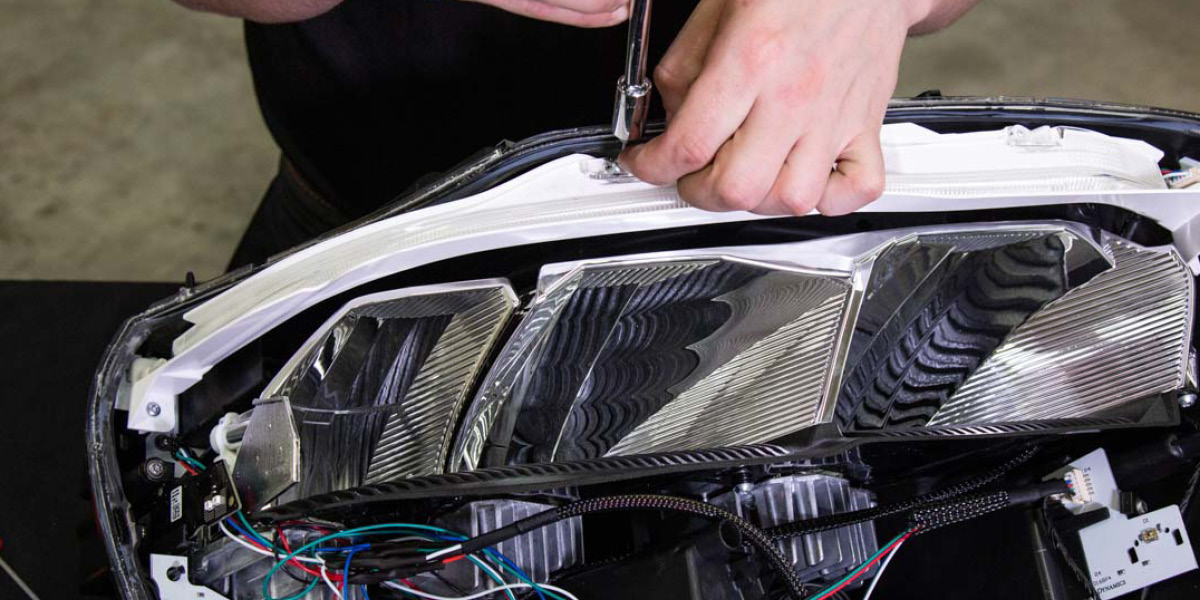
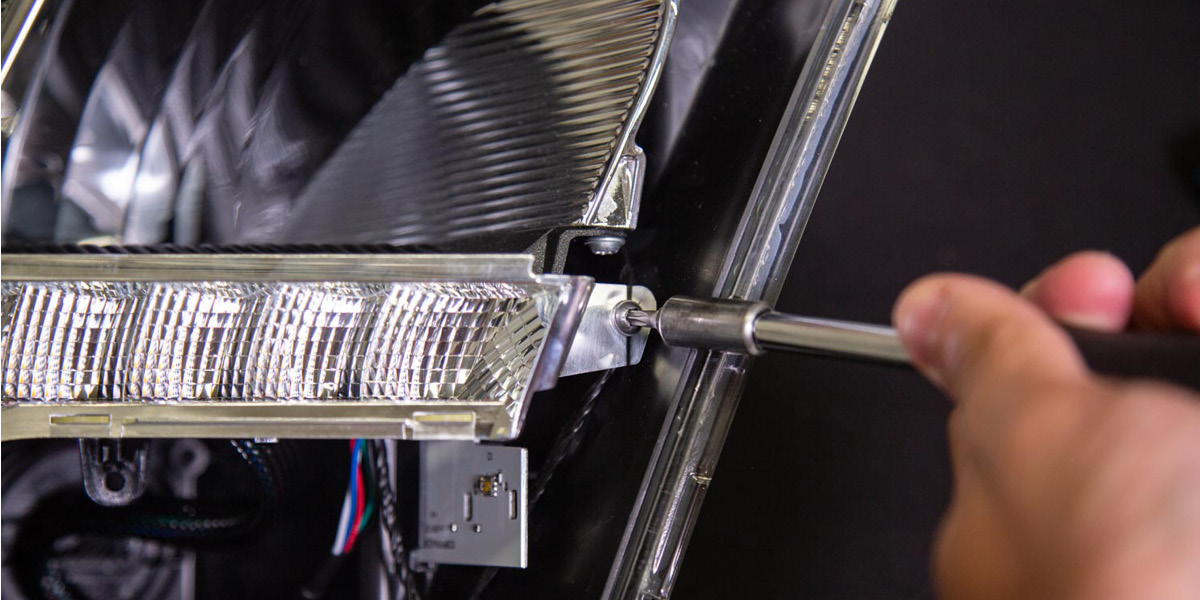
Step 5 - Remove Upper Optics Screws.
Remove the five T20 screws holding the upper optics shroud and light pipe in place.
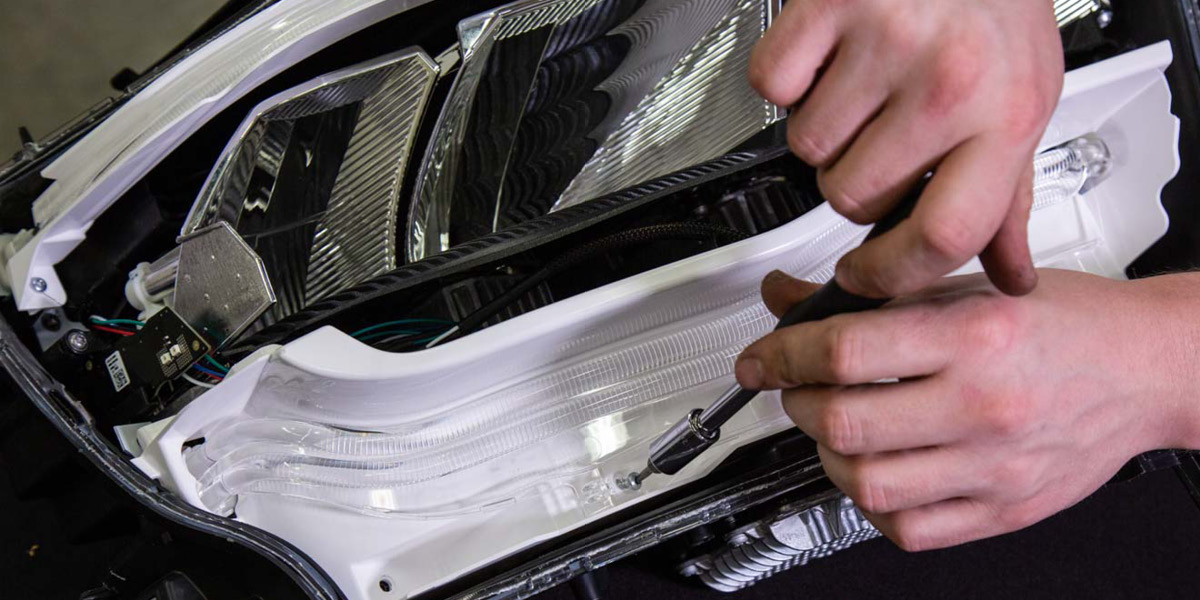
Step 6 - Remove Light Pipe.
Remove the light pipe from its retaining clip by gently pulling the pipe away from the board until the tabs on the pipe release from the clips. Repeat for the other side to fully remove the light pipe.
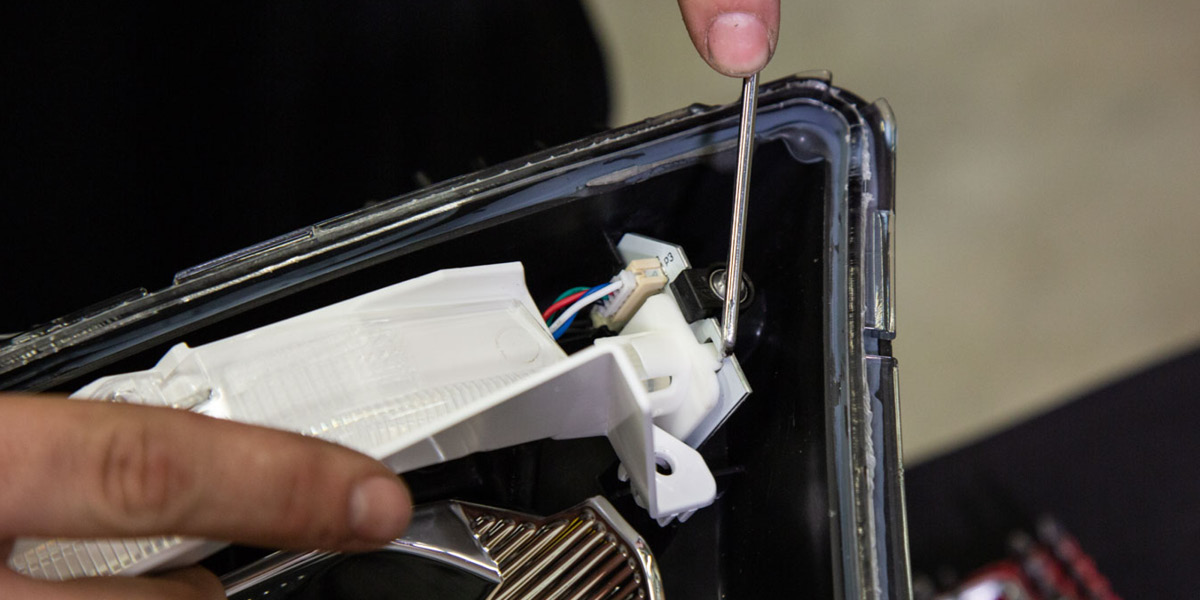
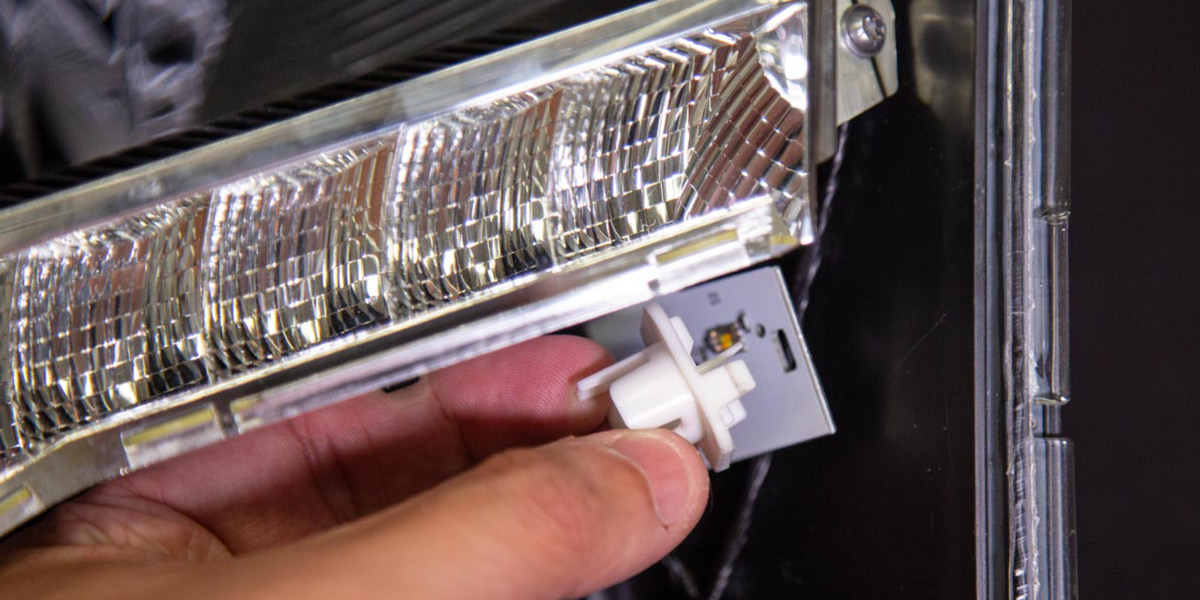
Step 7 - Remove Factory Boards.
With both optics shrouds and the turn signal reflector removed, remove the four T20 screws holding the factory boards in place.
Disconnect the factory board harnesses and remove the factory boards. They will not be reused.
The harnesses for the factory boards can be left hanging in place.
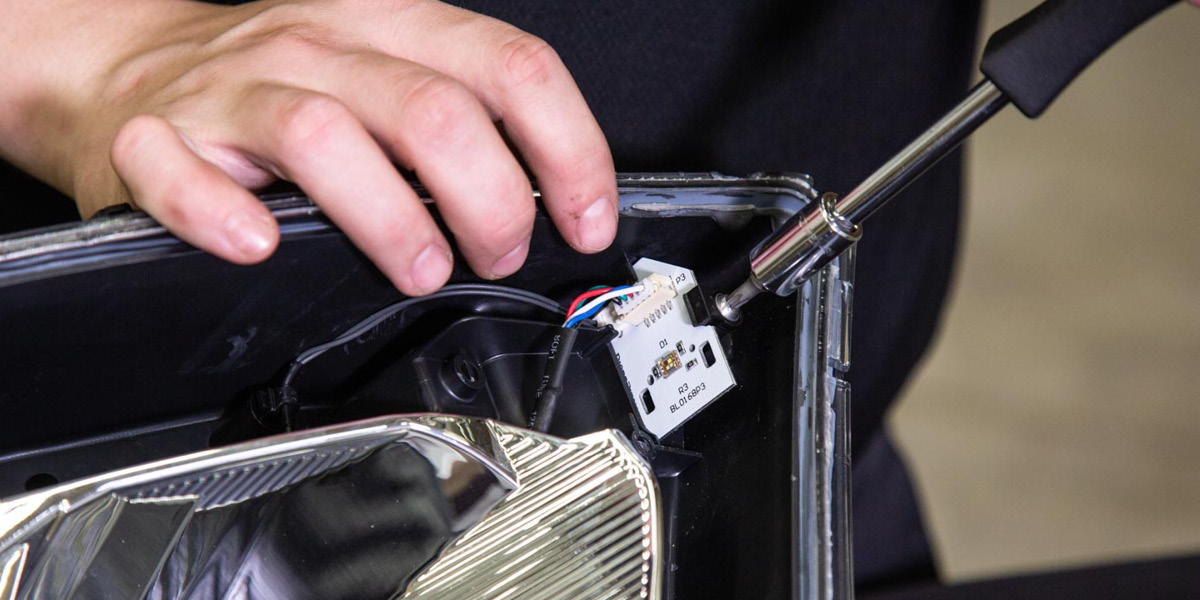
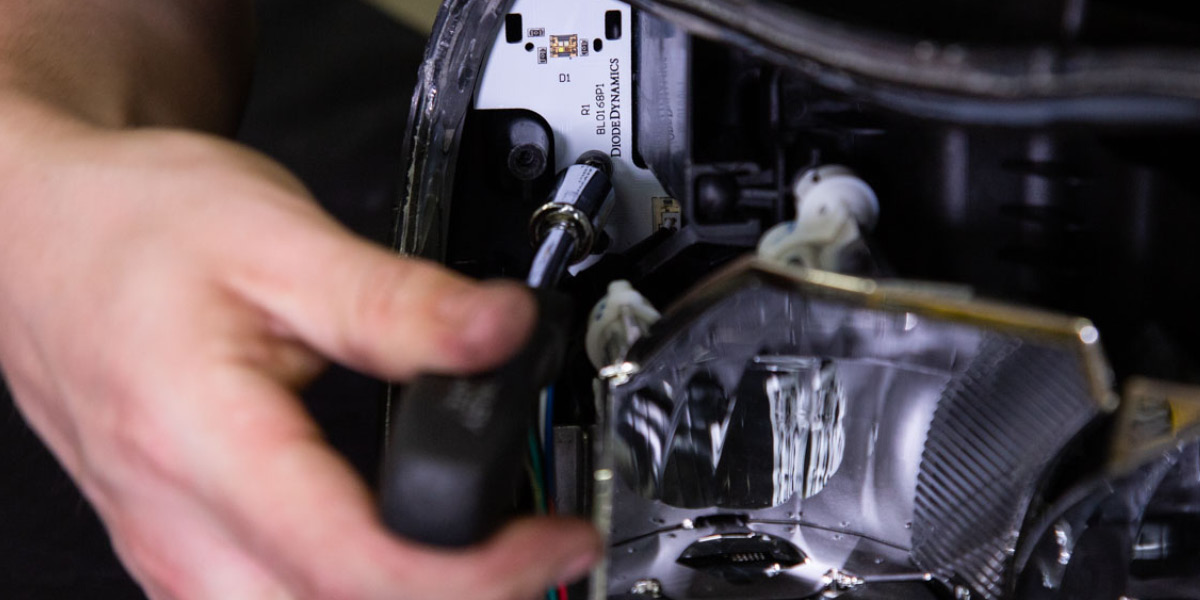
Step 8 - Install New Boards.
Install your new Diode Dynamics LED boards using the original screws.
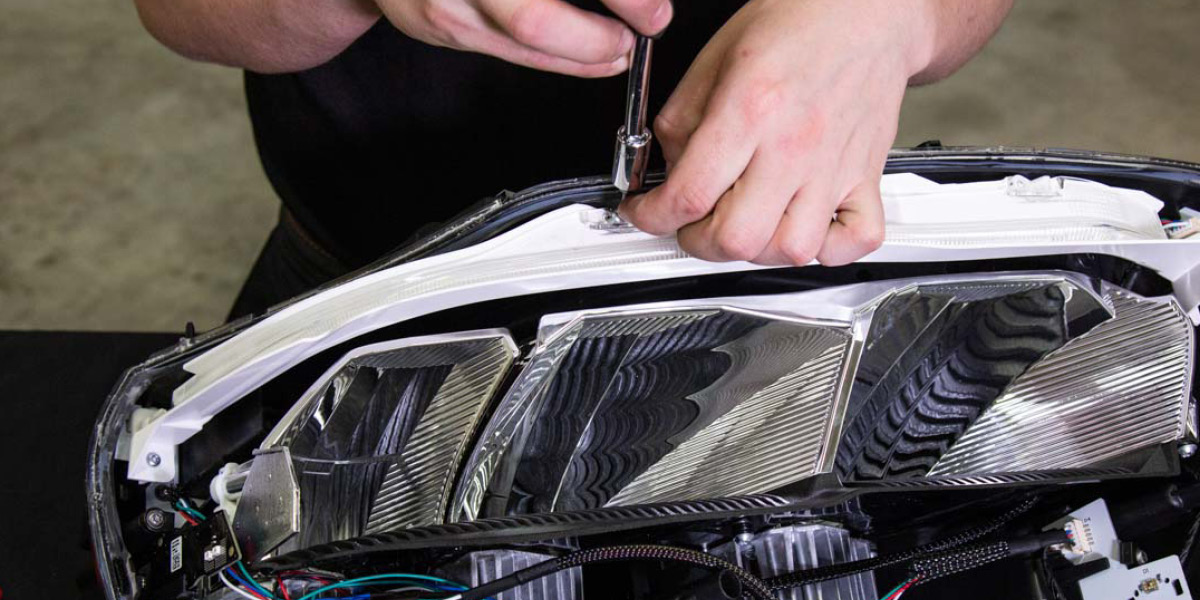
Step 9 - Secure Upper Optics.
Secure the upper optics shroud back in the retaining clips one side at a time.
Secure the upper optics shroud using the five screws that were removed in Step 5.
Step 10 - Route Wiring.
Reinstall the lower retaining clips that were removed from step 3 to the LED Boards.
Run the wiring out of the headlight, sealing any holes that you may create. You may choose to route the wires through the ballast on the bottom of the headlamp.
To do so, remove the three screws holding the ballast in place. Then route the wires through the hole and reinstall the ballast.
Step 11 - Reinstall Turn Signal Reflector.
Reinstall the turn signal reflector by reconnecting the factory harness and reinstalling the screw that was removed in Step 4.
Step 12 - Secure Lower Optics.
Reinstall the lower optics shroud using the original screw. Then reconnect the light pipe to the retaining clips.
Reinstall the four original screws to secure the lower optics shroud in place.
Wiring Instructions
Step 13 - Connect Driver.
Connect the LED board to the RGBW driver. Then using the JST-to-M8 adapter wire included with the Diode Dynamics controller, connect the driver to the controller (sold separately).
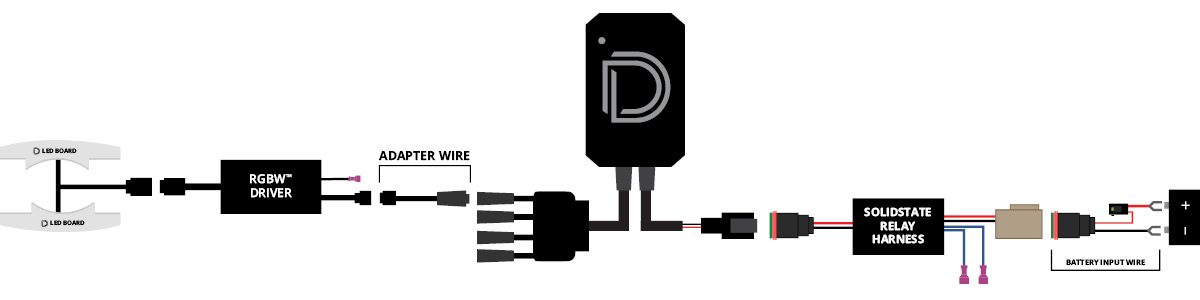
IMPORTANT: DO NOT plug the LED panel directly into the controller without the driver. The LEDs must be plugged into the driver first to control the power.
Step 14 - Connect Power.
Connect your controller to the SolidState Relay Harness. Connect the battery input wire (included with Diode Dynamics RGBW Controller) to the harness. Run the battery input wire to the battery and connect it to the positive and negative battery terminals.
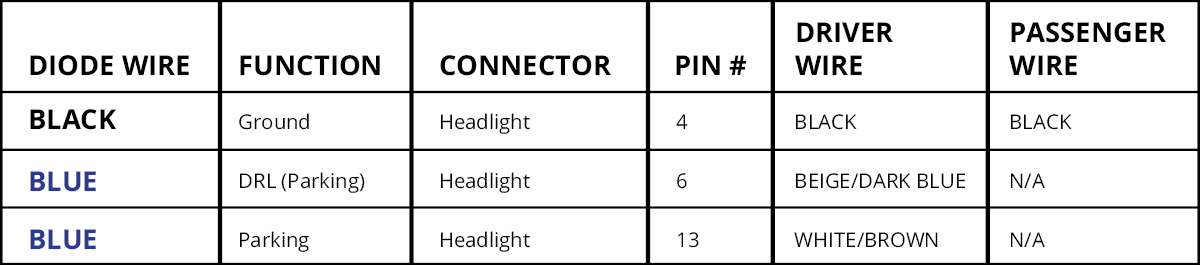
Step 15 - Tap Wires.
Tap the black wire to the ground. Then tap the two blue wires from the Solid State Relay Harness to your power sources on one side of the vehicle. In the table below, we have listed the suggested wires to tap on the headlight harness.
Step 16 - Complete Installation.
Mount drivers, controller, and relay and tuck all wires. Drivers should be mounted outside of the headlight for serviceability, in a location away from the engine block to avoid excessive heat buildup. Test thoroughly, reseal the headlight, and reinstall onto vehicle.
Questions About the Installation?
If you have any questions or issues installing Midline RGBW™ DRL LED Boards in your 2019-2023 Ram, please contact us for further information.
Where Can I Buy 2015-2021 Ram Midline RGBW™ DRL LED Boards?
If you’re ready to upgrade your 2019-2023 Ram with a Midline RGBW™ DRL LED Board, you can purchase one by clicking here or using our dealer locator to find a dealer near you.
Want to know more about Diode Dynamics products? Visit DiodeDynamics.com and subscribe to our newsletter for new product releases and more!
This Installation Guide is for the following SKU: DD2255
Share This Post